Entries in hungryghost food and travel (3)

Friday
Nov232012

thanksgiving. a few moments.

Now that the dust has settled and the soup is on the stove, I have a few moments to share some photos from the past couple days. Thanksgiving was spent rather spontaneously with our good friends Helen and Benoit and family as neither of our families had made a concrete plan as of Wednesday morning.  So, while I was at the Greenmarket, I spoke to Helen and we decided to join forces and do it at our place in the city. The reason we were ambivalent in the first place is that the kids protested so much about going upstate and to be totally honest we were a little beat from work  and somewhat incapable of making a decision. They wore us down. The city won and I have to say it was nice not to travel. 

  We had a lovely Thanksgiving despite our initial ambivalence. The day started at 2 and ended at midnight after a long meal, dessert and a walk to visit friends and more dessert and cheese and bubbly. All was perfectly as it should be, except for my insanity of trying to cook Thanksgiving and shoot at the same time.


Below are few highlights from dinner. 

I am not posting any recipes here just yet. I will get on it soon.


It goes without saying that we all have a lot to be thankful for this year. I can not get my mind off all those that have lost homes or family. It will be important in the next few months to keep on with the volunteer work and donations to those in need.

xx


Menu

Vermont Heritage Turkey with Wild Mushroom and Pecorino Stuffing

Cast iron Brussel Sprouts with Pan Fried Procuitto

Roasted Radishes with Juniper Sea Salt

Roasted Jerusalem Artichokes

Mashed Potatoes and Gravy

Roasted Blue Pearl mushrooms with Olive Oil and Thyme

Butter Leaf Lettuces with a Concord Grape Shrub Vinagrette

Dragon Carrot Puree

Heirloom Cranberry with Maple And Shaved Ginger

Blushing Apple Pie

Pumpkin Pie


Objet for the table.


The basics.


The cheese course.


For the Blushing Apple Pie.


Heirloom Cranberry With Maple And Ginger. 


Cast iron Brussel sprouts with pancetta.


The bird. From Vermont's Tamarack Hollow Farm .


 The bird. From Vermont's Tamarack Hollow Farm 


What remains. But not for long.


Tuesday
Jul312012

where the wild things are. no. 20. pick a peck of pickled milkweed. 

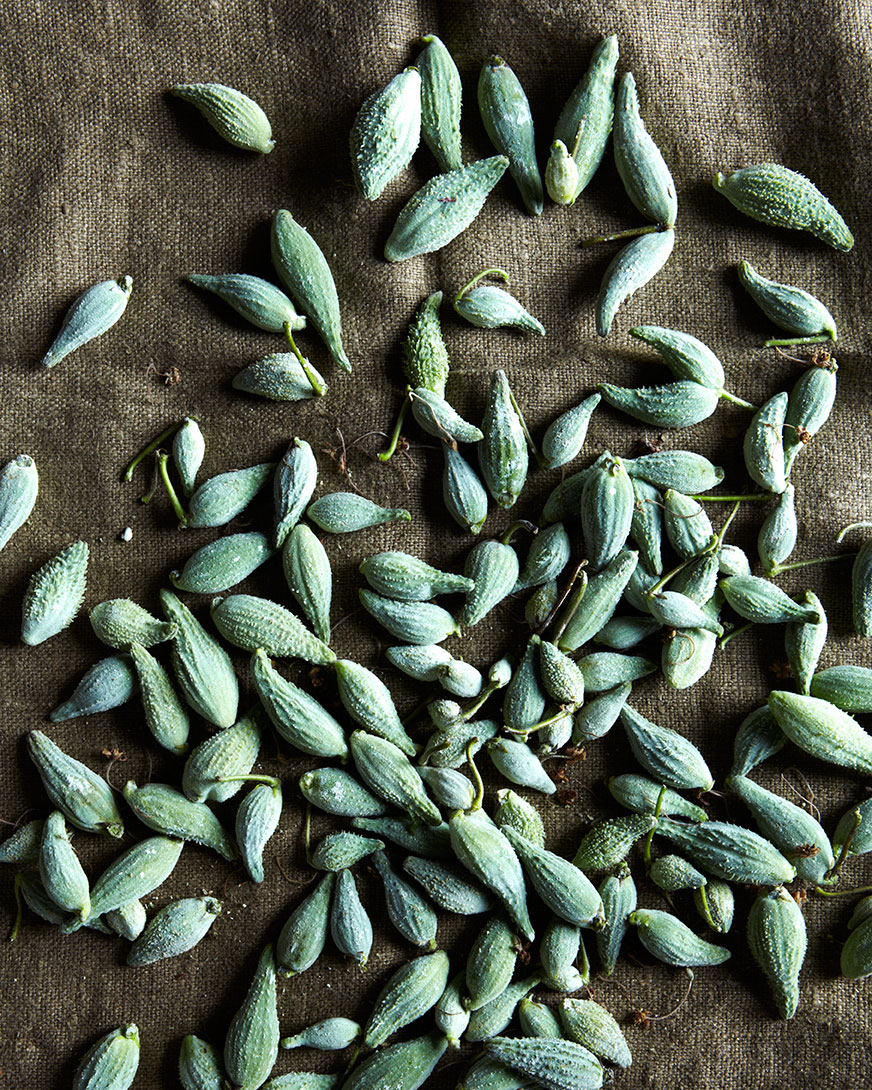
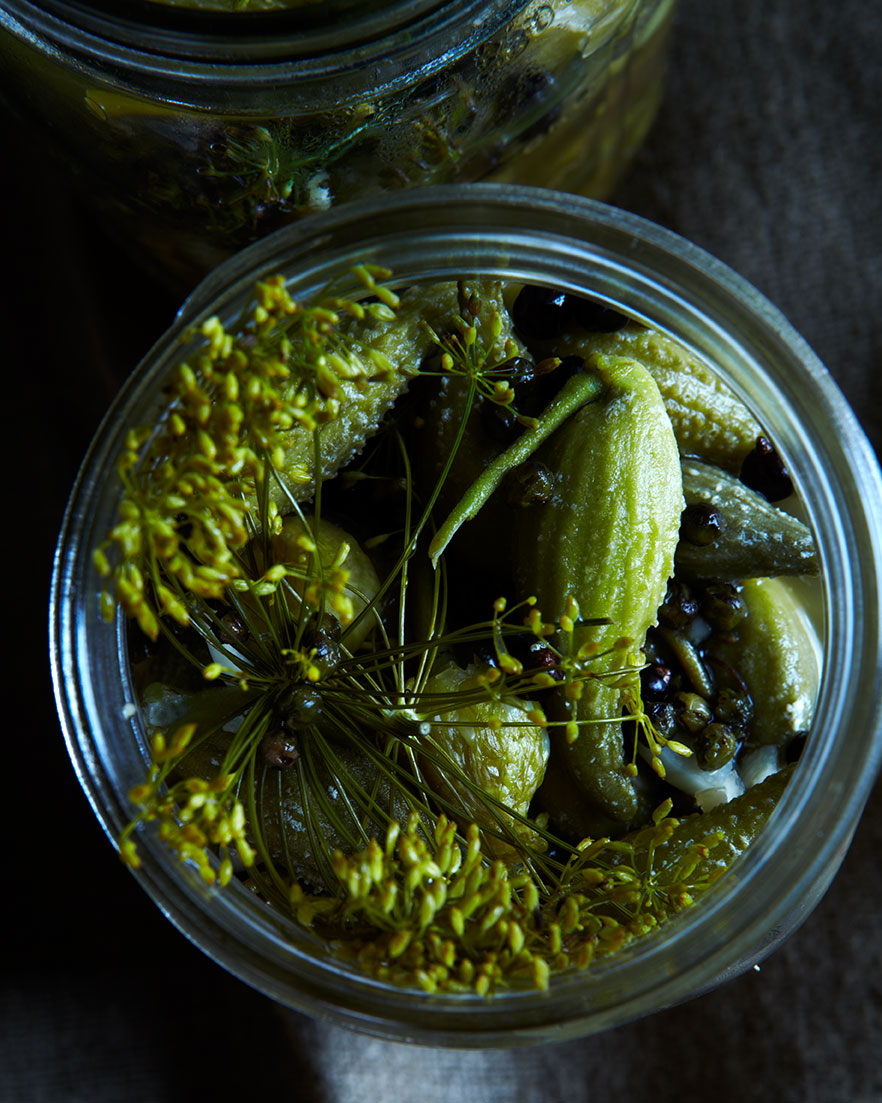
I have gone a little mad for milkweed this summer! You could have knocked me over when I first learned that it was edible. I have always known that Monarchs are dependent on milkweed for survival but I was dubious about eating it but no more, I am now a total convert. I have made milkweed frittata, a tempura of the blossoms and buds and now i have come to the pickled milkweed pods! They taste a bit like pickled ochre  and have a caperberry like texture. Do not worry, you will not end up like Sylvester with a mouthful of fluff! The tiny pods get pickled when they are between one to two inches long and the fluff inside the pod is not really fully fluff yet. I have tried these out on friends and family and the consensus seems to be that they are surprisingly good.


So grab some milkweed pods before they get too big and get pickling.


 Pickled Milk Weed Pods


4 cups of milkweed buds (between 1-2 inches in size) 

5 cups raw apple cider vinegar

1/4-cup sugar in the raw

2 sprigs of fresh dill flower

1-tablespoon whole juniper berries

1/2 teaspoon crushed juniper berries (crush them with a mortar and pestle)

1 tablespoon of black pepper corns

3 tablespoons grey sea salt


 To Make The Brine:

Add the spices and sugar to the 5 cups of vinegar

Heat to a boil in a non-reactive pot

Turn off and allow steeping for 20 minutes for the spices to infuse

In the mean time, clean and wash and de-stem the milkweed pods 


Blanch the milkweed pods for 30 seconds and then plunge them into an ice bath

Place the blanched milkweed pods in two 4-cup sterilized mason or Weck jars.

After the brine has infused for 20 minutes or so, return it to the heat and bring it to a quick boil and turn off.

Remove the brine from the heat and slowly pour it over the milkweed pods.

The pickled milkweed pods will last a couple of weeks in your refrigerator.


Tuesday
Jun262012

sweet and sour cherry jam.

Sweet and sour cherries are at their peak at the Green Market and sour cherry jam just happens to be the perfect partner to my toast addicton.

I love toast, it is the perfect comfort food. Maybe I love it becuase it reminds me of being a kid or perhaps I love it because it was one of the very first things I made on my own, burnt edges and all. Toast is about  crunch and good bread but delicious butter and jam are right up there in that equation. Last weekend I put up six jars of sweet and sour cherry jam. This might not seem like much but on a cold winter morning, that trio can bring me right back to summer. I have had moderate success with sour cherry jam in the past. When making jam, I sometimes err on the less is more side of the sugar bowl. Sour cherries are super low in pectin so getting it to "set" can be a bit of a challenge, especially when it is sugar deficient!. I was happy to stumble across David Lebovitz's no recipe cherry jam! That is just my style as I am a girl who often wings it in the kitchen. I am all about a no recipe recipe. This one was super easy AND successful! Now I have a little bit summer set aside for that toast on snowy days or maybe I will just eat all six jars before the first leaf falls. x


Taken from David Lebovitz's site Living The Sweet Life In Paris

below text David Lebovitz


1. Buy as many cherries as you feel like pitting.

Usually I have the patience for about 3 pounds, but it’s up to you. Figure one pound of cherries will make one good-sized jar of jam. Plump, dark Bing cherries work really well, although Burlats are good, and if you can find sour cherries, your jam will rock.

2. Wear something red. Rinse the cherries and remove the stems. Using the handy cherry pitter that I told you to buy a few weeks ago, pit the cherries. Make sure to remove all the pits. Chop about 3/4ths of them into smaller pieces, but not too small. Leave some cherries whole so people can see later on how hard you worked pitting real cherries. If you leave too many whole ones, they’ll tumble off your toast.

3. Cook the cherries in a large non-reactive stockpot. It should be pretty big since the juices bubble up. Add the zest and juice of one or two fresh lemons. Lemon juice adds pectin as well as acidity, and will help the jam gel later on.

4. Cook the cherries, stirring once in a while with a heatproof spatula, until they’re wilted and completely soft, which may take about 20 minutes, depending on how much heat you give them. Aren’t they beautiful, all juicy and red?

5. Once they’re cooked, measure out how many cherries you have (including the juice.) Use 3/4 of the amount of sugar. For example if you have 4 cups of cooked cherry matter, add 3 cups of sugar. It may seem like a lot, but that amount of sugar is necessary to keep the jam from spoilage.

6. Stir the sugar and the cherries in the pot and cook over moderate-to-high heat. The best jam is cooked quickly. While it’s cooking, put a small white plate in the freezer. Remain vigilant and stir the fruit often with a heatproof utensil. (Wouldn’t it be a shame to burn it at this point?) Scrape the bottom of the pot as you stir as well.

7. Once the bubbles subside and the jam appears a bit thick and looks like it is beginning to gel, (it will coat the spatula in a clear, thick-ish, jelly-like layer, but not too thick) turn off the heat and put a small amount of jam on the frozen plate and return to the freezer. After a few minutes, when you nudge it if it wrinkles, it’s done.