Entries in wildcrafting (11)

Sunday
May192013

where the wild things are. ramp bloody mary.


It has been one of those weeks. I am really looking forward to chilling inside today on this rainy rainy Sunday.

My bed and a good book is calling me. Today is kind of perfect for this spicy Ramp Bloody Mary. You might want to brew up a batch of this ramp infused vodka while you can still get your hands on some ramps. It is super easy and great way to have ramps throughout the year, that is if you don’t get too addicted and drink it all too fast!

Take a fifth of good vodka. 

Pour it into a large mason jar (I used a Le Parfait Super)

Trim and clean between fifteen and twenty ramps. 

Remove the greens to use for something else.

Place the ramp bulbs and stems in the vodka and store in your fridge from 3 months to one year.

I left mine for a year but after three months they were fairly infused. It is up to you how long you leave them.

Mine started to break down after one year and I eventually strained them out.

Infusing can happen rather quickly but I tend to push it's limits. Check the vodka from time to time to see when you like the taste of it best.


This Bloody Mary is rather spicy and full of horseradish. I like it that way but you can obviously tweak the spices to your liking.

I add crushed juniper to mine as well to give it a woodsy piney taste.

Enjoy!!


 Bloody Ramp


In a an extra large Mason Jar Mix:

3 ounces vodka ramp vodka

10 ounces tomato juice 

Juice of 1 lemon

1 teaspoon Worcestershire sauce

4 drops Tabasco sauce

1/4 teaspoon coarse black pepper

1/4 teaspoon sea salt

1/4 teaspoon homemade celery salt

3 tablespoon fresh grated horseradish 

Shake and Chill the bloody Mary mix

When The Bloody Mary mixture is good and cold; Rim the glass with homemade celery salt

Pour the mixture over crushed ice and serve

Serves two.


Garnish with pickled ramps or a crisp celery stalk.


See this post from last year for Juniper Pickled Ramps.


Celery Salt

10 fresh green celery leaves

1/4 cup sea salt. I like grey.

Combine the sea salt and the Celery leaves in a mortar and pestle and blend together until you have a fine green salt.

It may be a little wet.

You can set it out on a baking sheet to dry and then store it in airtight jar in a darkened place like a pantry or stick the jar in the freezer to store it.

The green color will slowly fade over time.


Saturday
Apr132013

where the wild things are. salted and pickled cherry blossoms

The bright weather this past week, though a bit cold, has really making me think spring! Pretty soon the West Village will be flush with blossoming Magnolias and Quince and Cheery blossoms. It is one of my favorite times of the year in New York and always reminds me of home. 

For me the seasons have always been marked by the comings and goings of botanicals. It is a little harder to notice these changes in New York unless you have a back yard or a country escape. To get your fix, you can visit the Green Market or make time to visit the Botanical Garden, which is just spectacular in the early spring and summer. You can also set out to explore one of New York's beautiful tree lines streets like many in the West Village or Brooklyn.


Recently, I needed salted cherry blossoms for a shoot and when the Internet came up empty (you can order them fro Japan but it would have taken too long) I have to admit I had never heard of them! I turned to Heidi Johansen from Bellocq Tea Atelier. I knew that if any one had a stash of salted blossoms it would be her!! Heidi is kind of magical and she produced these mysterious salty pink flowers of nowhere!

Now that the season is upon us, I have decided to create my own stash.


Sakura tea, or salted cherry blossom tea is often served at weddings or other auspicious events in Japan. It has a delicate salty and sweet flavor. It is fragrant and woody. The saltiness obviously comes from the salt but the sweetness is imparted through the flowers natural flavor and additional soaking in Plum vinegar.

Salted Cherry Blossoms 

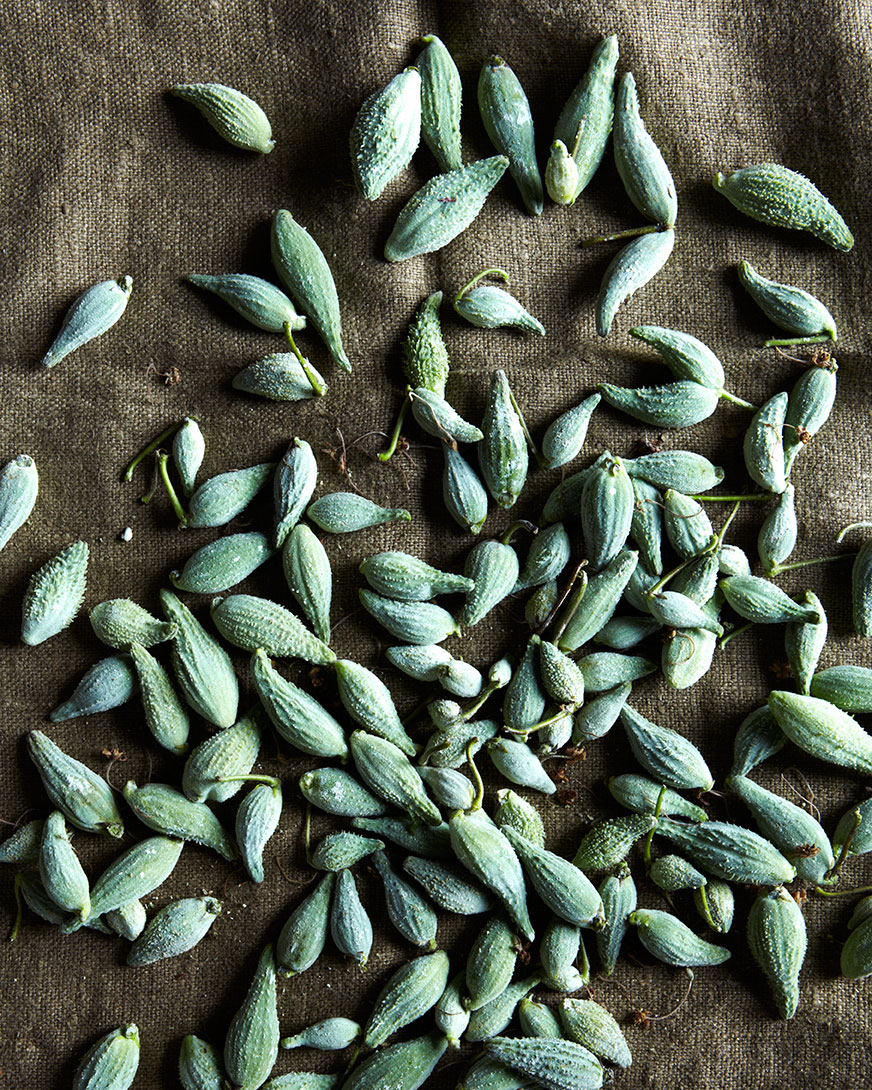
2 cups of fresh cherry blossoms.

IF you have a  cherry tree in your yard you can pick from there or you may be able to pick up some branches from your local farmers market but be sure to ask if they are natural and pesticide free. You will want to pick them before they are full bloom when they are buds to a little more than half bloom. 

6 tablespoons of Japanese pickling salt

6 tablespoons of Plum vinegar

Wash the blossoms and set on a paper towel or kitchen cloth to dry. Gently pat until all the water is removed from the blossoms.

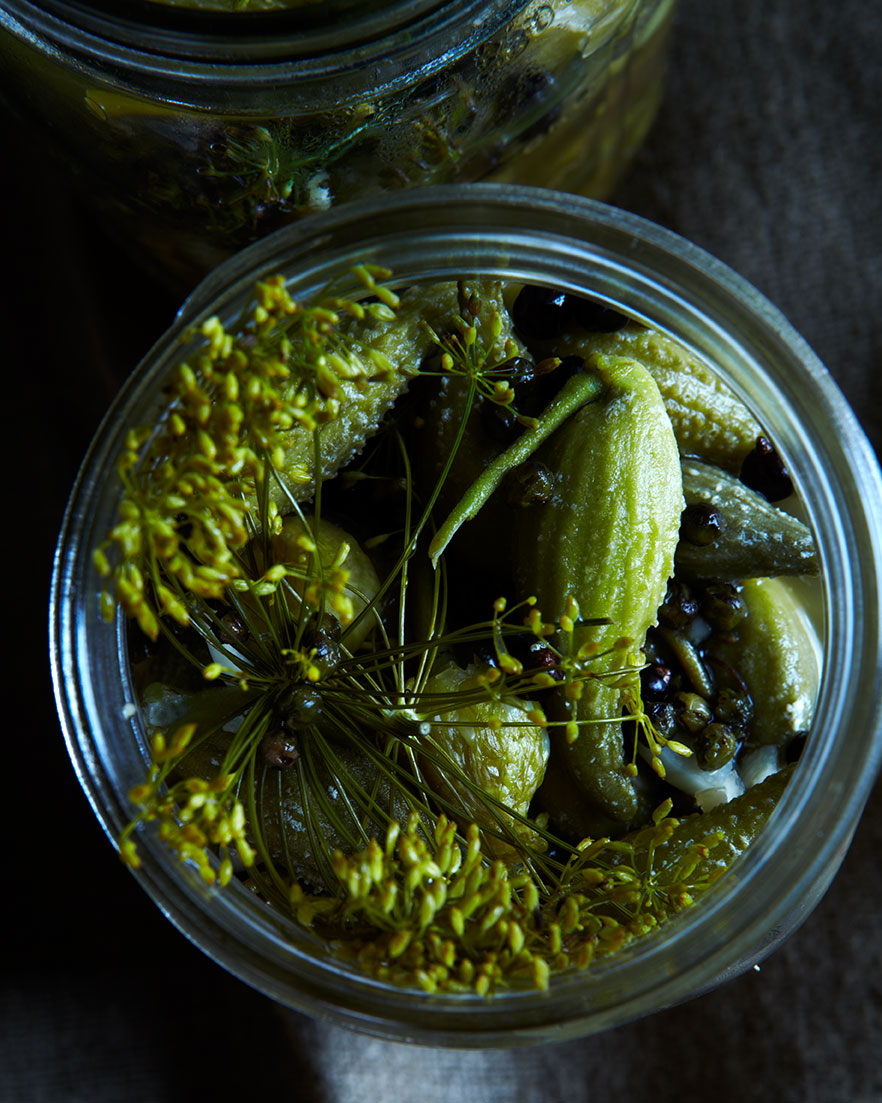
Place in a pickling croc or a shallow terra cotta croc.

Place a plate or a lid on top of the flowers. You will want this lid to fit nicely in your vessel. (I used a plate)   Then weigh it down with a weight of some sort. I used a river stone. You can buy a fermentation croc or you can use a vessel that you already have and weigh it down with a homemade weight.

Leave it in the fridge for two days. The salt and the pressure of the weight will force any liquid from the blossoms. 

After two days remove them from the fridge and drain off any excess liquid. My blossoms did not express much liquid.

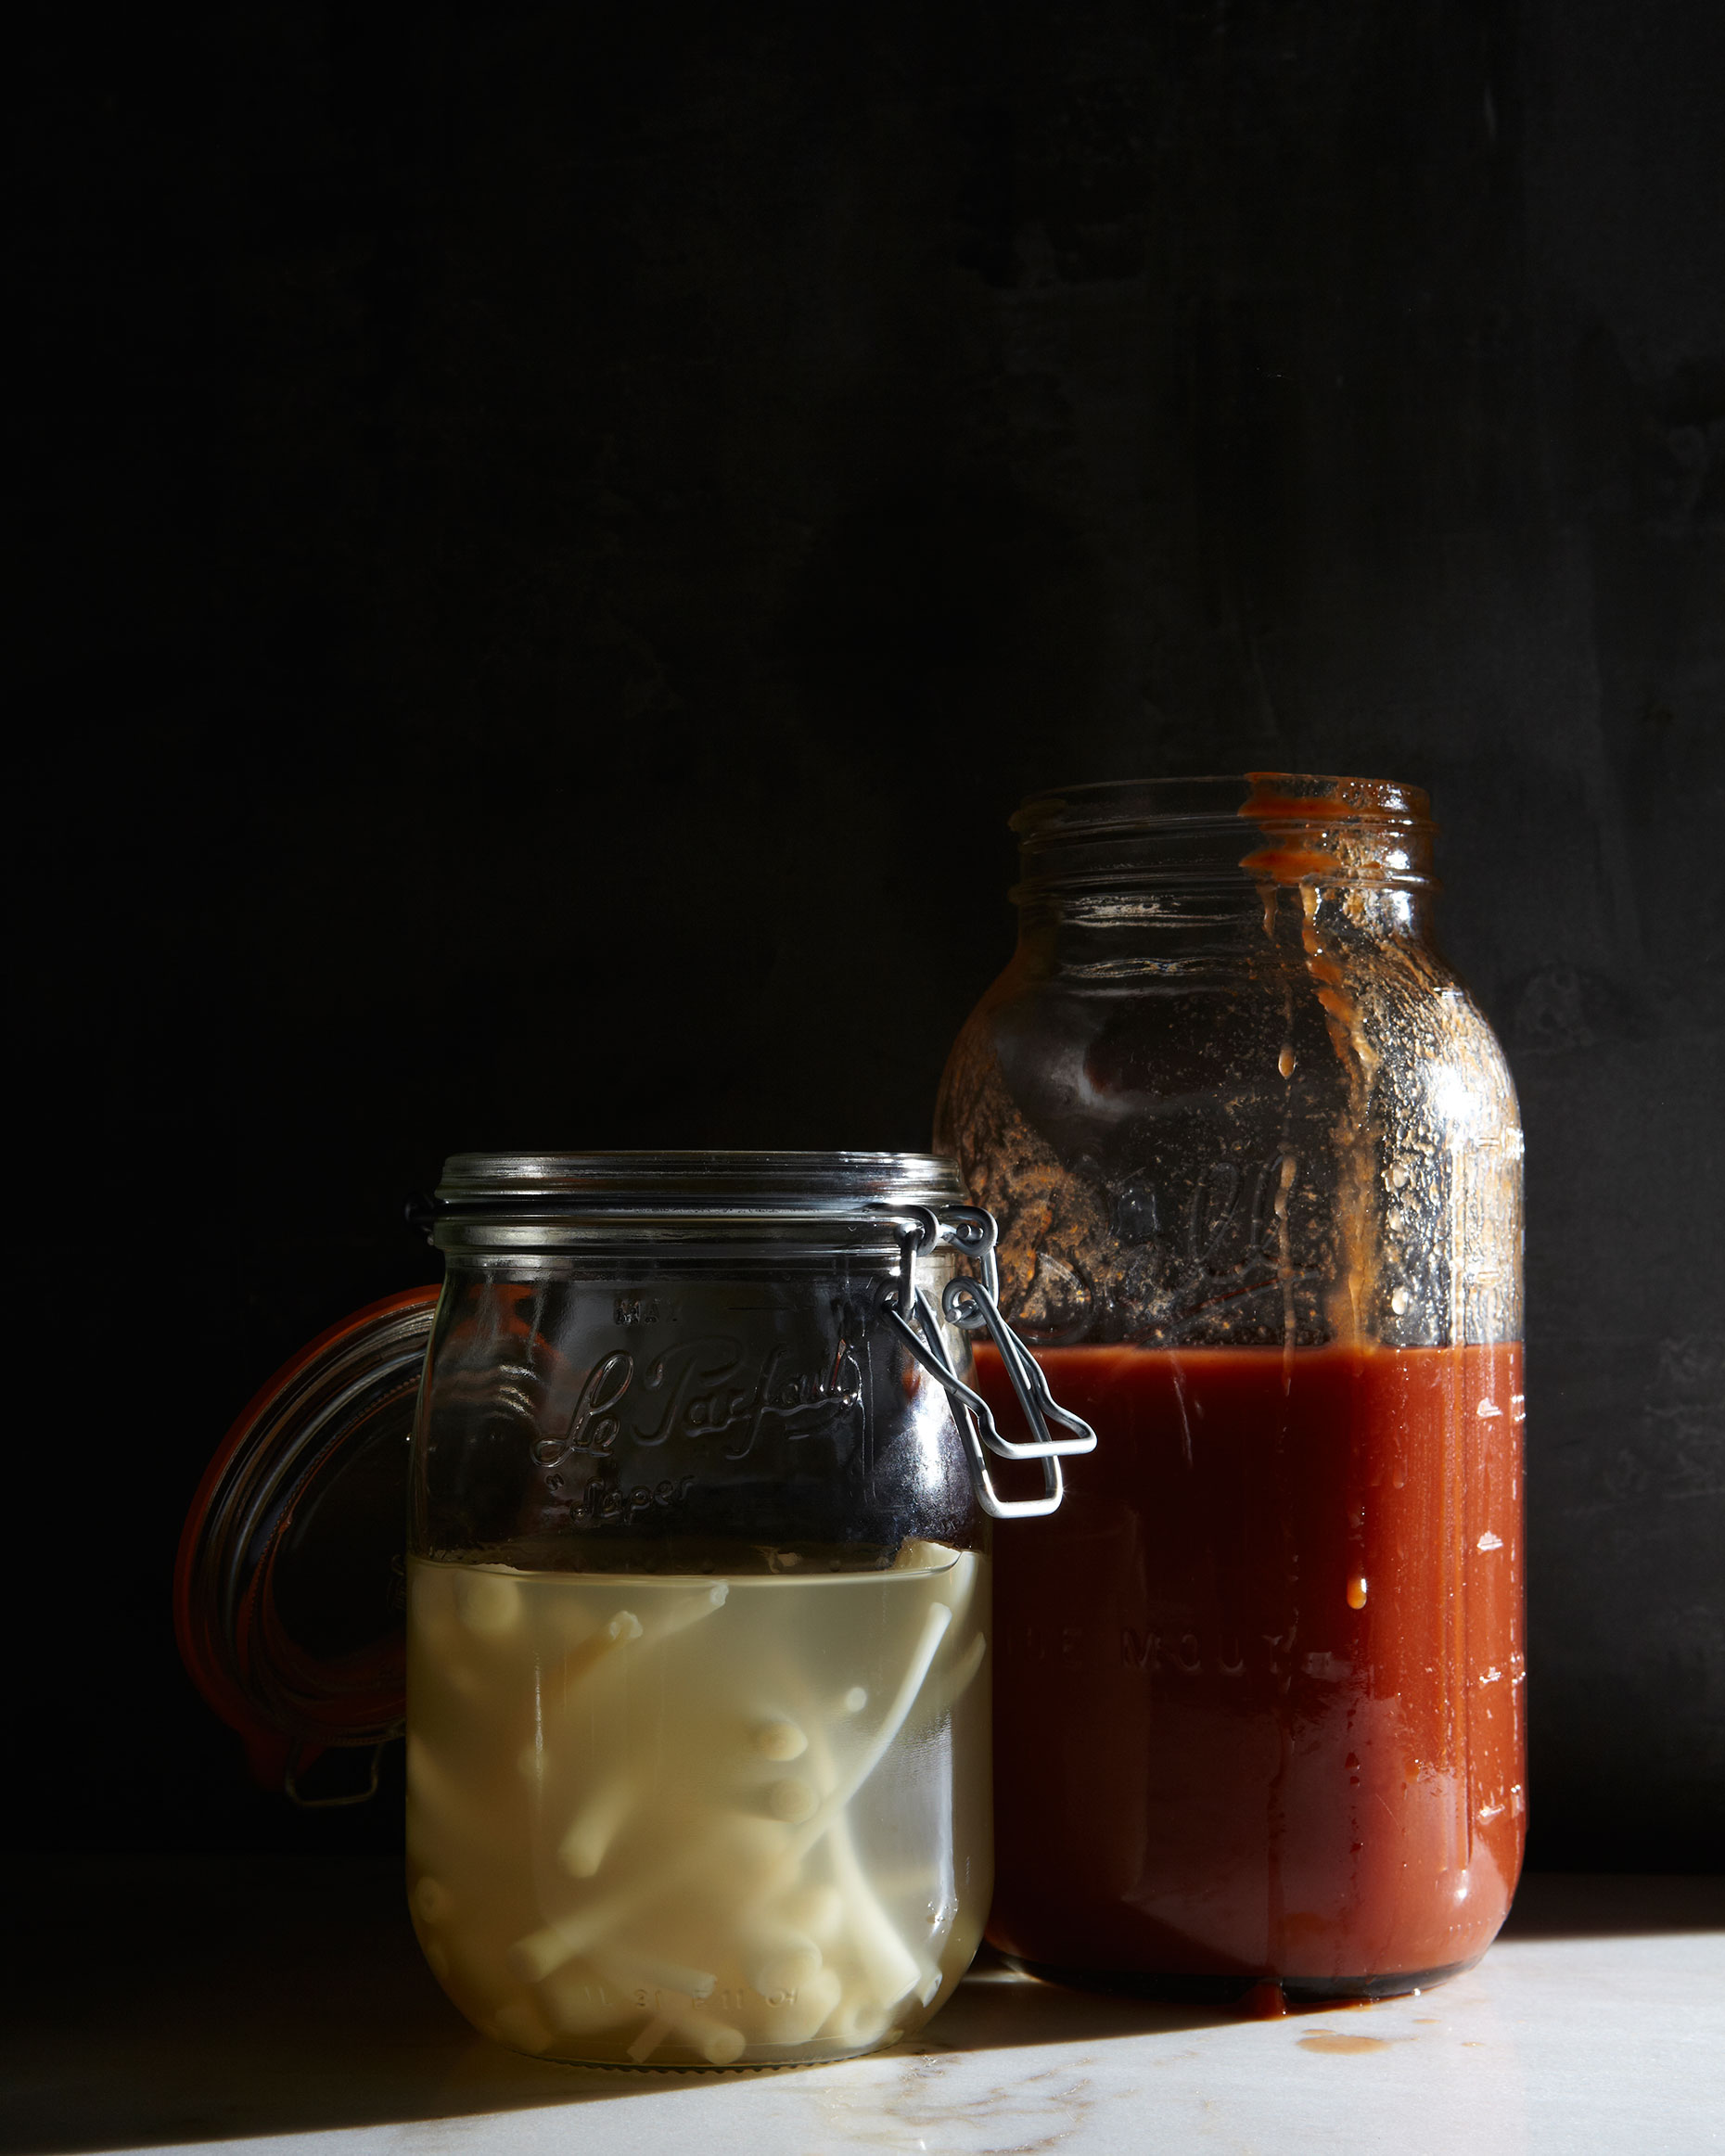
 After draining any excess liquid. Place the blossoms in a glass bowl and add the Plum vinegar.

 Cover  and Refrigerate for another three days.

After three days strain the flowers through a sieve to remove any vinegar. Spread them out on a baking sheet covered in parchment.

Sprinkle thoroughly with pickling salt and set on your counter in the sun to dry or outside in a protected spot.

Allow drying for two or three days.

When the flowers are completely dry they are done. they will discolor a bit.

Store in a glass jar and cover tightly. They are preserved will last indefinitely.


Finally you can enjoy a cup of Sakura tea!

Boil some water and drop three or four petals in your teapot.

Don't be shocked! It is salty! It is an acquired taste!


Sakura Rice.

Rinse a handful of blossoms to remove excess salt.

Add to your rice in a rice cooker or on the stove. The blossoms will impart a lovely pink color to your rice.


 Here are some more ideas on what to do with salted cherry blossoms.

Below is a recipe from T Magazine


Salted Cherry Blossoms Adapted From Uni Sashimi Bar

2 cups rice vinegar
¼ cup sugar
½ teaspoon kosher salt
1-inch piece fresh ginger, smashed
1 umeboshi plum (available at Japanese markets or health-food stores)
½ teaspoon grenadine syrup
8 ounces cherry blossoms, or other edible blossoms.

1. Combine all ingredients except the cherry blossoms in a medium saucepan and bring to a boil over medium heat, stirring to dissolve the sugar.

2. Put the cherry blossoms in a heat-resistant container and pour the just-boiled liquid over them; stir gently to submerge the flowers completely in the liquid. Cool, cover tightly and keep in the refrigerator for at least three days before serving. The pickled blossoms will keep several weeks in the refrigerator. Makes about 1 cup.


Some other ideas..

Chop afew of the blossoms up extra finely and use as a special salt.

I am also thinking Salted Cherry Blossom shortbread?

Need to experiment with this one. 


This beautiful tea pot and cups from Jessica Niello at The Perish Trust

Monday
Apr082013

currently obsessed.


It is no secret that I have been obsessed with Juniper Ridge products for the last few years. I always include them in my end of year gift guide. I am crazy about their large sage smudge sticks. We do a lot of smudging in this house! Recently, I brought their Big Sur Trail Soap with me on my trip out West. It smells like a thick pine forest. I have been using it obsessively since coming back. I love how a fragrance can tie you to a particular place and time. Scents have such strong ties to memory. If you are not familiar with their products you should check them out. You can pick up the Trail Crew soap at Warm at 181 Mott Street in NYC or online at Juniper Ridge. It comes in a variety of scents and in both a liquid and a solid.


Saturday
Nov242012

where the wild things are. the blue pearl.


One afternoon, a couple years ago, around a tiny fire outside their farmhouse in Southern Vermont, Les Hook and Nova Kim cooked up some wild mushrooms we had gathered that morning nearby. In a  large cast iron pan, they seasoned them with nothing more than a little butter or olive oil and some salt and pepper. It had just begun to snow steadily when we set out to gather. Large fat flakes  floated around us amd landed on our eyelashes.Les pulled over in his red Subaru, flashers glowing in the wild flurry of white. He deftly put up a twenty-foot ladder against a slippery maple tree and quickly climbed up. He pulled of the biggest Blue Pearl Oyster Mushrooms I have ever seen off that tree. We drove back to their place and lit the fire. It was then that Nova told us about her non-turkey, perfect for vegetarians on turkey day or for any feast any time of the year for that matter. You must start with a large fan of a mushroom, as you can see from the photo it kind of sweetly resembles a turkey's tail! Though I have roasted many a mushroom from them, it took me two years to get to this post. I asked Nova to save me a large Blue Pearl that I would pick up from the New Amsterdam Market. Luckily my snail mail reached her in time and I was able to get a beauty from them the Saturday before Thanksgiving. I kept in a paper bag on my fire escape until cooking day. Now I know I have sung their praises before but people, if you have not been to the market on a day when they are there then you are SERIOUSLY missing out. If you are interested in finding out when The Vermont Wild Food Gatherer's Guild will be in town go to The New Amsterdam Market website and check the vendor and calendar listings! They always have something special and if you have never been to the market then what are you waiting for? It is every Sunday from 11-4pm.

Back to the mushrooms...

The mushroom I got from Les and Nova was held together by a stretch of bark. I left the piece of bark on the mushroom while I roasted it.

I brushed the mushroom with a generous amount of olive oil and sprinkled it with French sea salt cracked black pepper and thyme.

I put in my largest Cast iron pan...this was a BIG mushroom 14 inches across at least. I threw it in the oven at 350 degrees for a slow roast and when it started to brown at the edges I put about a 1/4 cup of water in the pan and covered it with tin foil to add a little more moisture. Mushrooms are essentially like sponges so they soak up all that moisture. I may not have needed to do this if I had roasted it right away but since I had waited a few days I thought it might help to add the additional moisture.. I took the tin foil off for the last five minutes or so of cooking. I can't give you a specific cooking time because it depends on how big or small the mushrooms are that you are roasting. So use your intuition. You want it to be moist and almost meaty when you slice it.

We loved this so much that we could almost forego the turkey next year and just eat this!

It was really good with gravy... 


Thank you Nova for this brilliant idea!


Roasted Wild Blue Pearl Mushroom Tail

Set your oven to 350 degrees 


1 large Blue Pearl Mushroom fan approx 12-14 inches in length

1/4- 1/2 cup olive oil brushed and drizzled on the mushroom

Seas salt to taste

Cracked black pepper to taste

Sprigs of Fresh Thyme

Gently brush any dirt or debris off the mushroom with a small mushroom brush or a small pastry brush

Place the mushroom upright in a large roasting pan or cast iron skillet

Brush and drizzle with olive oil. Mushrooms really soak it up so be generous with your application.

Sprinkle with sea salt and cracked black pepper

Add some fresh thyme leaves and a sprig or two for looks


Place in the preheated oven and roast for 15-20 minutes depending on the size of our mushroom.

Put about a 1/4 to 1/2 cup of water in the pan and cover with tin foil

When the water is all evaporated the mushroom will be done. 

Uncover for the last five minutes or so.

The mushroom should be moist and easy to slice along the grain.


Cooking time really depends on the mushroom size so keep and eye on it!@ You don’t want it to be too tough!!!


As always, a word of caution where wild mushrooms are concerned. Leave the gathering to an expert!!


Tuesday
Jul312012

where the wild things are. no. 20. pick a peck of pickled milkweed. 

I have gone a little mad for milkweed this summer! You could have knocked me over when I first learned that it was edible. I have always known that Monarchs are dependent on milkweed for survival but I was dubious about eating it but no more, I am now a total convert. I have made milkweed frittata, a tempura of the blossoms and buds and now i have come to the pickled milkweed pods! They taste a bit like pickled ochre  and have a caperberry like texture. Do not worry, you will not end up like Sylvester with a mouthful of fluff! The tiny pods get pickled when they are between one to two inches long and the fluff inside the pod is not really fully fluff yet. I have tried these out on friends and family and the consensus seems to be that they are surprisingly good.


So grab some milkweed pods before they get too big and get pickling.


 Pickled Milk Weed Pods


4 cups of milkweed buds (between 1-2 inches in size) 

5 cups raw apple cider vinegar

1/4-cup sugar in the raw

2 sprigs of fresh dill flower

1-tablespoon whole juniper berries

1/2 teaspoon crushed juniper berries (crush them with a mortar and pestle)

1 tablespoon of black pepper corns

3 tablespoons grey sea salt


 To Make The Brine:

Add the spices and sugar to the 5 cups of vinegar

Heat to a boil in a non-reactive pot

Turn off and allow steeping for 20 minutes for the spices to infuse

In the mean time, clean and wash and de-stem the milkweed pods 


Blanch the milkweed pods for 30 seconds and then plunge them into an ice bath

Place the blanched milkweed pods in two 4-cup sterilized mason or Weck jars.

After the brine has infused for 20 minutes or so, return it to the heat and bring it to a quick boil and turn off.

Remove the brine from the heat and slowly pour it over the milkweed pods.

The pickled milkweed pods will last a couple of weeks in your refrigerator.