Entries in ramps (4)

Sunday
May192013

where the wild things are. ramp bloody mary.


It has been one of those weeks. I am really looking forward to chilling inside today on this rainy rainy Sunday.

My bed and a good book is calling me. Today is kind of perfect for this spicy Ramp Bloody Mary. You might want to brew up a batch of this ramp infused vodka while you can still get your hands on some ramps. It is super easy and great way to have ramps throughout the year, that is if you don’t get too addicted and drink it all too fast!

Take a fifth of good vodka. 

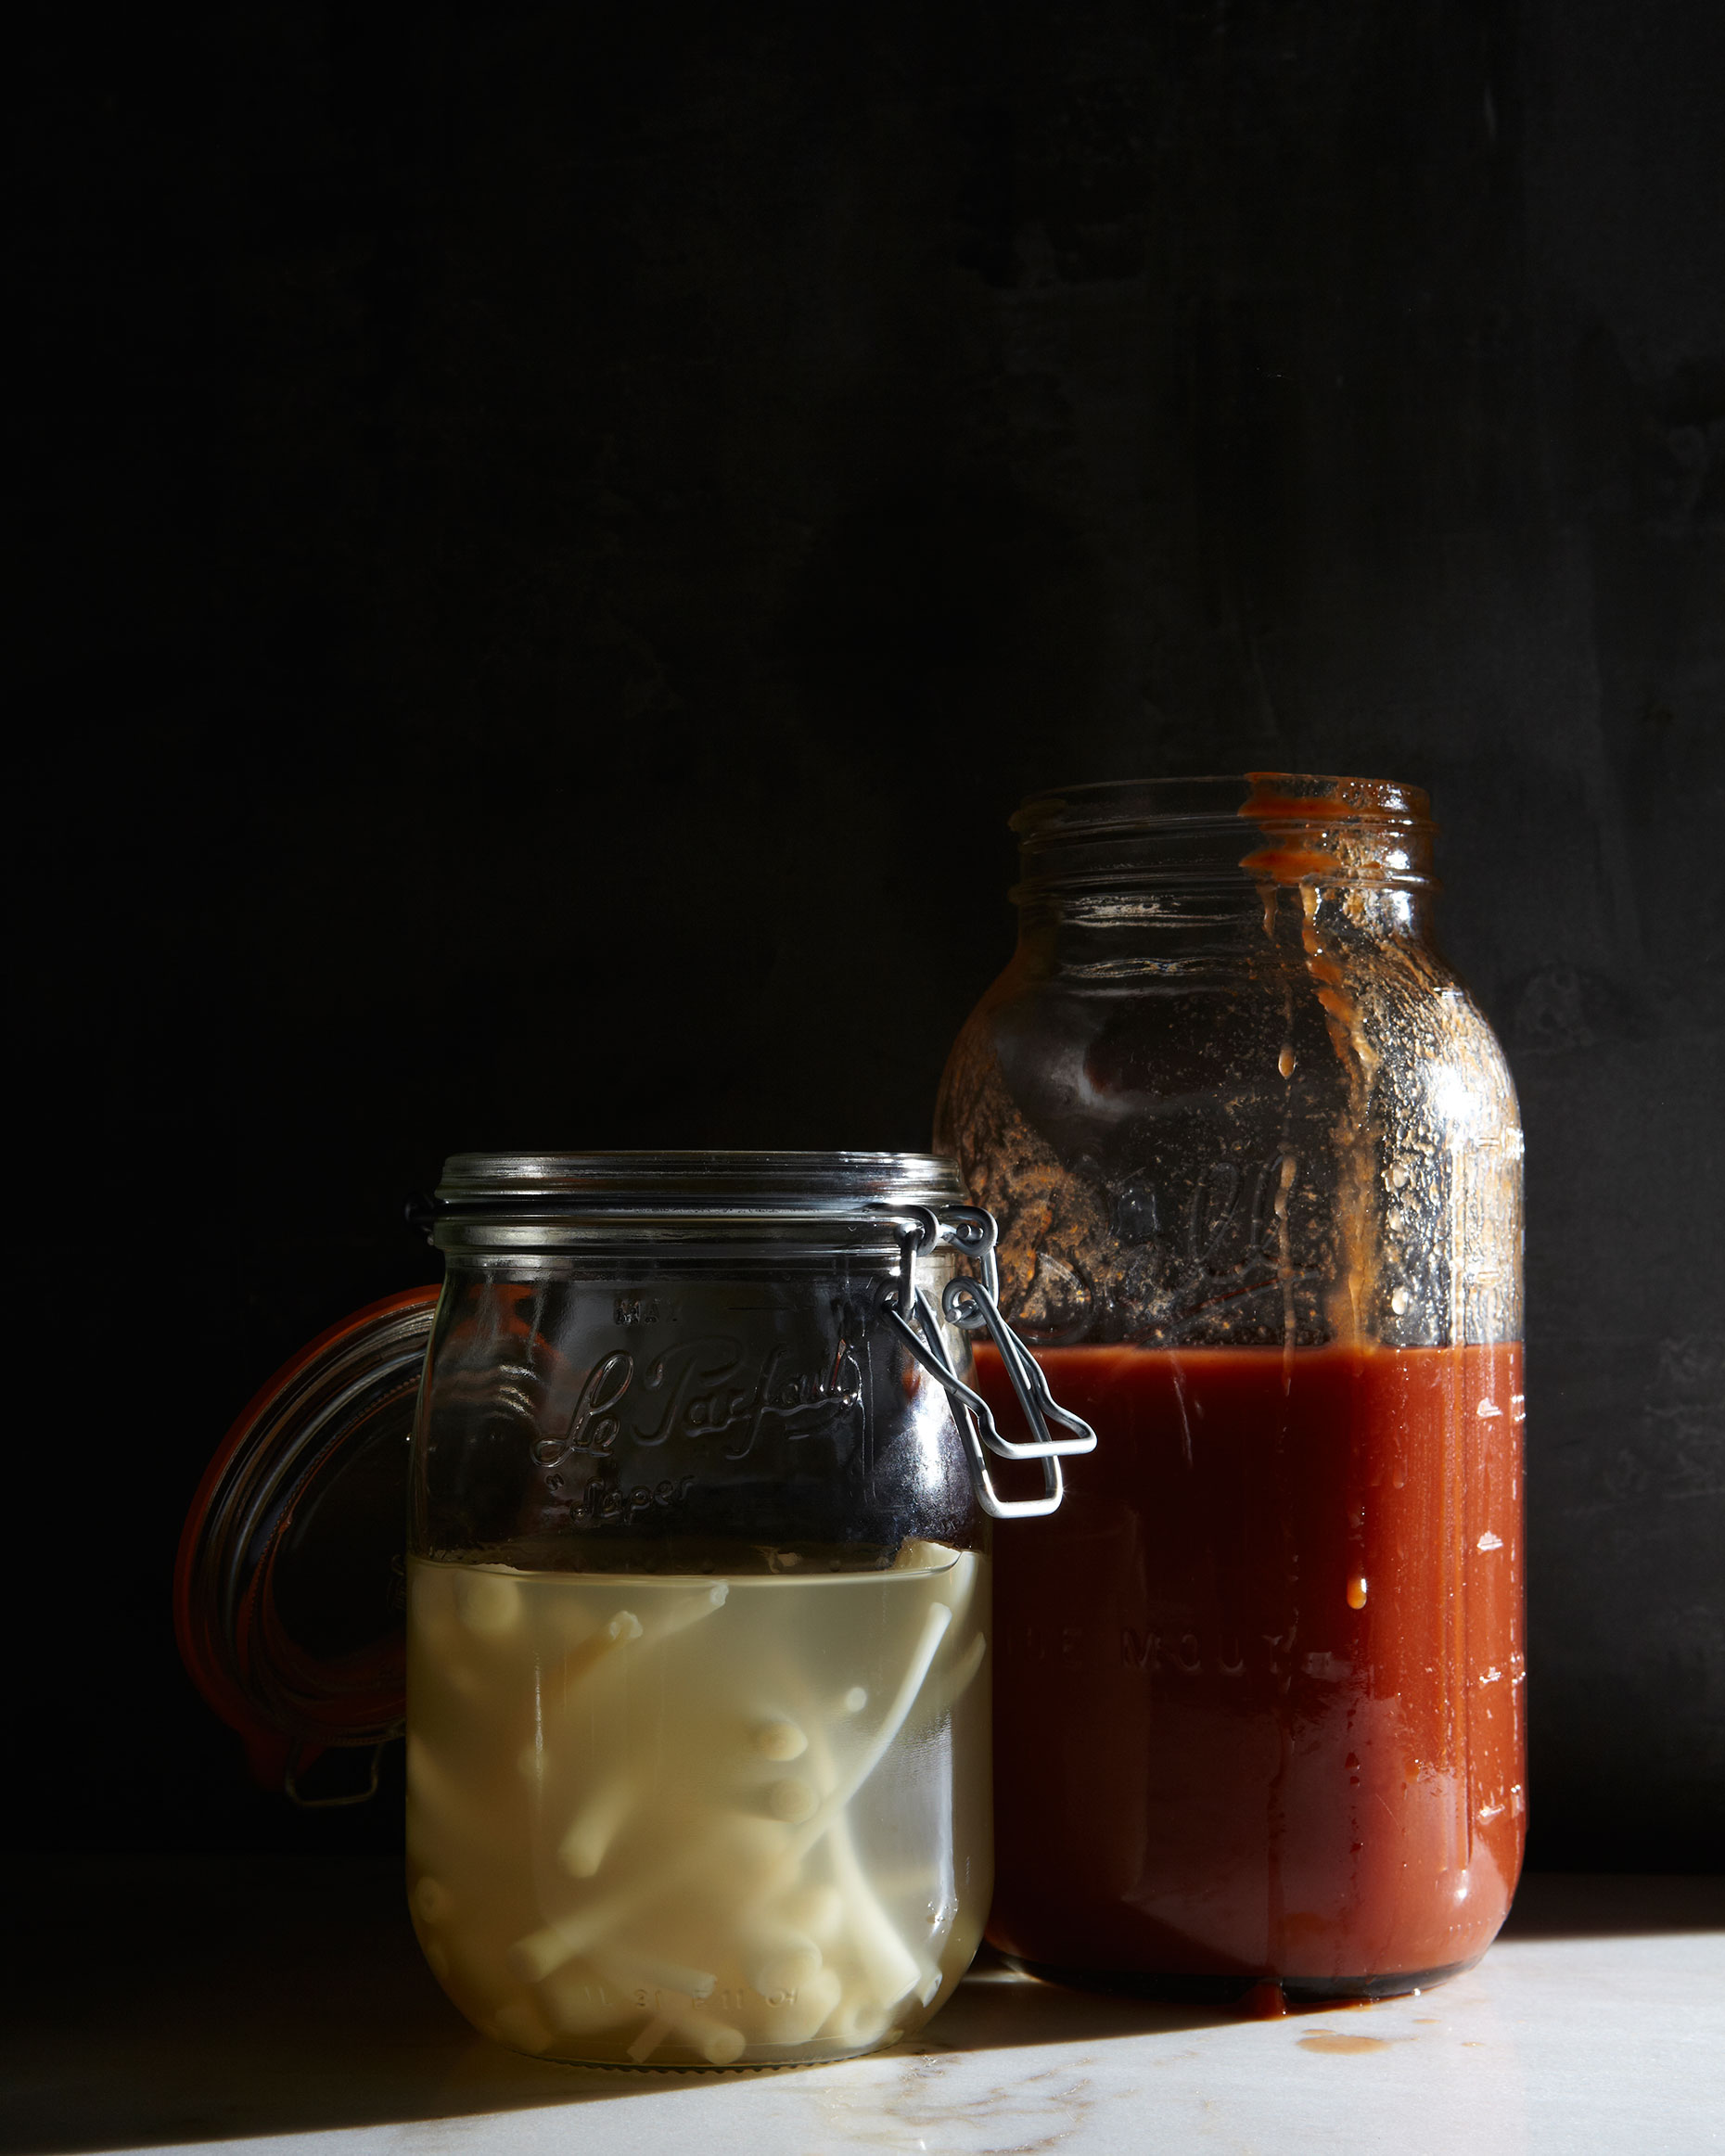
Pour it into a large mason jar (I used a Le Parfait Super)

Trim and clean between fifteen and twenty ramps. 

Remove the greens to use for something else.

Place the ramp bulbs and stems in the vodka and store in your fridge from 3 months to one year.

I left mine for a year but after three months they were fairly infused. It is up to you how long you leave them.

Mine started to break down after one year and I eventually strained them out.

Infusing can happen rather quickly but I tend to push it's limits. Check the vodka from time to time to see when you like the taste of it best.


This Bloody Mary is rather spicy and full of horseradish. I like it that way but you can obviously tweak the spices to your liking.

I add crushed juniper to mine as well to give it a woodsy piney taste.

Enjoy!!


 Bloody Ramp


In a an extra large Mason Jar Mix:

3 ounces vodka ramp vodka

10 ounces tomato juice 

Juice of 1 lemon

1 teaspoon Worcestershire sauce

4 drops Tabasco sauce

1/4 teaspoon coarse black pepper

1/4 teaspoon sea salt

1/4 teaspoon homemade celery salt

3 tablespoon fresh grated horseradish 

Shake and Chill the bloody Mary mix

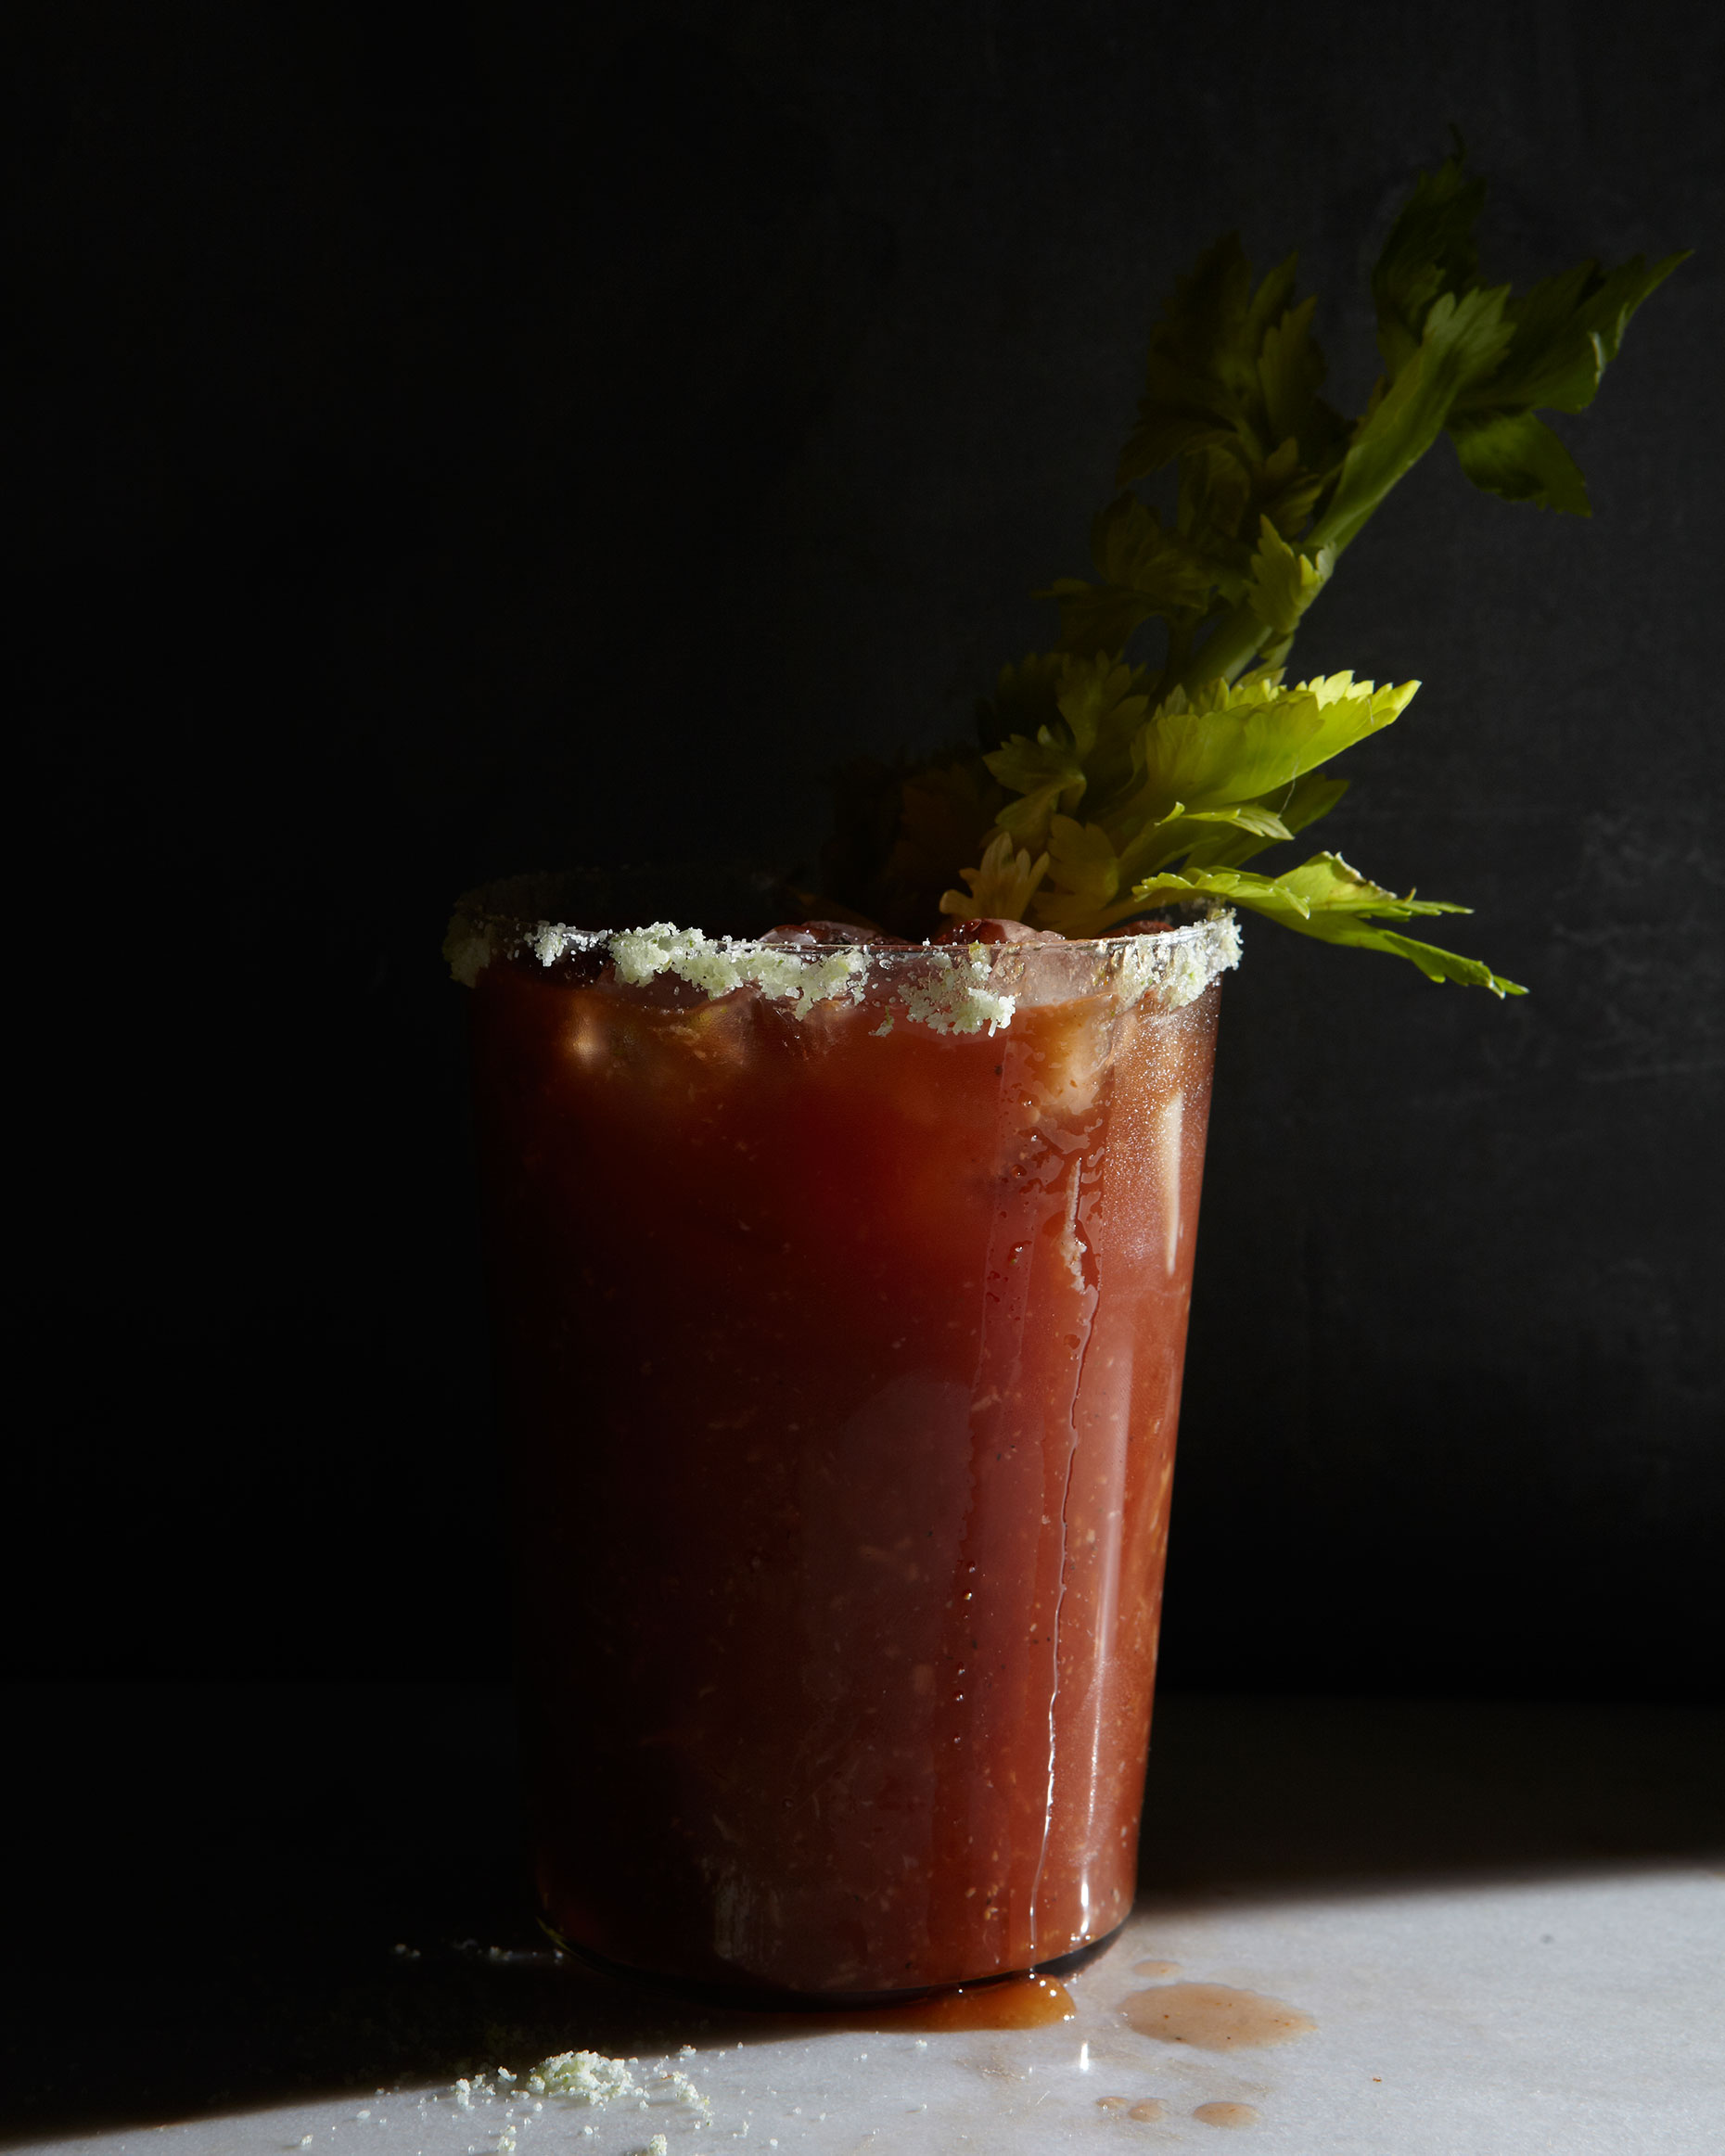
When The Bloody Mary mixture is good and cold; Rim the glass with homemade celery salt

Pour the mixture over crushed ice and serve

Serves two.


Garnish with pickled ramps or a crisp celery stalk.


See this post from last year for Juniper Pickled Ramps.


Celery Salt

10 fresh green celery leaves

1/4 cup sea salt. I like grey.

Combine the sea salt and the Celery leaves in a mortar and pestle and blend together until you have a fine green salt.

It may be a little wet.

You can set it out on a baking sheet to dry and then store it in airtight jar in a darkened place like a pantry or stick the jar in the freezer to store it.

The green color will slowly fade over time.


Tuesday
May142013

where the wild things are. ramp and nettle butter.

Looking back at my ramp posts from last year, I realized that I never posted a recipe for nettle and ramp butter. I posted the photos but not the recipe.

http://www.hungryghostfoodandtravel.com/new/2012/4/5/where-the-wild-things-are-no-14-nettle-and-ramp-butter.html


Since the season is in full swing I thought I would share my recipe with you. I know some of you are probably so sick of ramp but I love it. Ramp has such a fleeting season. Every year I find there is more I wish I had done with it than the year before but I seem to feel that way about all the fleeting veg, wild or otherwise. 

I noticed at the farmers market this past week that some of the farmers selling ramps were offering up some ramp butter. Most of the ramp butter at the market was a compound butter, which is a mixture of butter and added ingredients, like ramps, herbs or lemon. You may have had maître d’hotel butter on your steak frites? This is a compound butter.

The ramp butter I have been making is essentially a compound butter but I make it in a different way and it is a lot stronger than the  ramp butter at the market. It is more complex and deep.

 If you want to take the fast route, you can make a compound butter by adding chopped herbs or ramps to a stick of room temperature butter. You will want to mash the ingredients into the butter and fully incorporate them into the butter almost folding it over on itself again and again with a paddle or a wooden spoon.

Here is a nice tutorial on making compound butter from Serious Eats.

I make my ramp butter by whipping up fresh cream in the food processor along with chopped ramps or nettles and herbs, depending on what kind I am making.

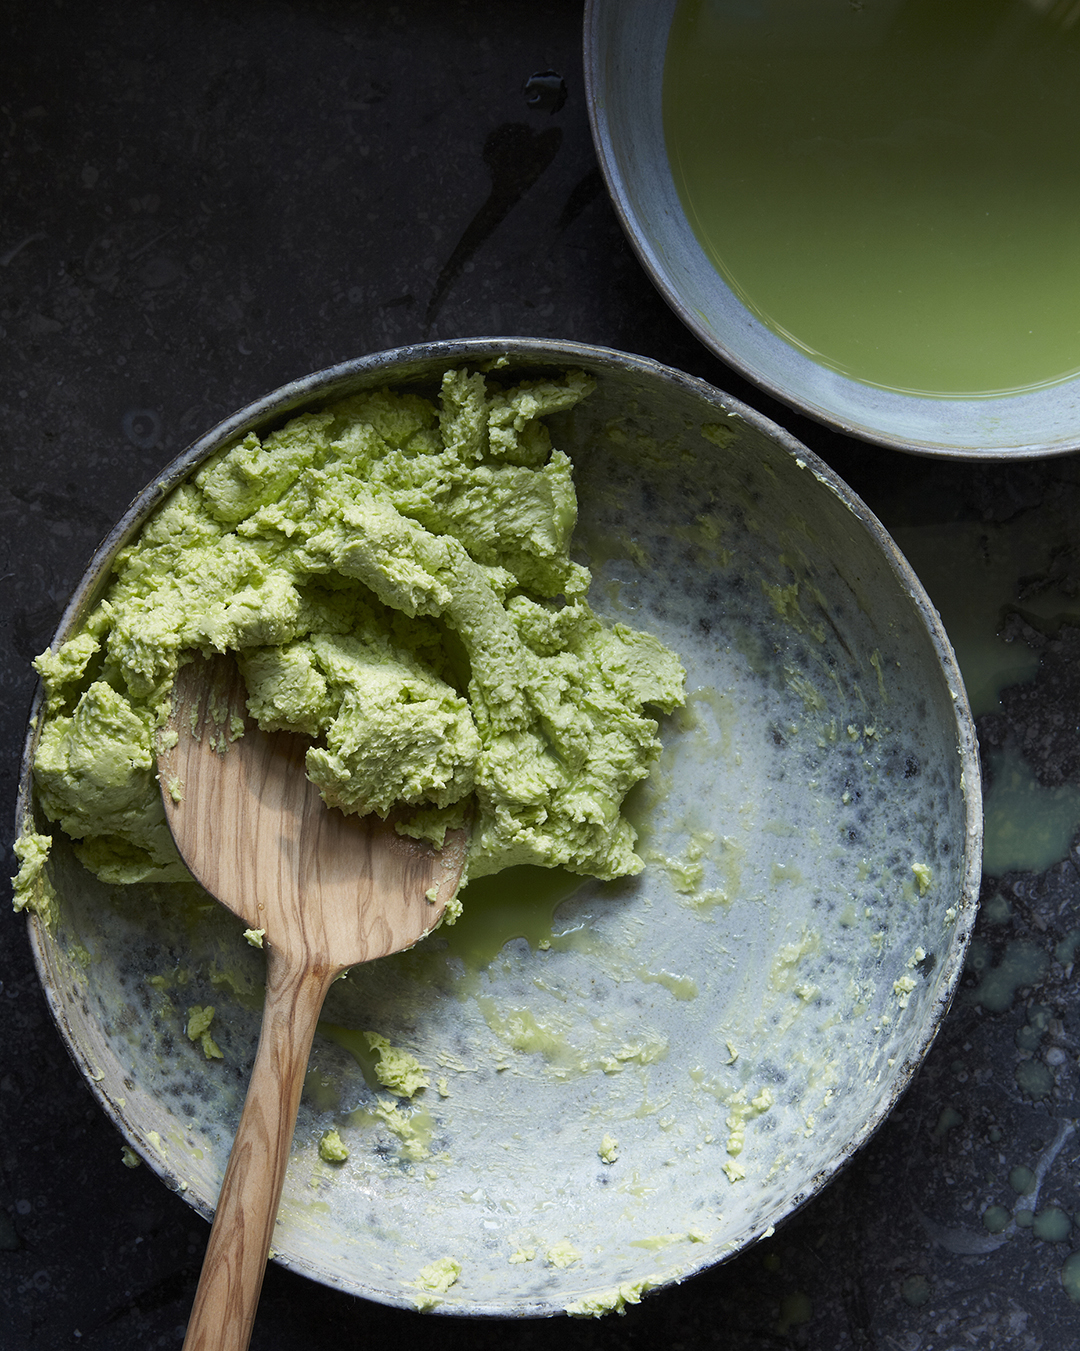
I mix the cream and herbs at a high speed in my food processor until the butter starts to separate from the buttermilk.  In a bout a minute’s time they will have formed a soft whipped cream cheese like spread. You could stop there if you would like and use it like a whipped butter but without separating the liquids from the butterfat it will not keep as long. I prefer to take it all the way to butter.

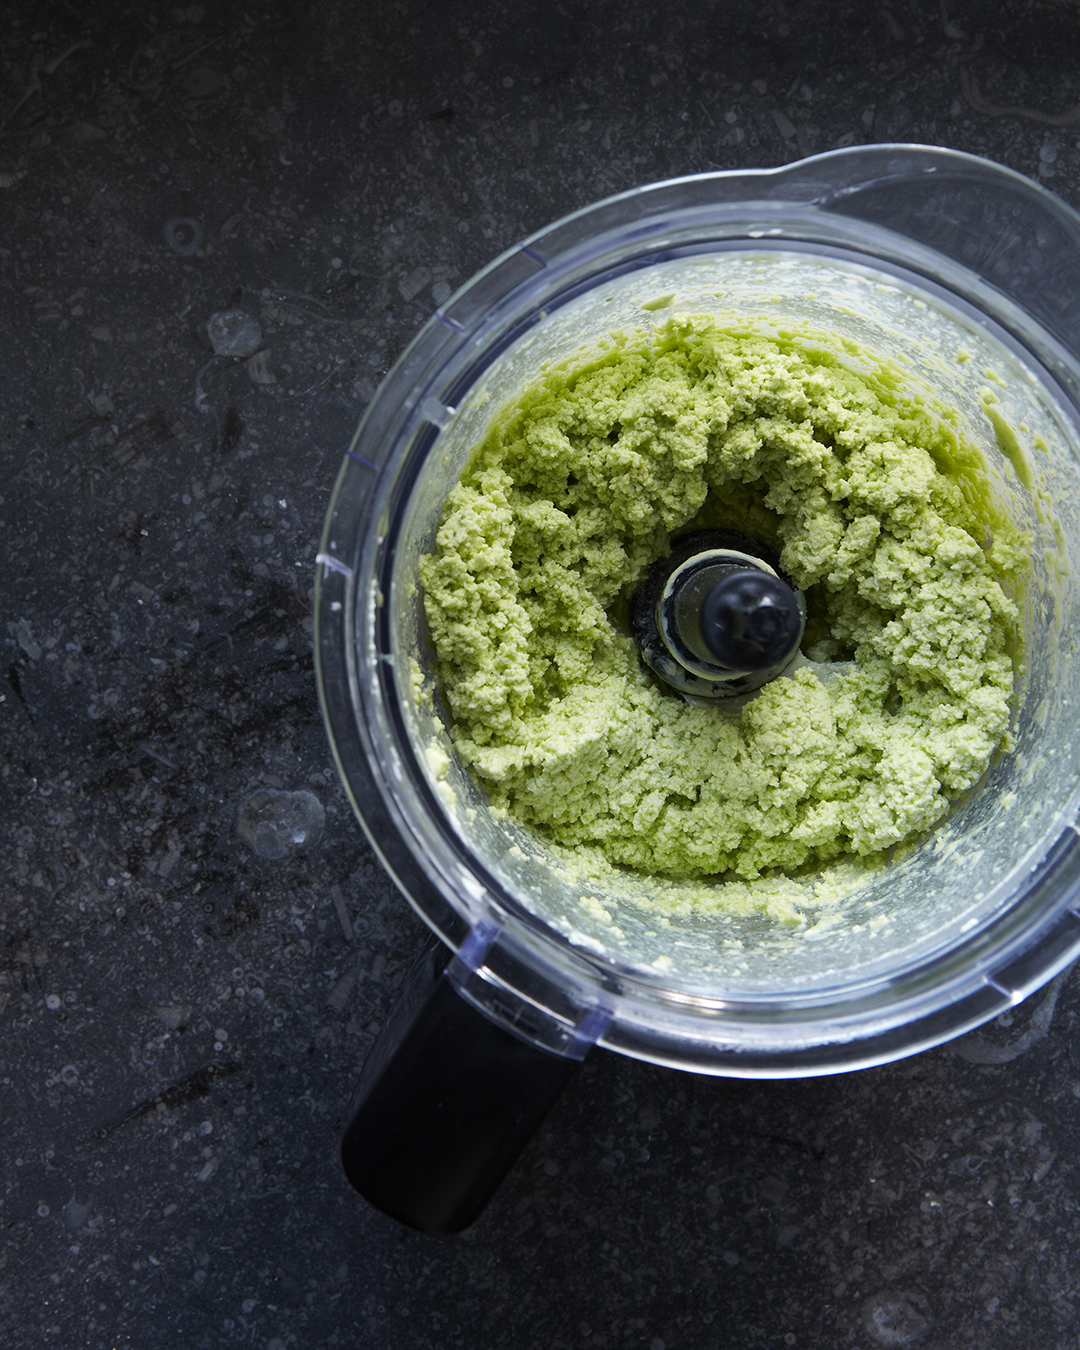
I pulse the cream and herbs until there are two bands visible through the sides of the processor. One will be a vibrant green liquid and the other will be the paler heavier fat of the butter as it separates. I keep pulsing the processor until the butter starts to slap the sides of the food processor.

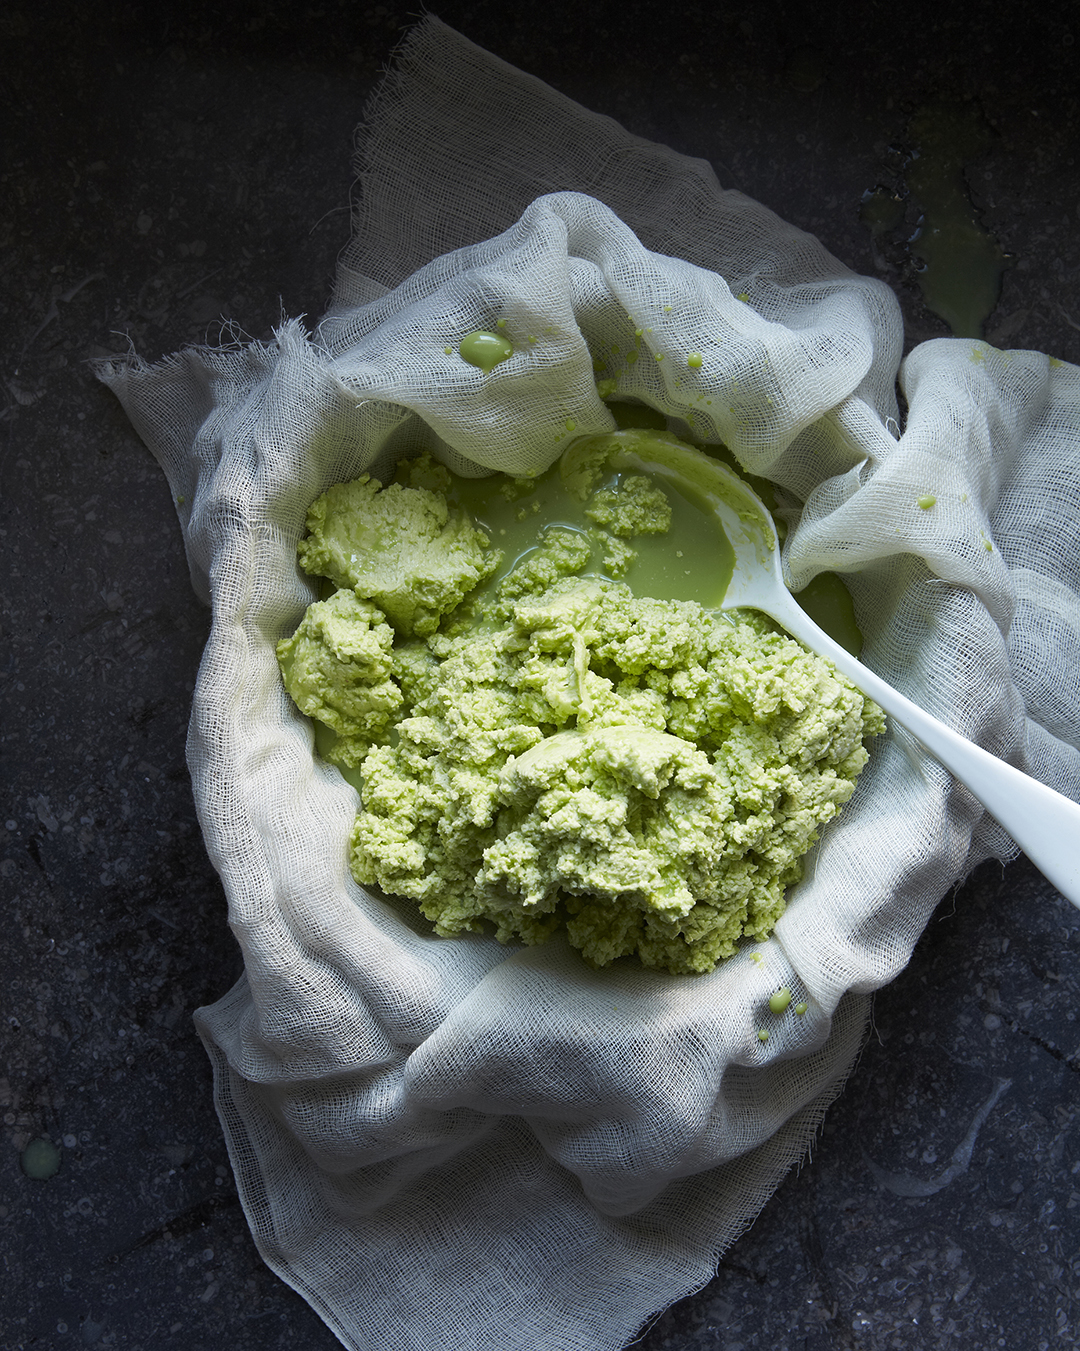
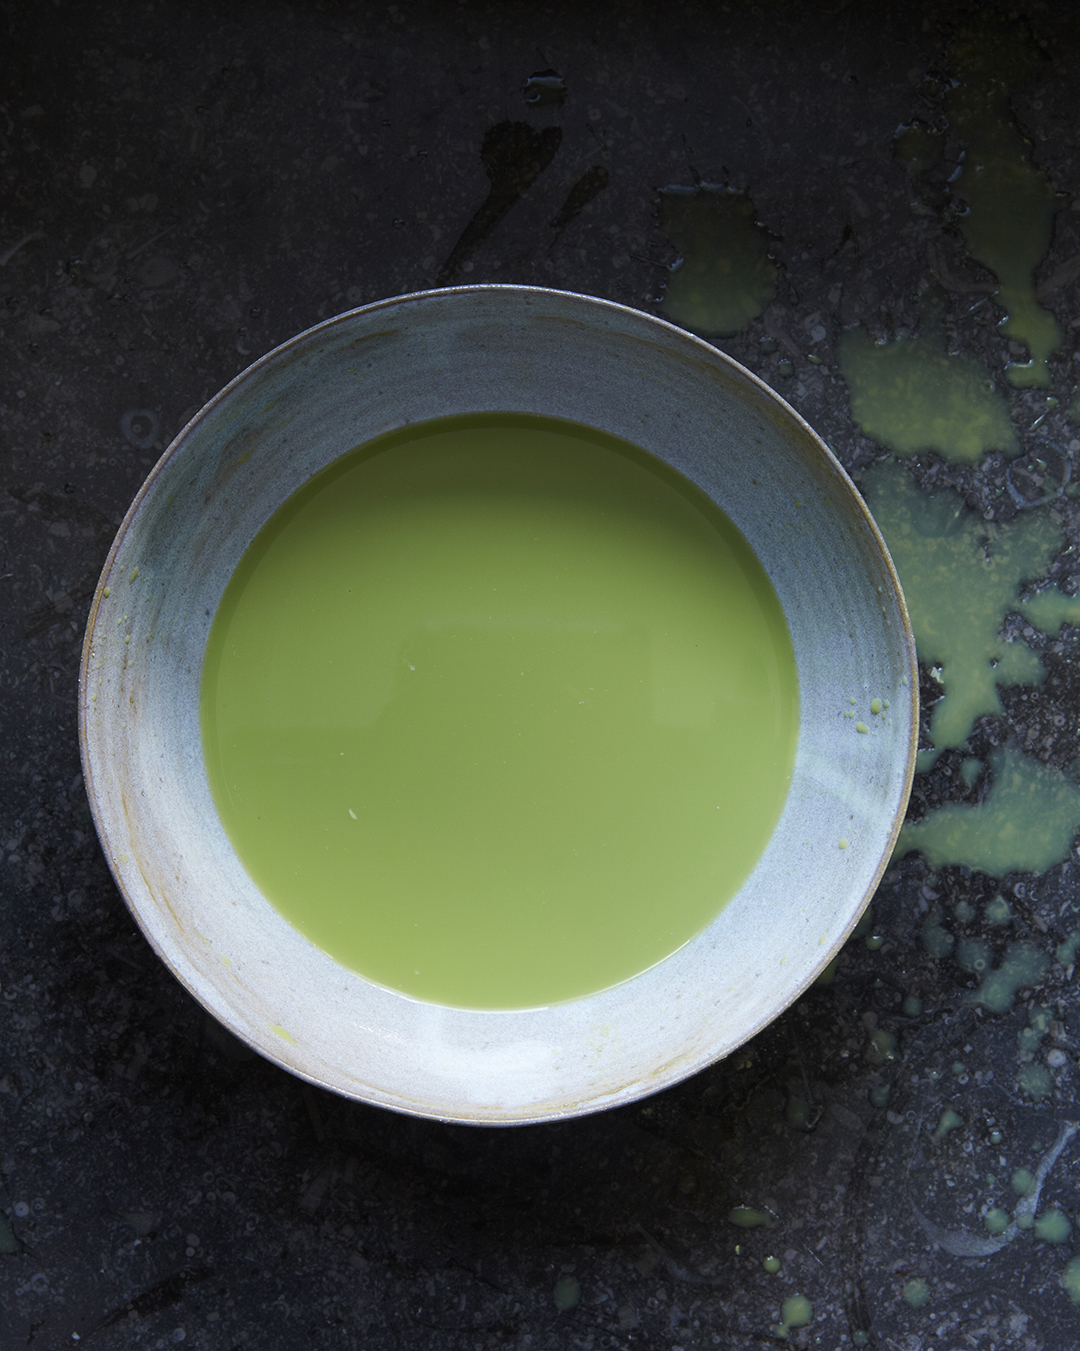
The butter will appear grainy and clumpy at this stage and it will be sitting in a pool of liquid. This liquid is technically the buttermilk, but it is not like the commercial buttermilk that you buy in the store. It is much thinner. Commercial buttermilk is generally cultured and thicker.

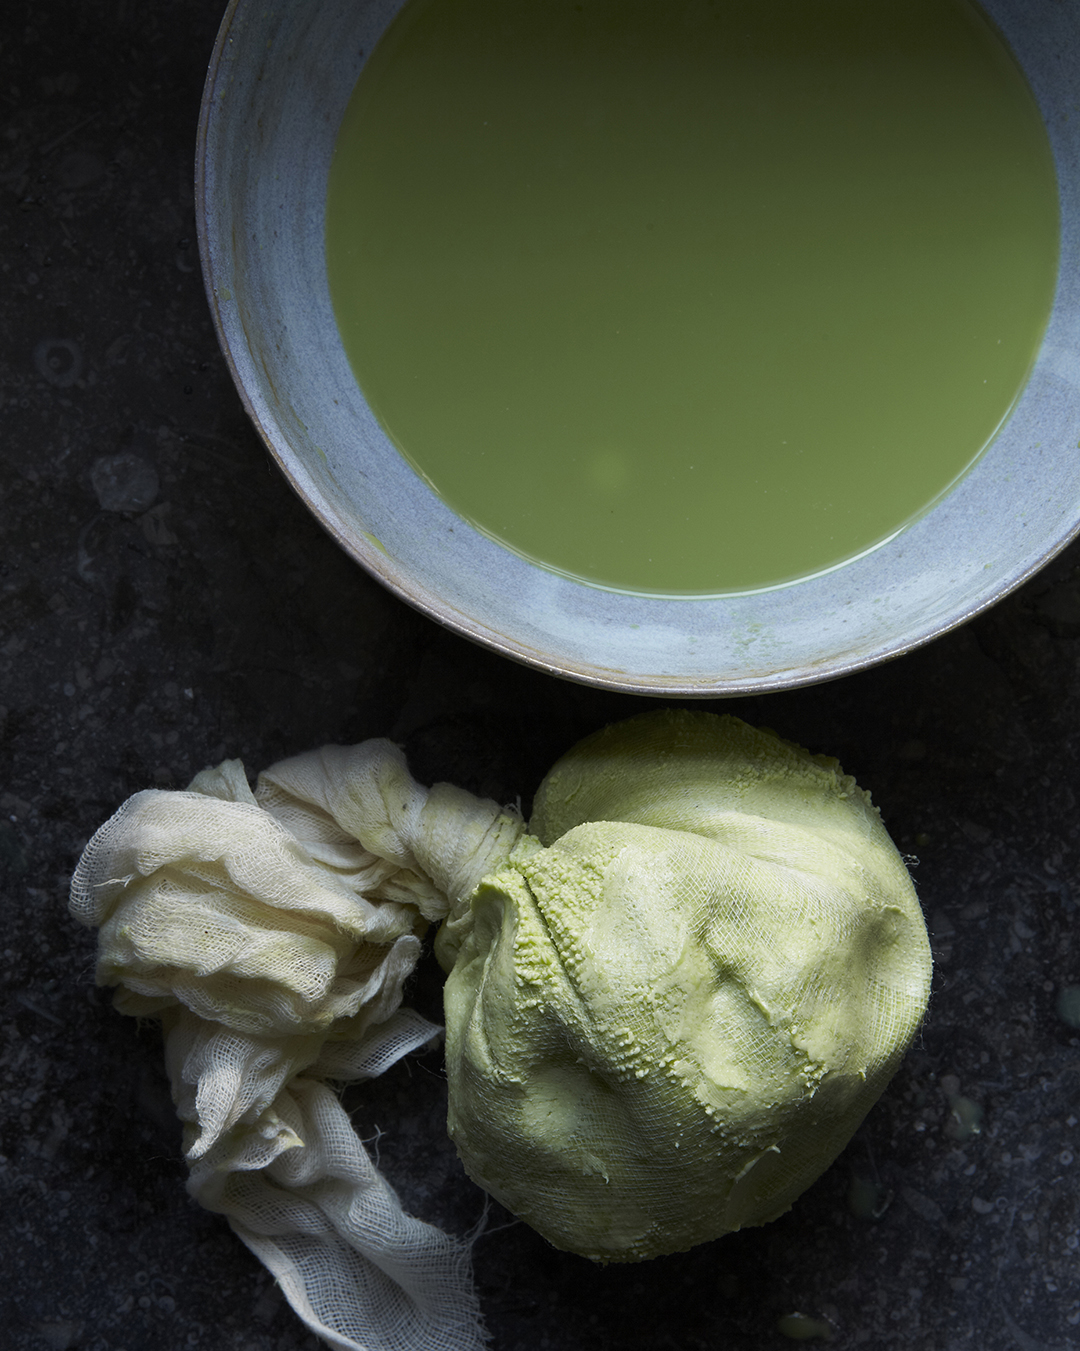
 You will want to drain off the liquid. If you are feeling adventurous you can reserve it for a later use. I made ramp buttermilk biscuits with mine.

Scrape all the butter into a large piece of cheesecloth and give it good twist. The buttermilk will spurt out onto the bowl below. Drain it off into your buttermilk reserve.

You will know you have drained most of the buttermilk once the butter starts to come through the cheesecloth.

At this point stop and proceed to the ice bath.

Take a large mixing bowl and fill it with ice cubes and cold water. Spoon the butter into the ice water and gently scoop it together with your hands until you form a ball.

Let it sit in the ice bathe until it firms up for a minute or so.

Rinse the butterball under cold water and set it in a shallow bowl.

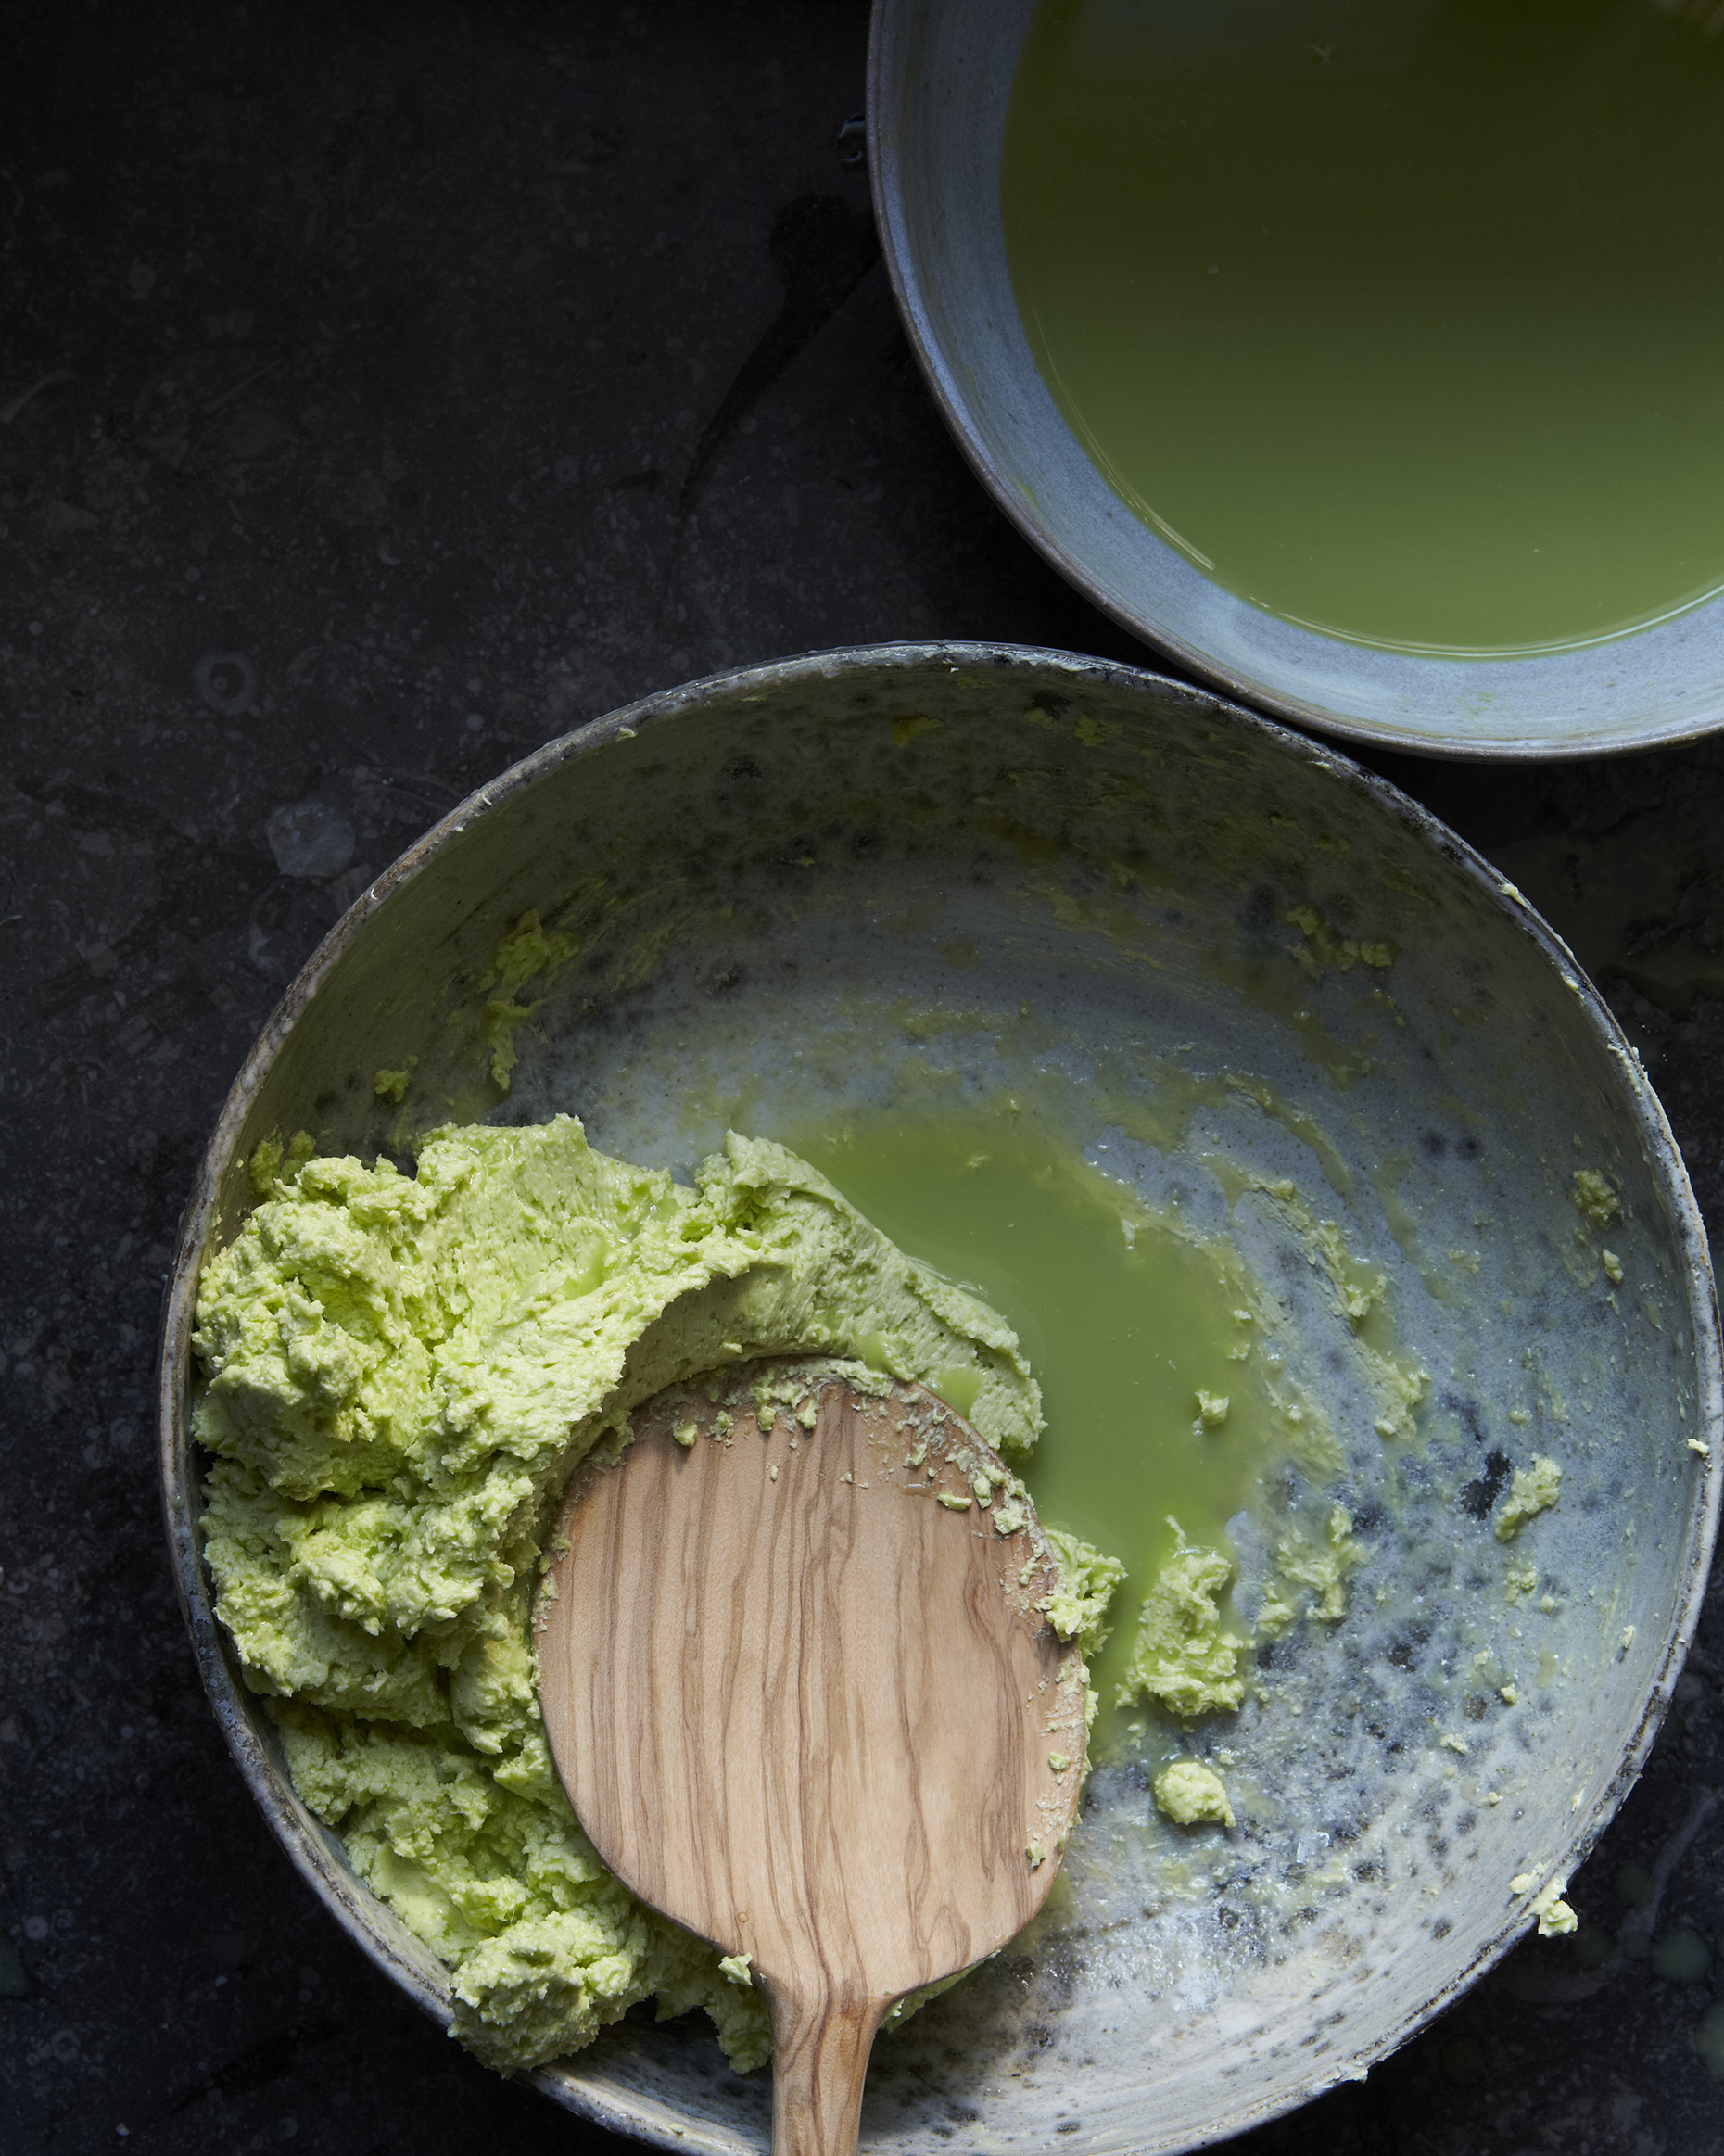
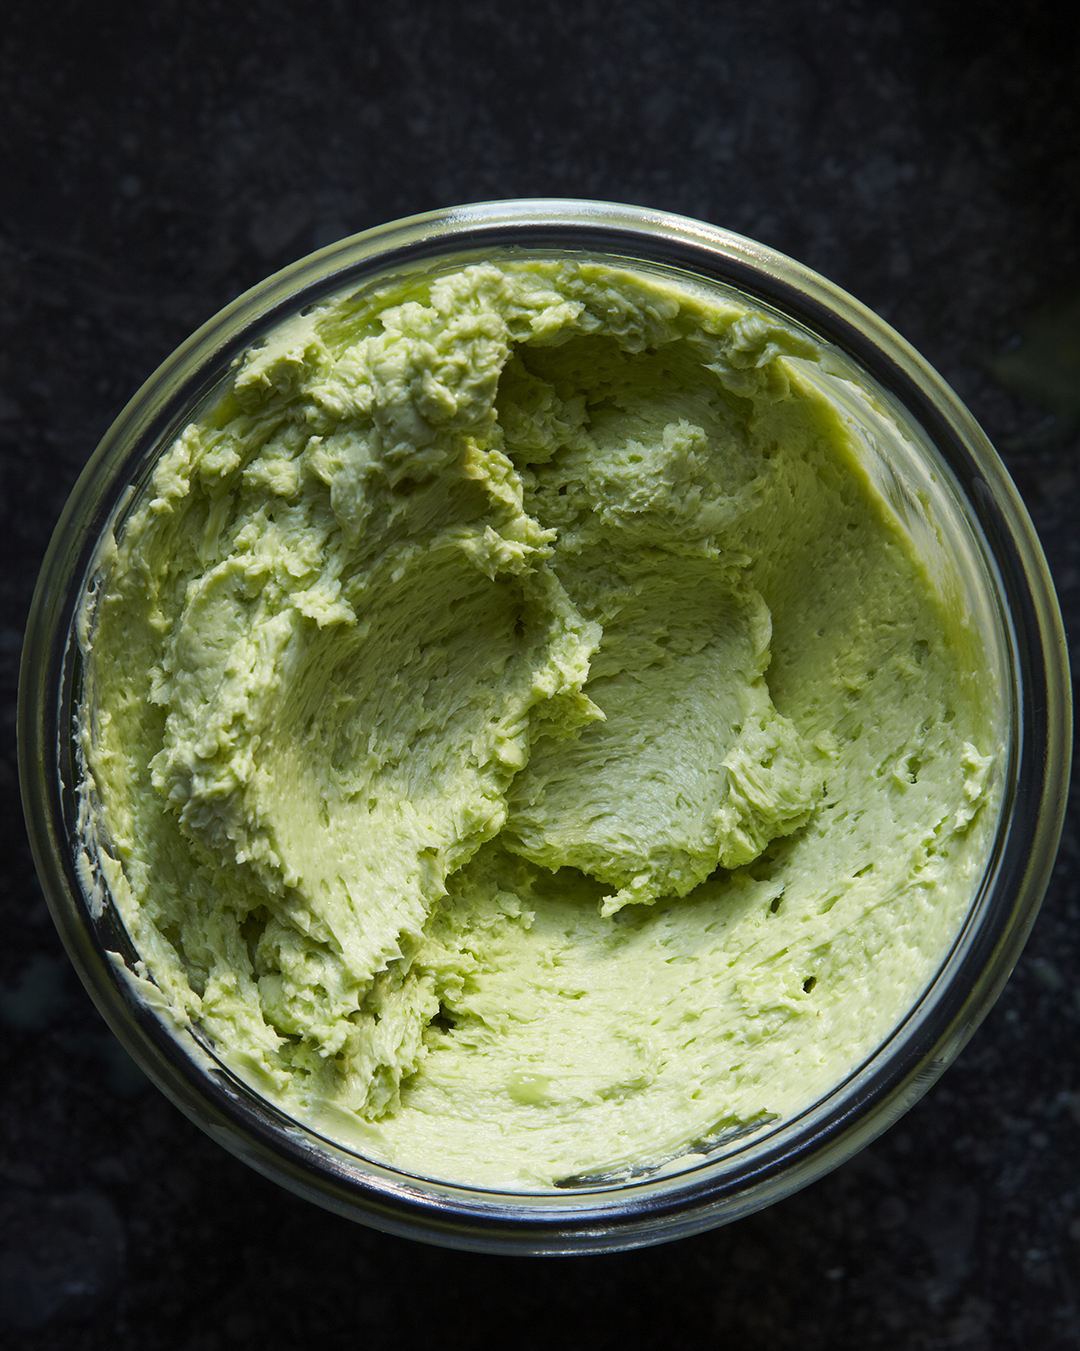
With a wooden paddle or a large wooden spoon start to fold the butter over itself pressing down as you do so. You will be forcing any excess buttermilk out of the butter by this repeated action. You are also "working" the butter. This was essentially what a butter paddle was for. Keep doing this and draining off any excess buttermilk into your reserve.

Eventually the butter will be free of all buttermilk and you are ready to store it.

You can either form it into a log or wrap it in plastic wrap and parchment to freeze for later use or you can store it in an airtight container in your fridge, I like to use glass.

It will keep indefinitely either way. If you freeze a big batch you will have it all year to throw into pastas or on steak. It is so delicious and so very different from the standard ramp butter I have seen floating around. You might have to be careful to not eat it straight! It is that good!


I hope you don't find this daunting. It is really very simple and once you do it you will find yourself making all kinds of flavored butters or maybe just fresh spring and summer yellow butter. 

Ramp Butter


1 pint of fresh cream

10 ramp greens 

10 ramp bulbs

1/2-teaspoon salt

Chop the ramps and bulbs coarsely

Add  the chopped ramps and the cream and salt together in the food processor.

Start your butter on high speed.

It will combine to a spread like texture within a minute or so. You can stop here if you want to use it like this.

At this point the buttermilk has not yet been separated from the solids.

I keep it going for another five minutes or so. You will at some point see the solids separate out from the darker green liquid (ramp buttermilk) in two bands along your processors edge.

I keep it going past this point until the butter starts to clump in small chunks and grains along the processors walls.

Continue following the instructions above.


Nettle Butter

1 pound of fresh stinging nettles

1 pint of heavy cream 

1/2 teaspoon of salt


You can make nettle butter following the same basic instructions with a few exceptions.. Start with a pound of fresh nettles. Use gloves when washing.

Blanch the nettles until bright green. (30 seconds or so)

Remove with a slotted spoon and squeeze the excess water from the nettles until the form a ball of what looks like frozen spinach.

Coarsely chop the blanched nettles and add to 1 pint of cream and 1/2 teaspoon of salt


Follow the same steps as above.

Here is a much less long-winded post on how to make cultured butter from food 52


Tuesday
Apr102012

where the wild things are. no.16. quick pickled ramps.

I have been on a bit of a pickling binge lately. I have had some successes and some failures. I was "knot" so psyched about the Japanese Knotweed pickles... Knotweed is an invasive wild plant, similar to bamboo and it grows everywhere upstate. The red shoots are edible in the early spring and have  a rhubarb like flavor. I thought it would be interesting to pickle them. It was not good. The rhubarb- ness  that people talk about was a bit of a stretch for me. The pickles ended up tasting like swamp water! In order to combat such failures I simply move on to the next thing. In this case, it is pickled ramps.There is no going wrong with pickled ramps. I made a few batches  last year but the season is so short and they are so tasty, they never last more than a week or two in our house. I am into small batch; make that VERY small batch canning. I can't deal with the jars sitting around for months. I know that is the whole idea, but I tend to overdo it and make 200 jars of blackberry jam at a time so I have been attempting super small batch these past few years and pickling and canning has been a lot more reasonable. My secret pickling ingredient is juniper. I have been loving the wild, herby pine forest taste of juniper. It has become a regular addition top all my pickles. 

You can use this brine for any quick pickle.


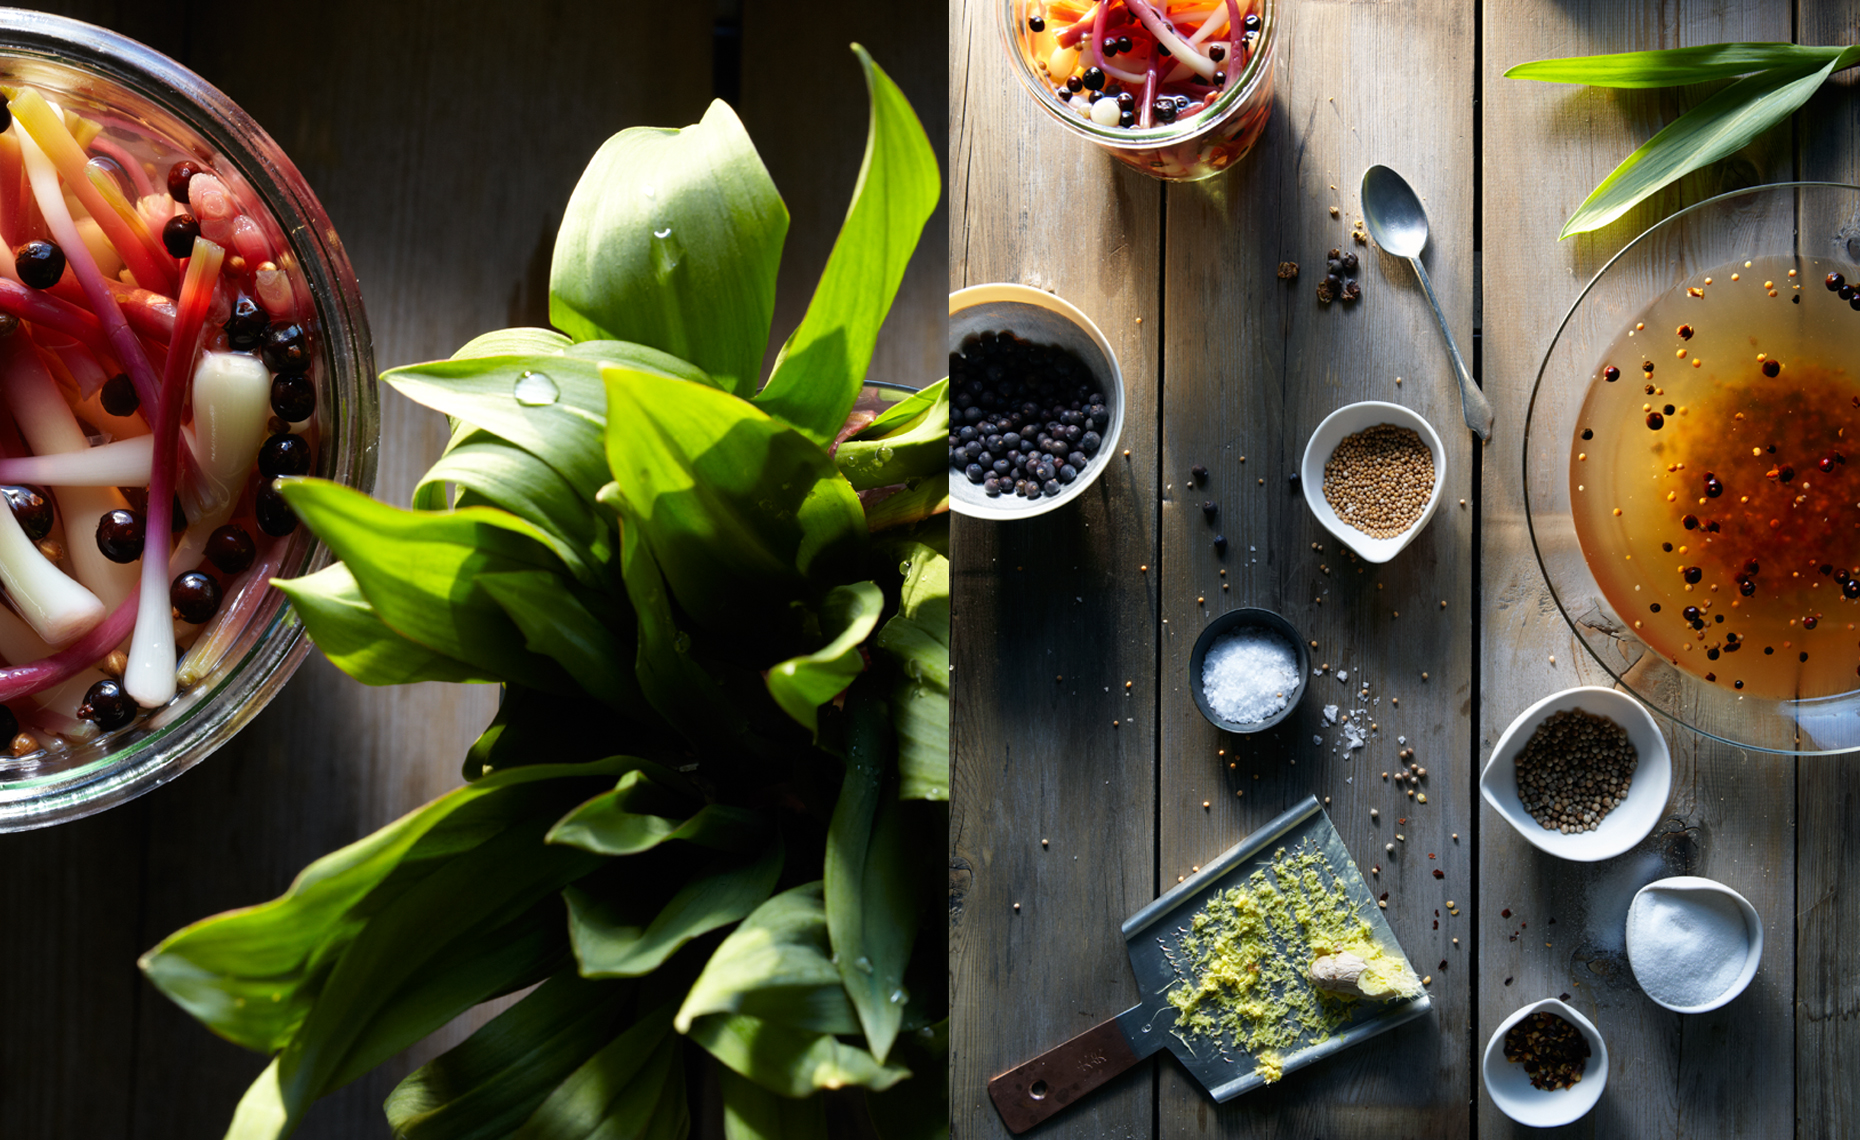
 Quick Coriander Juniper Pickled Ramps


Makes roughly 1 quart jar

1/2-cup sugar

2 cups white wine vinegar

1-teaspoon sea salt

1 teaspoon mustard seeds

1-teaspoon coriander seeds

1 teaspoon dried juniper berries

1/2 teaspoon crushed juniper berries

1/4 teaspoon crushed red pepper fkes

1 teaspoon black Malabar peppercorns

1 teaspoon of freshly grated ginger

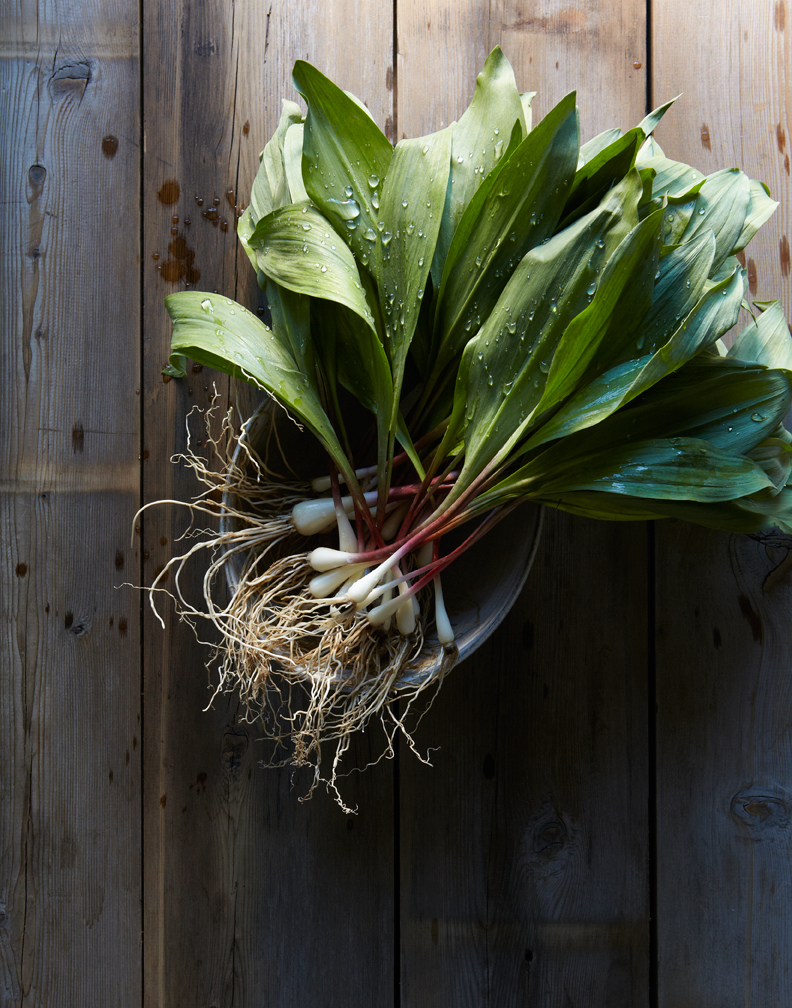
2 bunches of ramp about roughly a half a pound


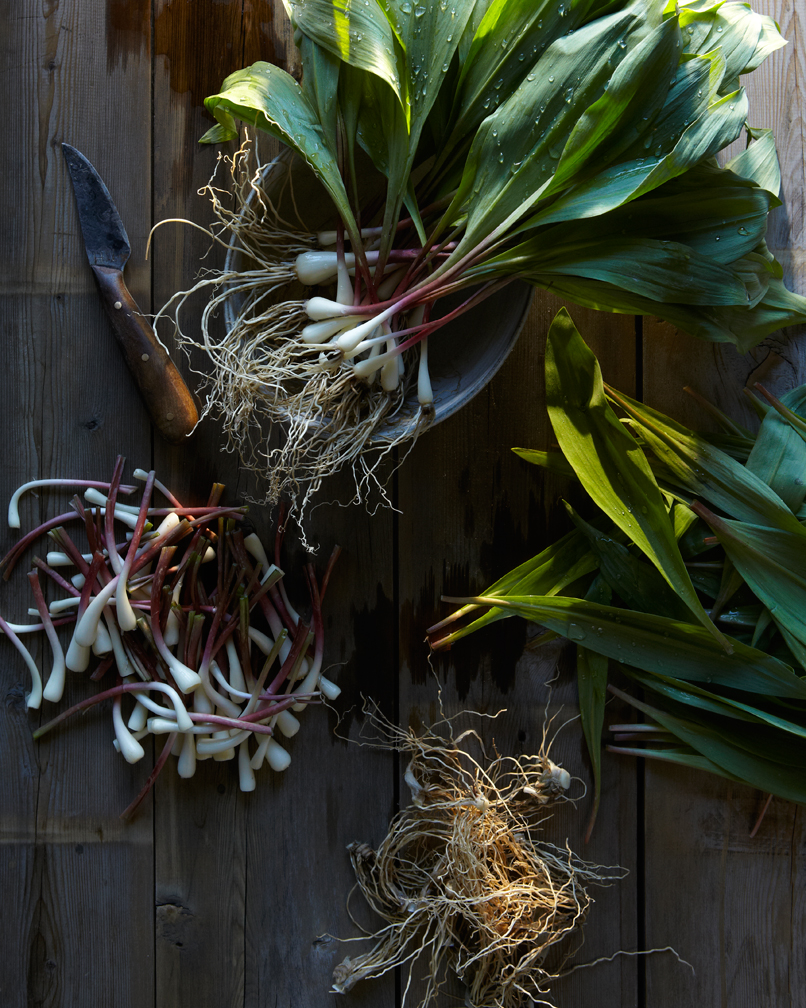
Rinse the ramps under cold water to remove any dirt or debris.

Gently peel back the  outer most layer of the ramp and discard.  This outermost transluscent membrane can be a bit slimy, this is what you want to peel off.

Cut the hairy root ends off the cleaned ramps and discard.

If you are using the bulb end of the ramps for pickling, cut them just above where the pink stem ends. This will give you the bulb end for pickling and the greens for sautéing. 


 To Make The Brine:

Add the spices and sugar to the 2 cups of white wine vinegar

Heat to a boil in a non-reactive pot

Turn off and allow steeping for 20 minutes for the spices to infuse

In the mean time, prep the ramp.


After 20 minutes, reheat the brine to a slow simmer.

Divide the ramp into thirds and drop into the brine for 20 seconds.

Remove after 20 seconds with a slotted spoon and set aside.

The ramp stems will turn a more vivid pink.

When all the ramps have been run through the brine, turn it off an allow it to cool.

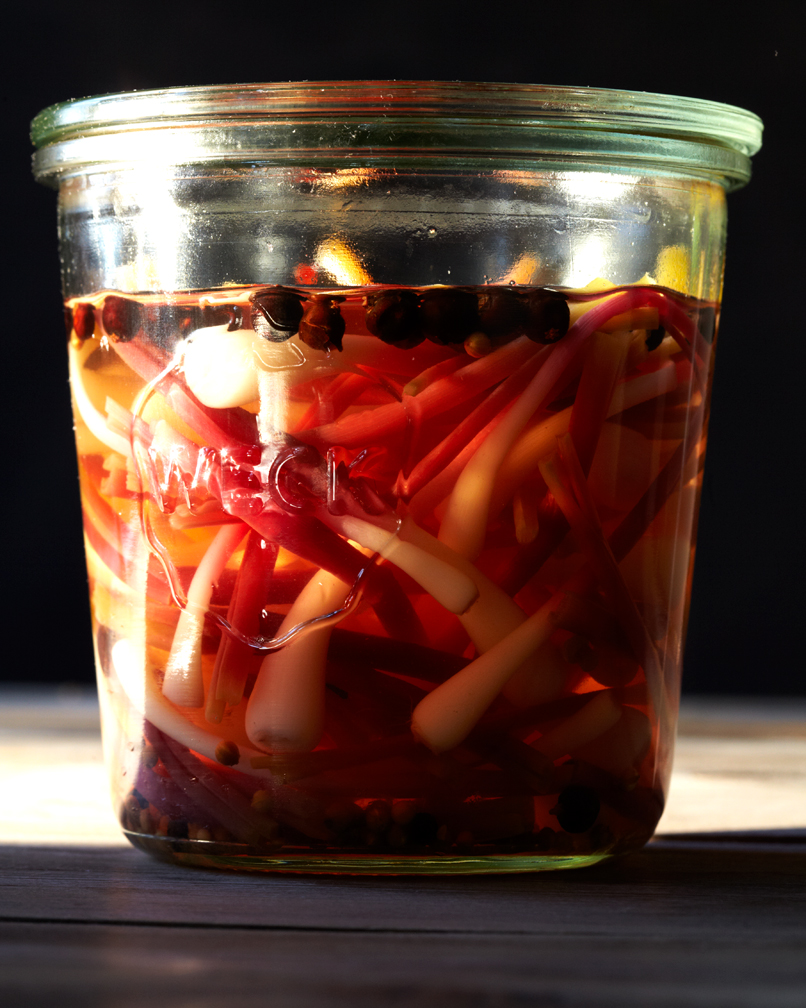
Place the pickled ramps in a 1-quart, sterilized Weck or Ball jar or some other  sterilized airtight storage container.

 When  the brine has cooled, pour the remaining brine over the ramps.

Allow to sit in the refrigerator for at least a day before eating!

The pickled ramps will last for a couple of weeks in your refrigerator.


To see an archive of ramp images go here.

Sunday
Apr082012

where the wild things are. no.15. eggs and ramp. easter breakfast.

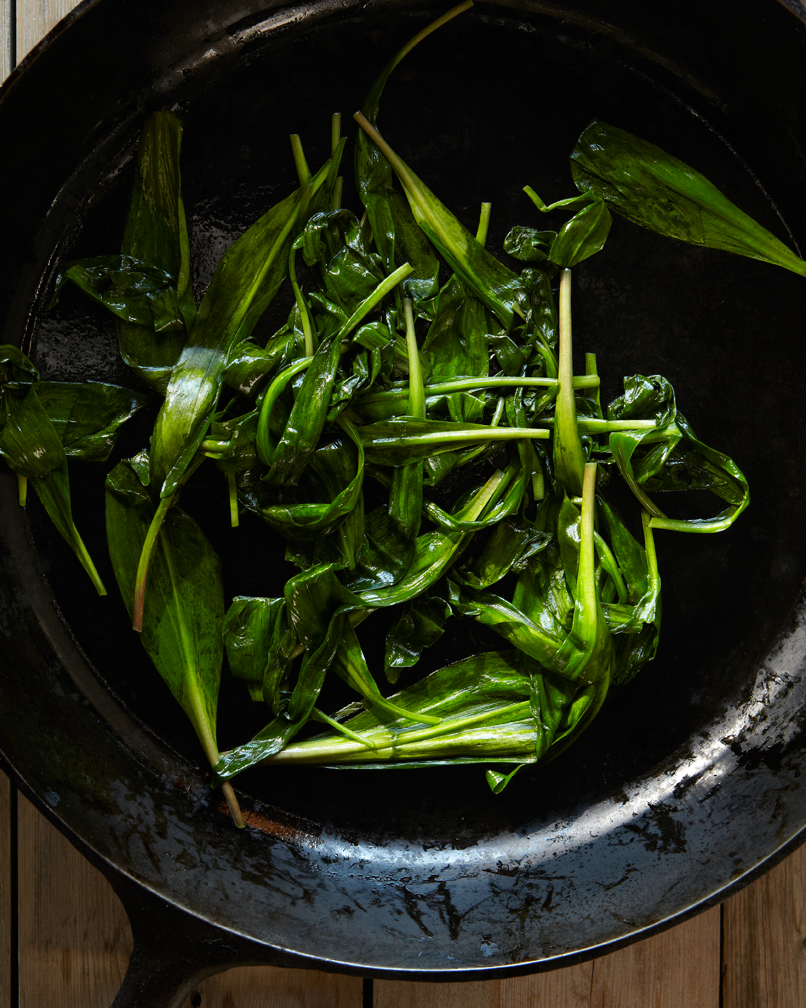
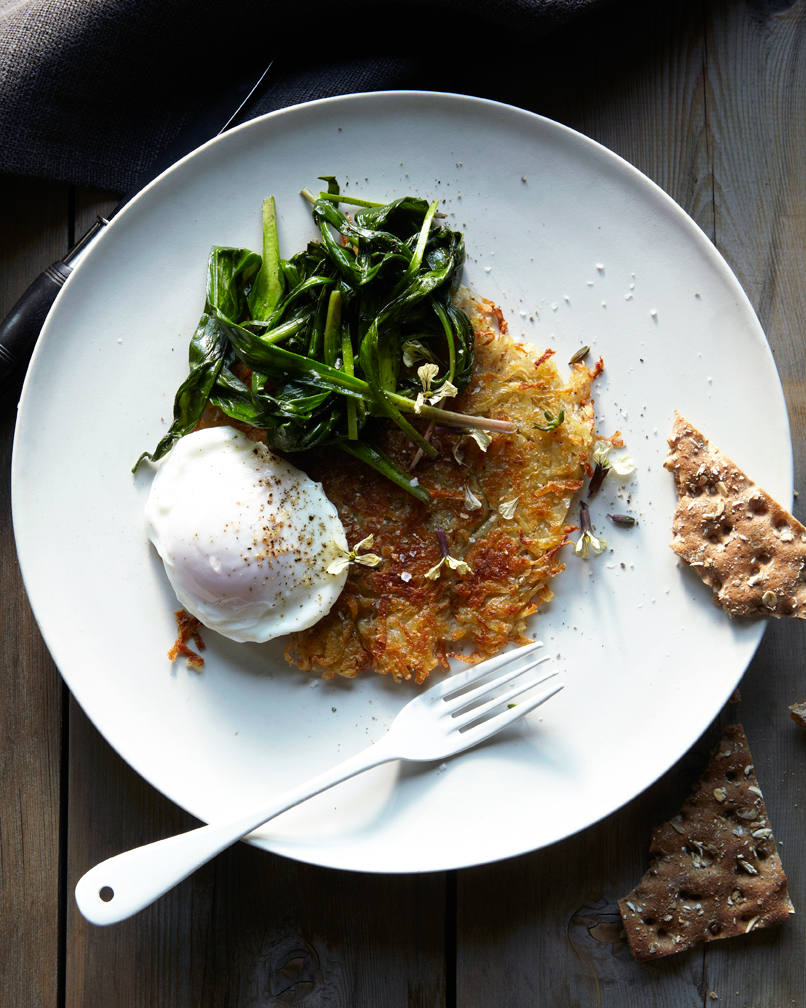
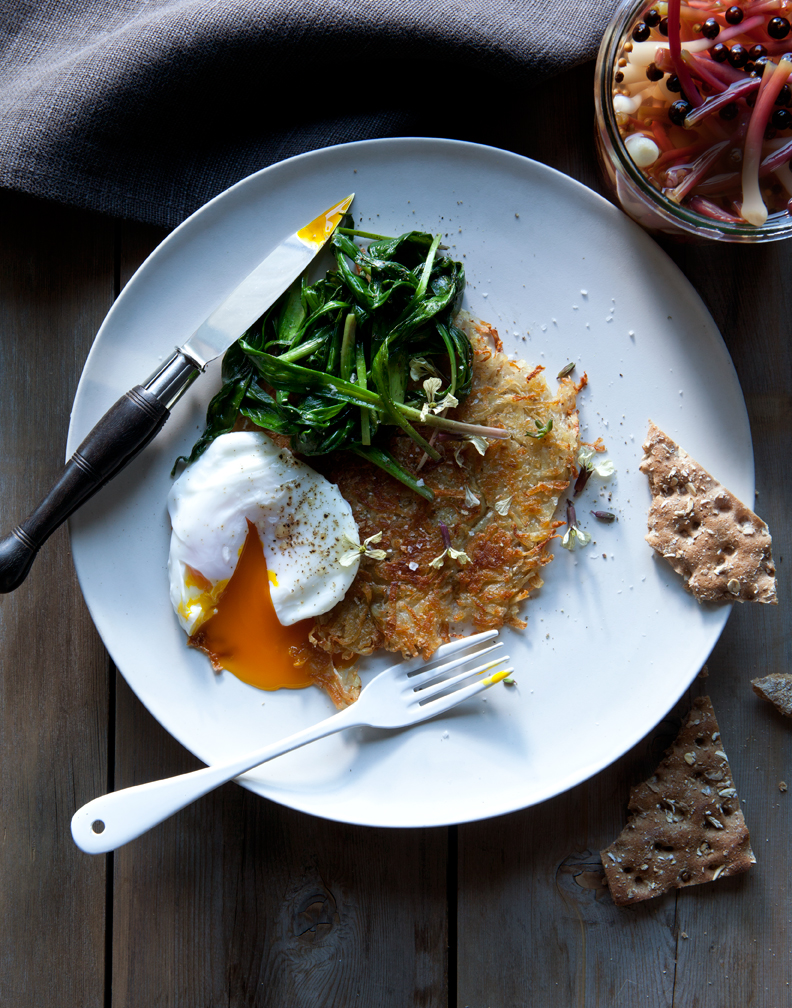
What a gorgeous day it was here in New York! Spring has finally arrived and ramp season is in full swing both in the city and the forest. We celebrated by making poached eggs over rosti with sauteed ramp greens. (the greens were left over after making pickled ramps. The greens have a soft woodsy taste. I don't find ramps to be especially strong in flavor despite their intense onion aroma) The Green Market at Union Square this week was such an inspiration. I couldn't help but to pick up these beautiful organic eggs to accompany the ramps we gathered on our land upstate.


 Sauteed ramp Greens


1 bunch of ramps

Extra Virgin Olive Oil

Sea salt

Cracked black pepper


Rinse the ramps under cold water to remove any dirt or debris.

Gently peel back the  lower outer most layer of the ramp and discard.  If the roots are on the ramps the outermost layer can be a bit transluscent and slimy, this is what you want to get rid of!

Cut the hairy root ends off the cleaned ramps and discard.

If you are using the bulb end of the ramps for pickling, cut them just above the pink stem, This will give you the bulb end for pickling and the green for sauteeing. You could opt to just sautee the whole cleaned ramp if you wish. I did it this way because I was using the bulbs for pickling.

Pat the greens dry and and plop them ino a large cast iron skillet.

Add a drizzle of olive oil.

Toss the greens over low heat until JUST wilted. do not overcook.

Add salt and pepper to taste.

Serve over rosti with a poached egg or on any grain or toasts. Eat them any way you would a wilted spinch.


 organic eggs


 wild ramps


sauteed ramp greens


poached eggs over rosti with sauteed ramp greens 


 poached eggs over rosti with sauteed ramp greens and pickled ramps