where the wild things are. wild foods discussion and dinner.
I want to take a second to tell you all about a special event happening this weekend. Les Hook and Nova Kim of Vermont Wild Foods will be hosting a wild foods discussion and a dinner here in NYC. The wild foods talk is Saturday the 23rd and the dinner is Sunday the 24th after the New Amsterdam Market. I love these guys and they are very dear to me. If you are at all interested in wild foods you will love this discussion. It is a special day when you get to meet Les and Nova.
xx
A few years ago we had the honor of becoming friends with Nova Kim and Les Hook of Vermont Wild Food Gatherer’s Guild. We spent a few days with them in the woods making a short film, they are both mushroom gatherers and educators hosting a series of lectures, teaching one of the first accredited wild foods courses, and hosting wild walks. They have traveled to Slow Foods Terra Madre to lecture. They have 70’s years of wild and medicinal food gathering knowledge between the two of them. They are a fascinating duo. You can find them occasionally at The New Amsterdam Market. They will be there this Sunday pre thanksgiving with wild mushrooms and wild jerusalem artichokes. Les and Nova will be giving a lecture on wild foods at the New Amsterdam Market Offices post market this Saturday(223 Front Street NYC) There will be a wild foods dinner at Jimmy’s 43 in the East Village. (43 east 7th Street) on Sunday following the market. . Tickets for these two events are available through Brown Paper Tickets event # 509353.
From The Brown Paper Tickets site...
Les Hook and Nova Kim - A Wild Food Discussion, Presentation and a Nibble
Join Les Hook and Nova Kim, Wild Gourmet Food and the Wild Food Gatherers Guild, in a Wild Food Discussion covering plants from all around you to plants deep in the woods. Enjoy and be amazed by the samples of wild plants currently available...including, but not limited to, wild watercress, wild leeks, wild ginger, Jerusalem Artichoke slivers (for taste and crunch). Also, share our standby "Chicken of the Woods Rice & Quinoa" dish with recipe handout. This is a treat to eat that just happens to also be Vegetarian and Vegan friendly. Nova and her partner Les bring a wealth of information from their seventy-plus years of experience in wildcrafting and working with forest resources in the Northeast, South and Rocky Mountains. As long-time gatherers, original participants at the New Amsterdam Market, and spirited educators, whether at the Smithsonian, Terra Madre, Italy, Field Trip Leaders & Presenters at the IWEMM-7 Gautemala or Vermont's various educational institutions, you are guaranteed an interesting evening. This couple has been featured in numerous books and articles including the NY Times Magazine, NY Times, New York Magazine, Village Voice, The Boston Globe, Green Living Journal and others plus being featured on NPR's Splendid Table and Weekend Edition/Saturday. "A Guide to Wild Harvesting & Ethics" and the "Mushroom Identification Aid / Spore Print Card" PDF downloads are included. There will also be another Wild Food Event featuring this couple on November 24 at Jimmy's No. 43. For information go to http://m.bpt.me/event/509353
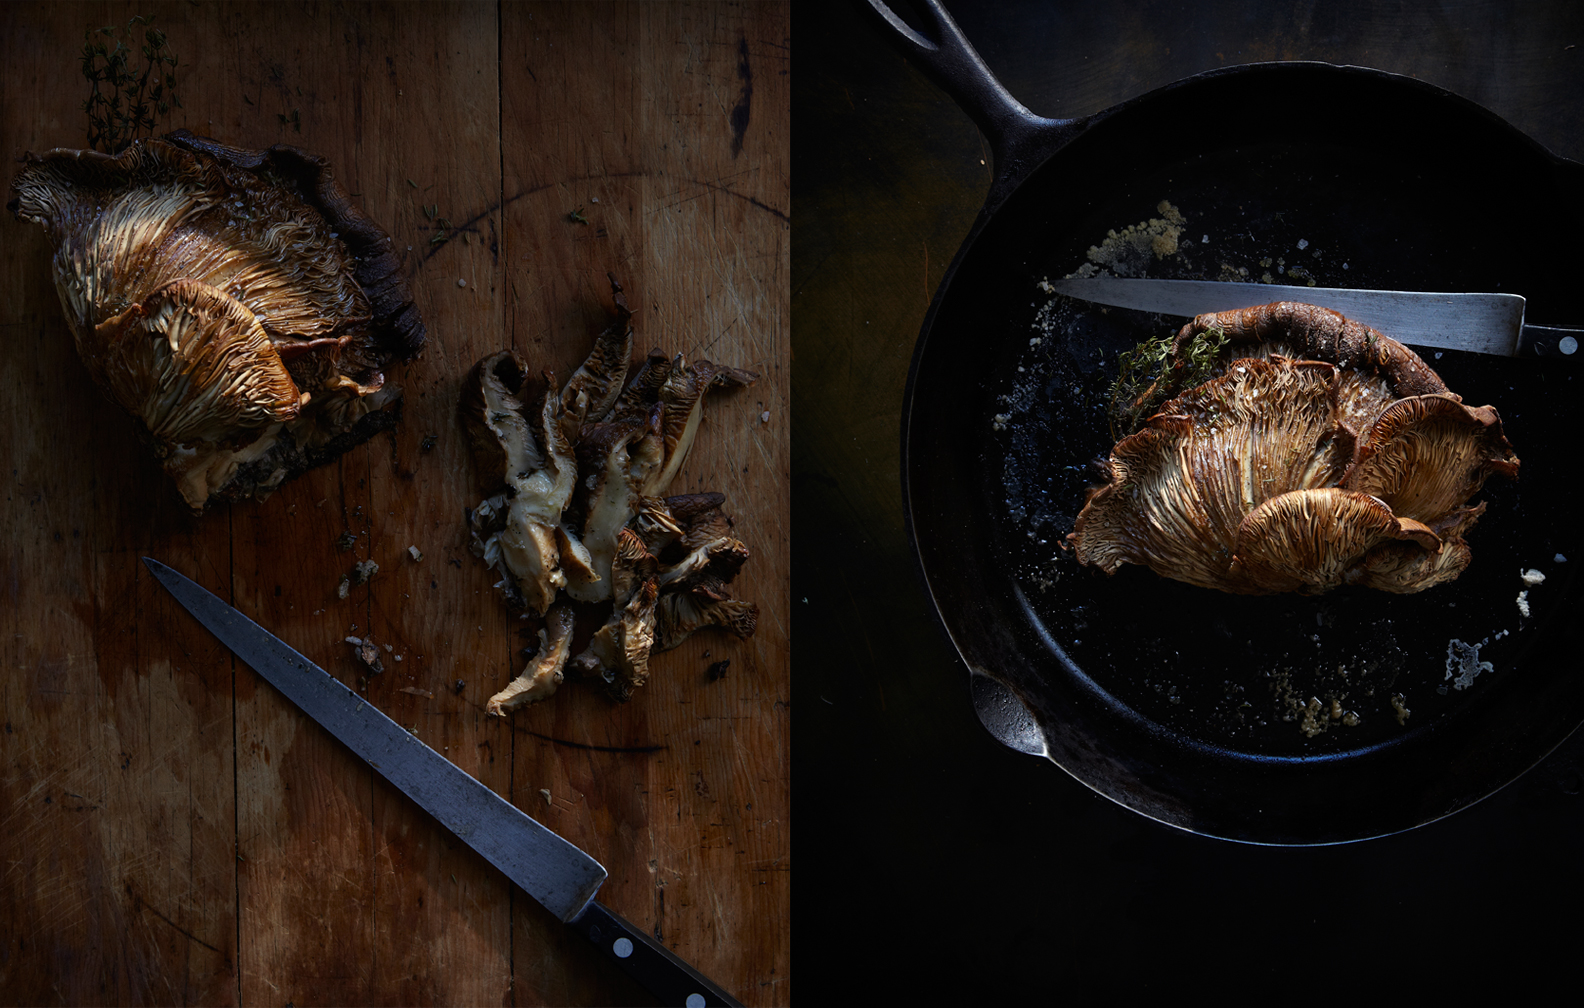
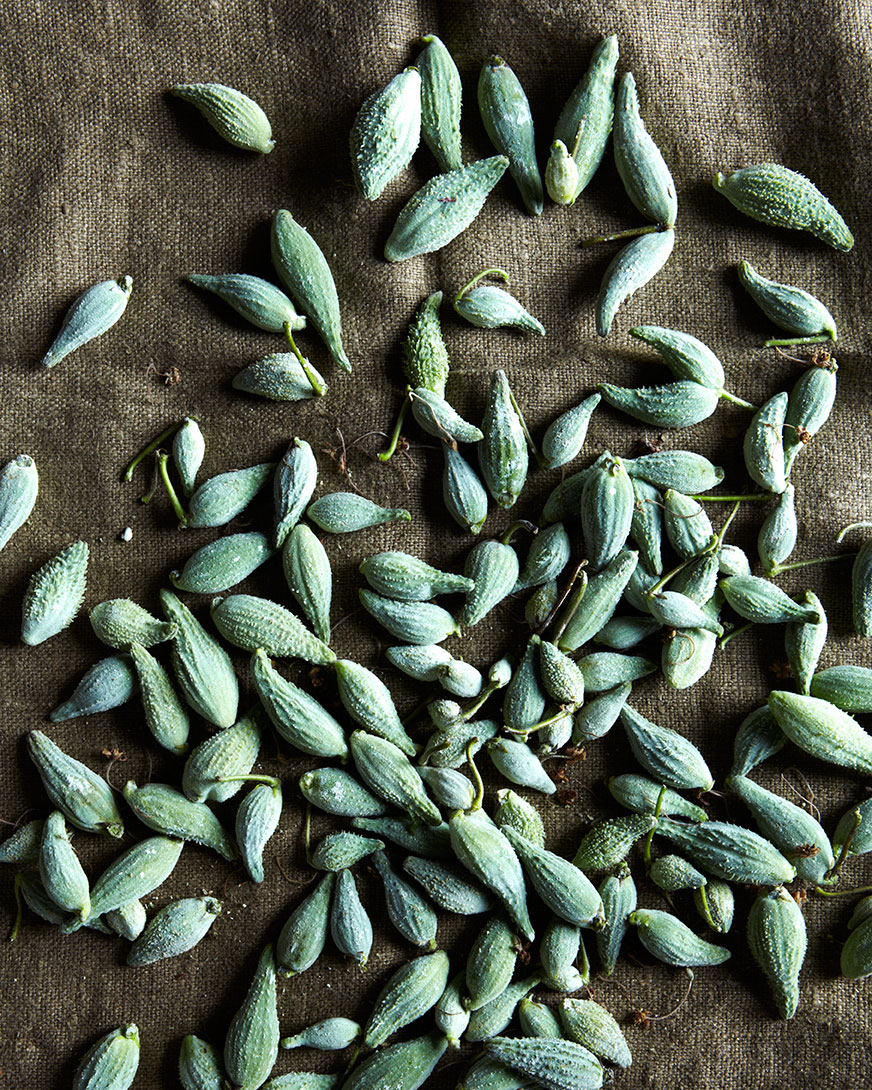
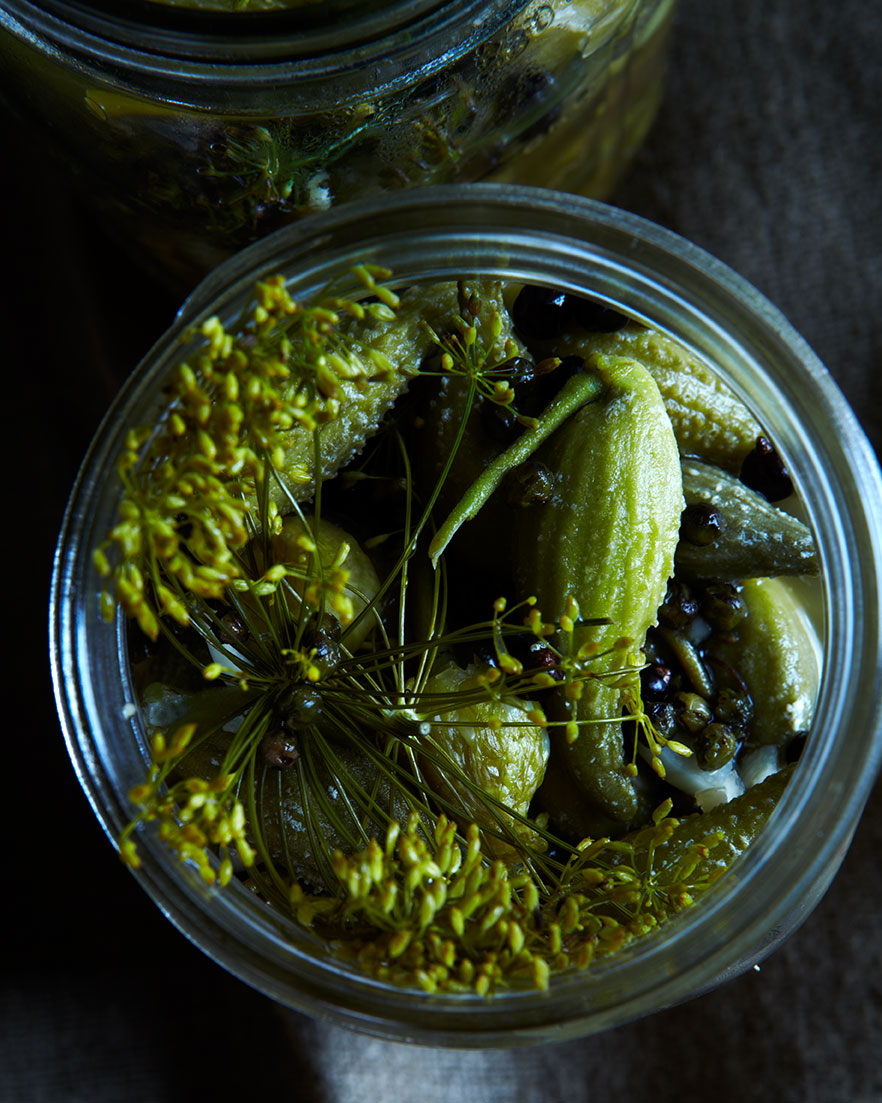
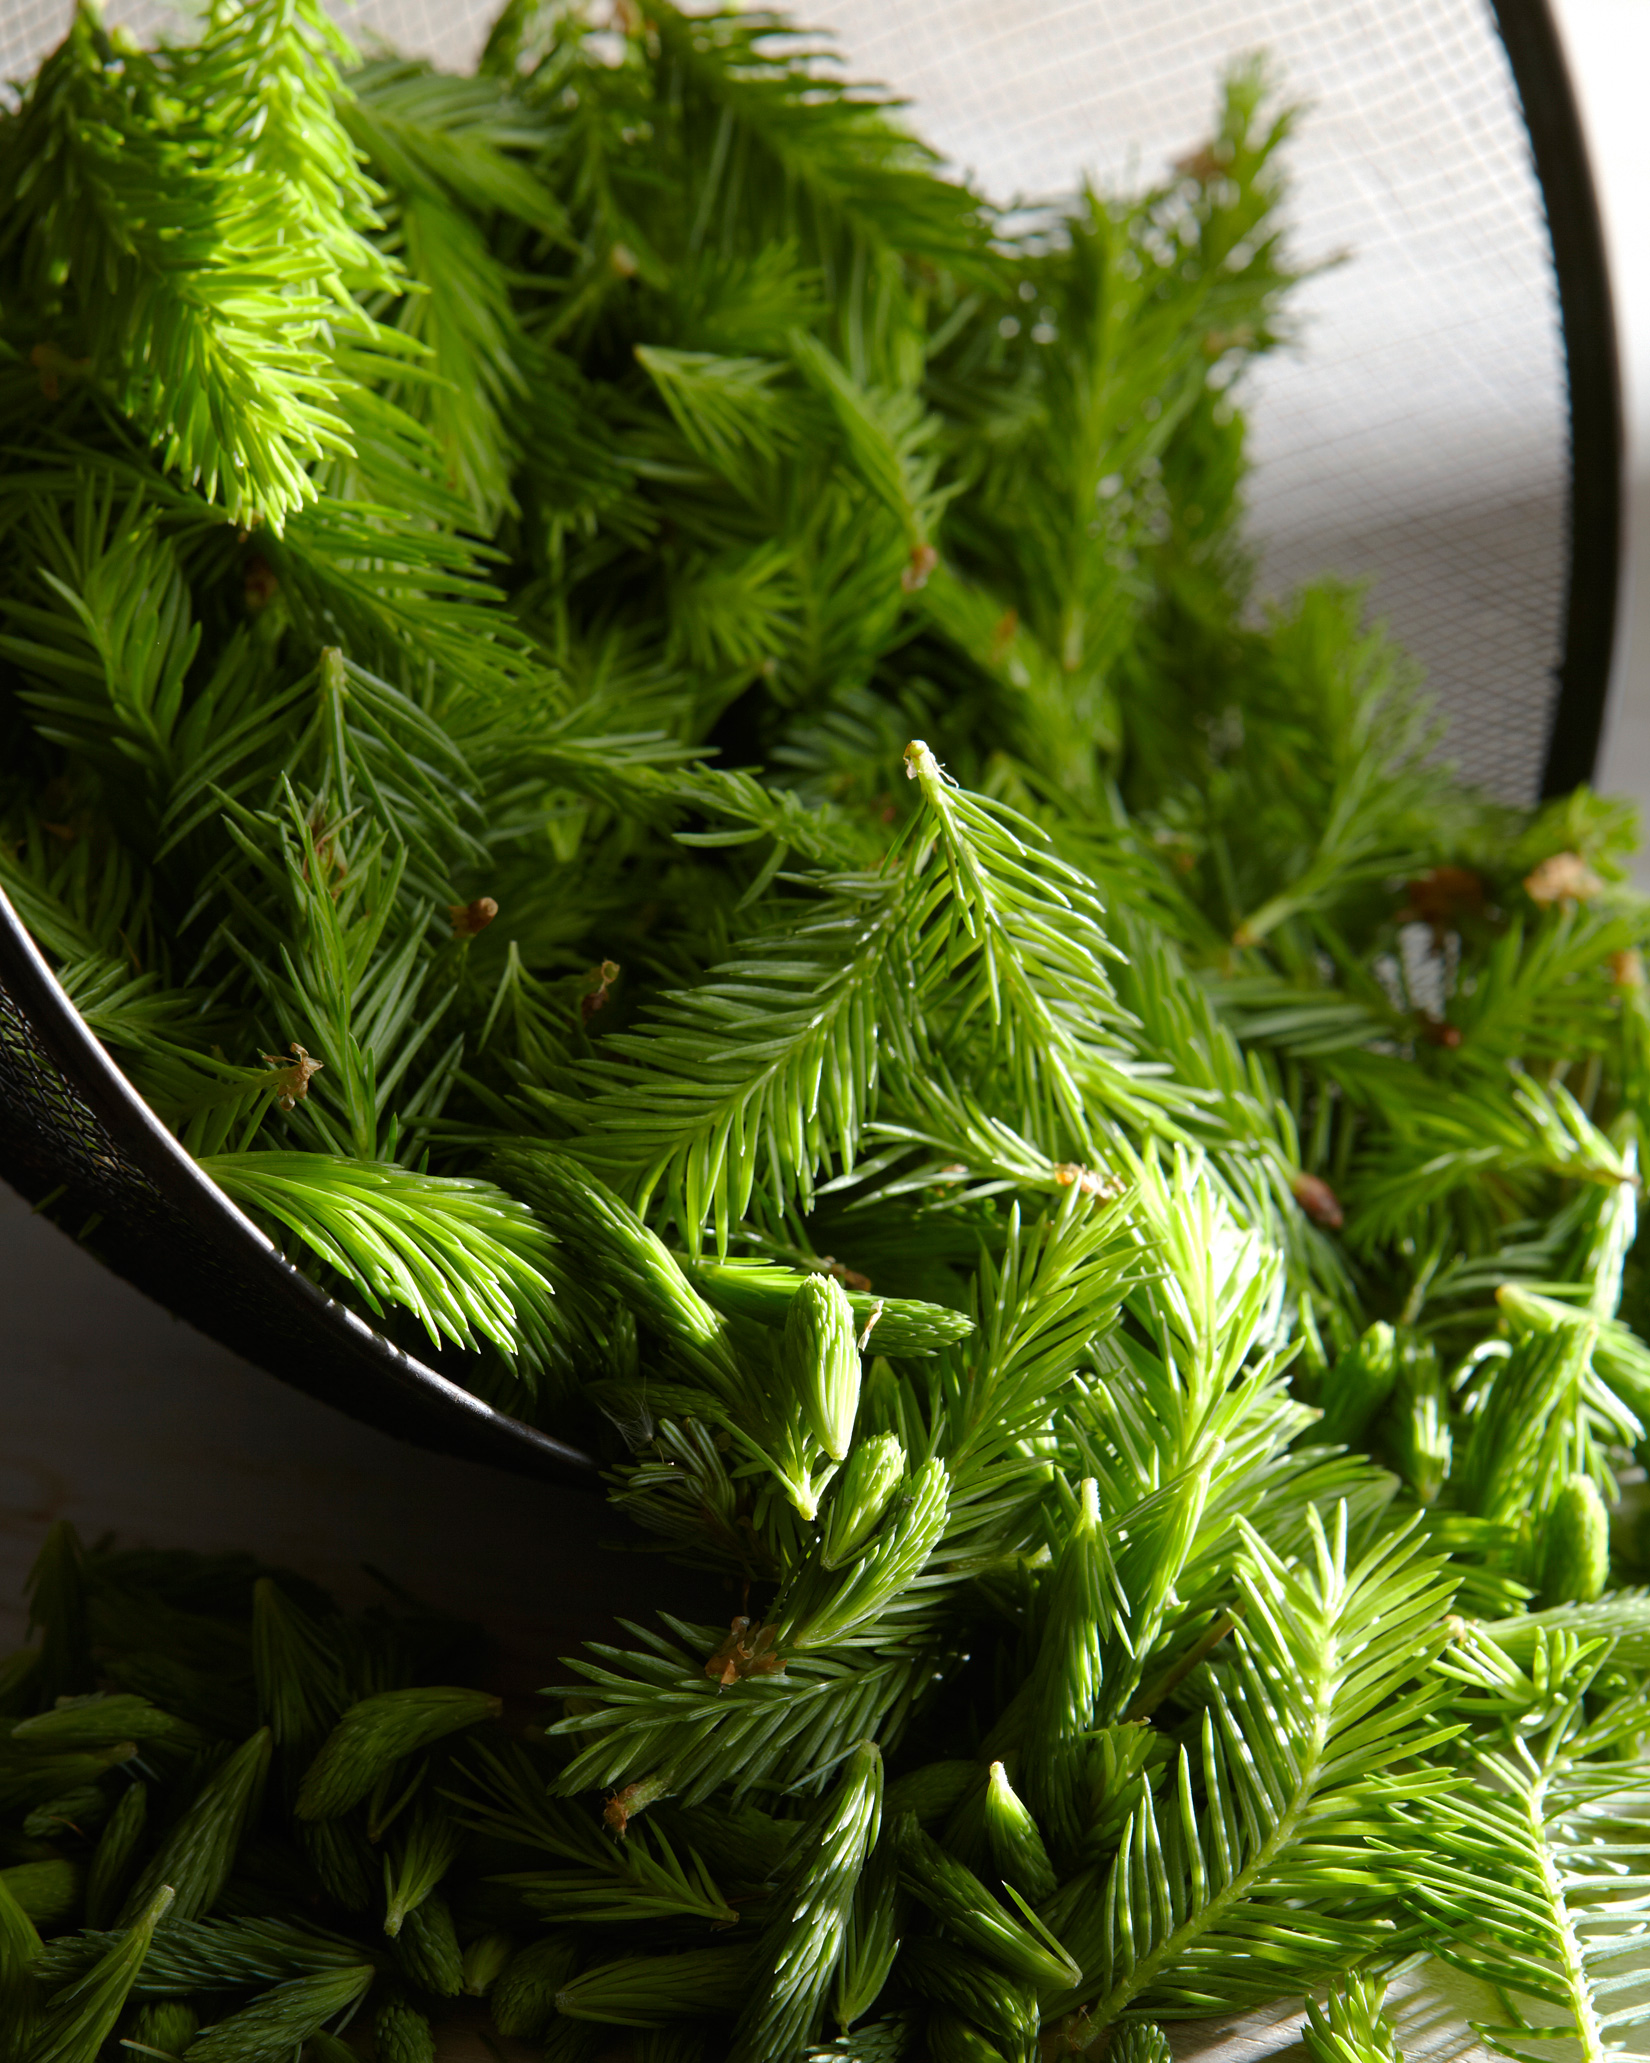
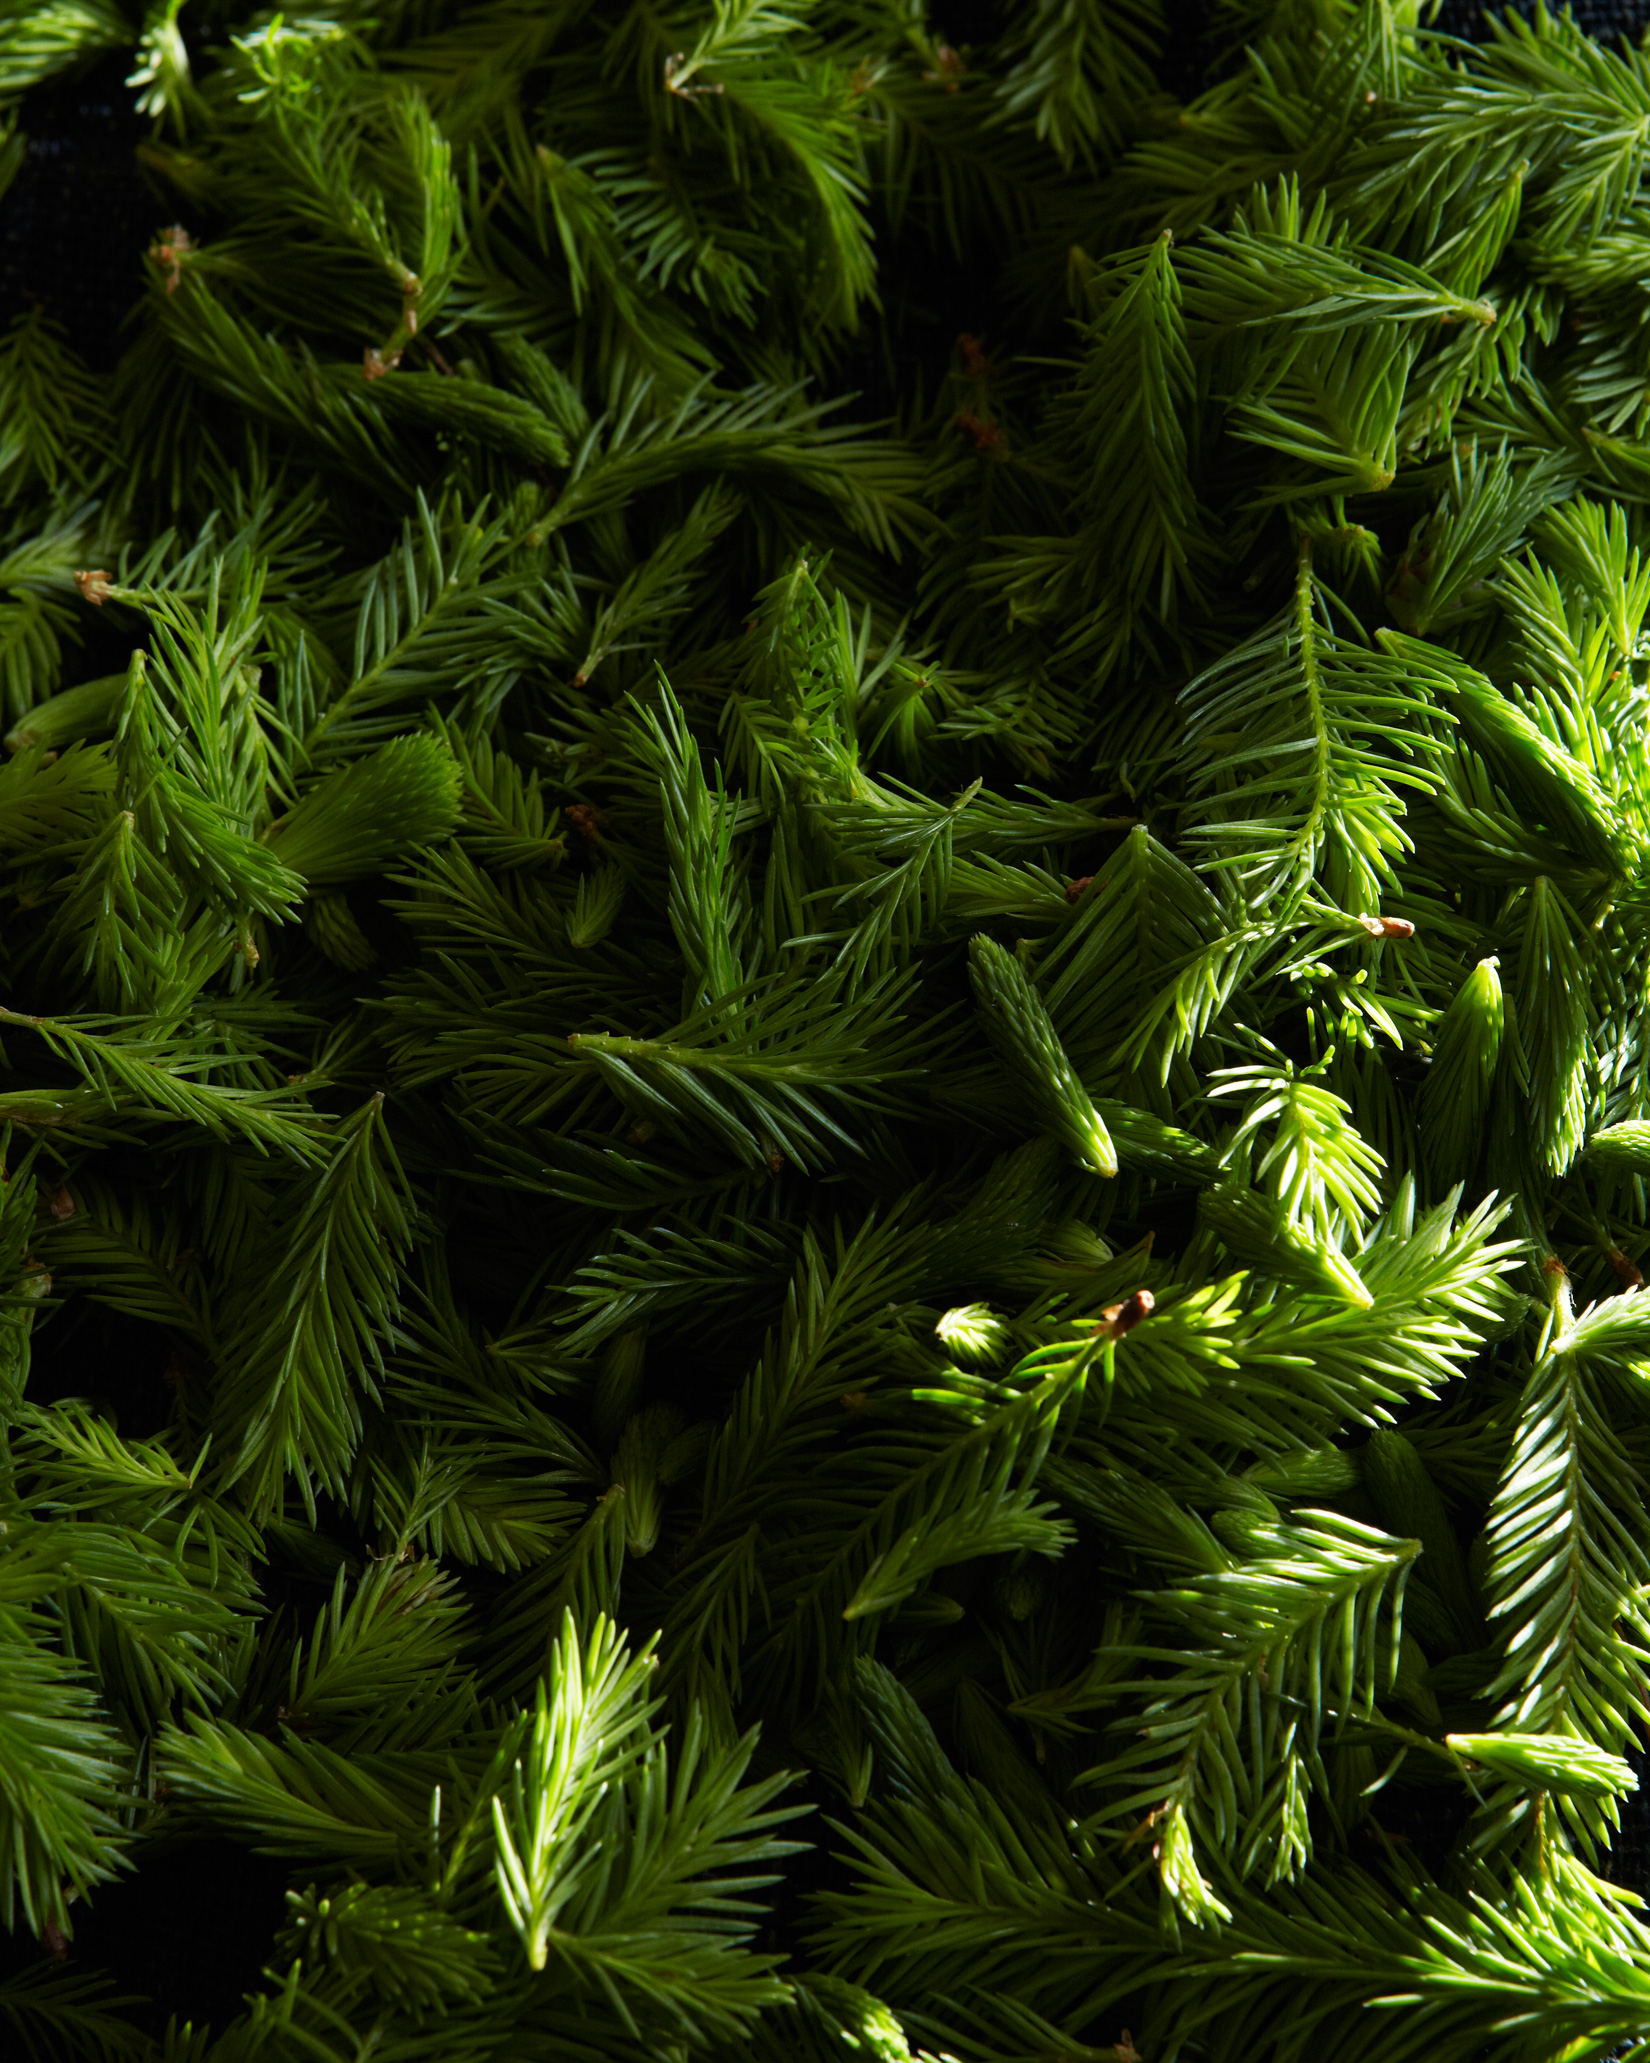
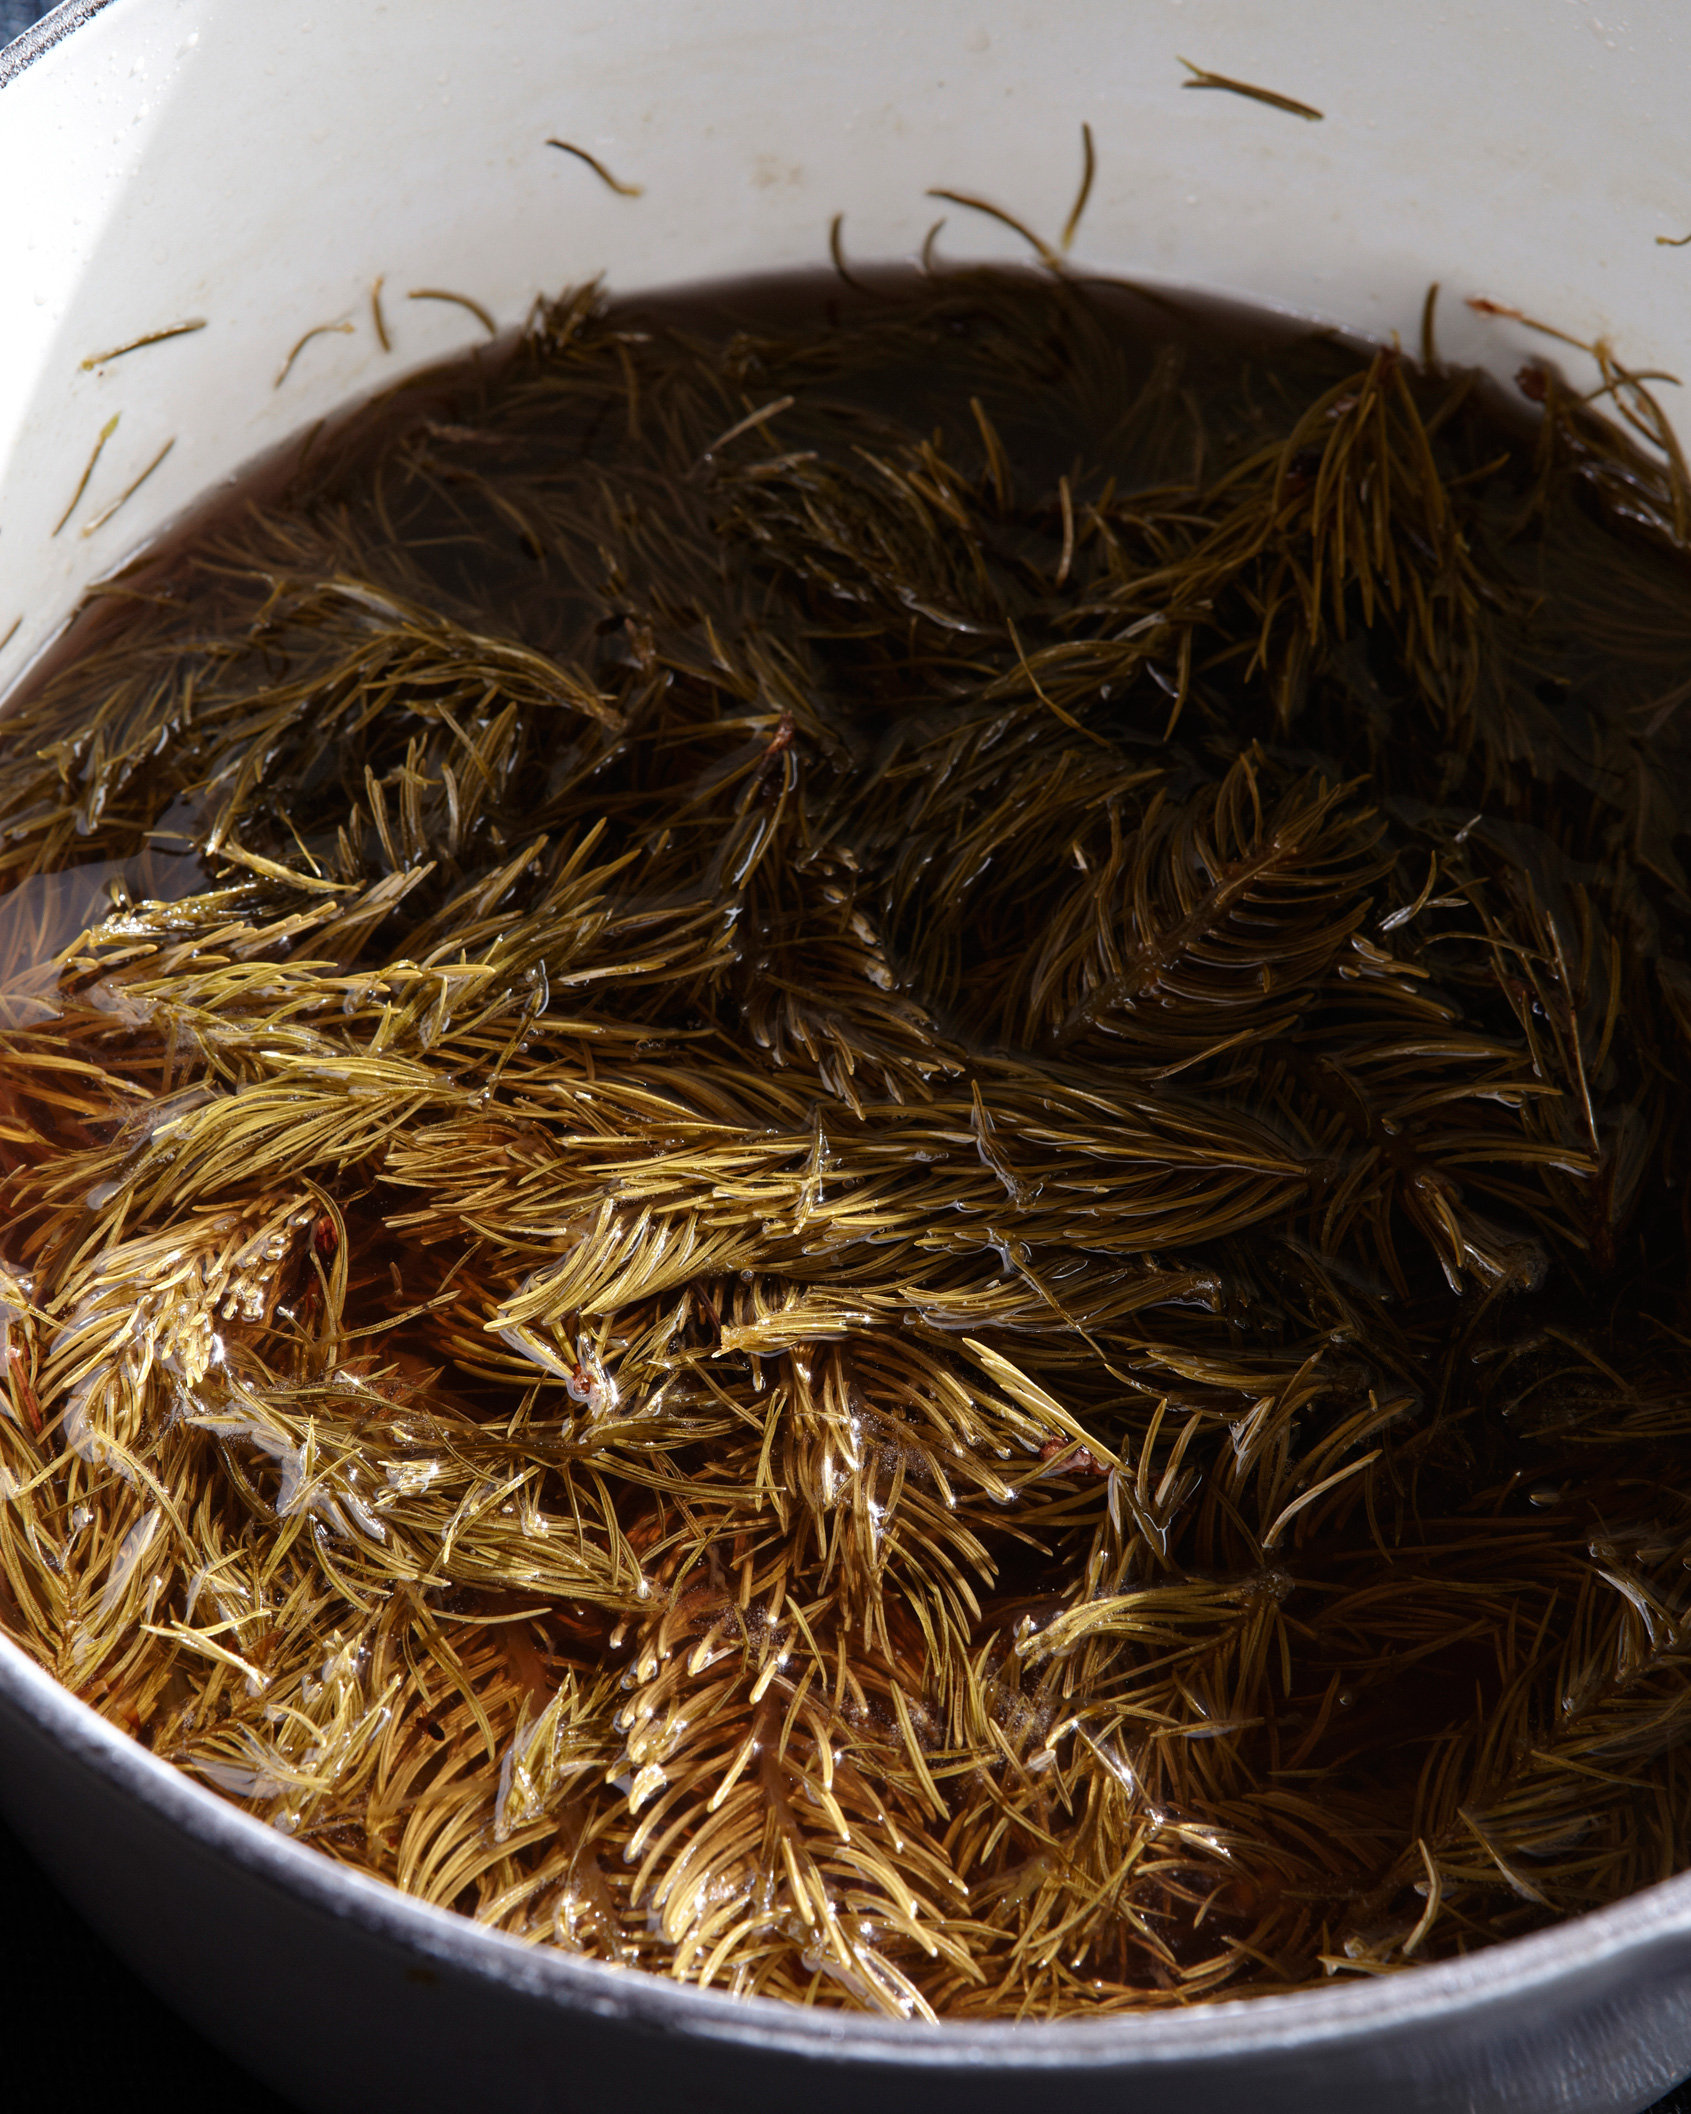
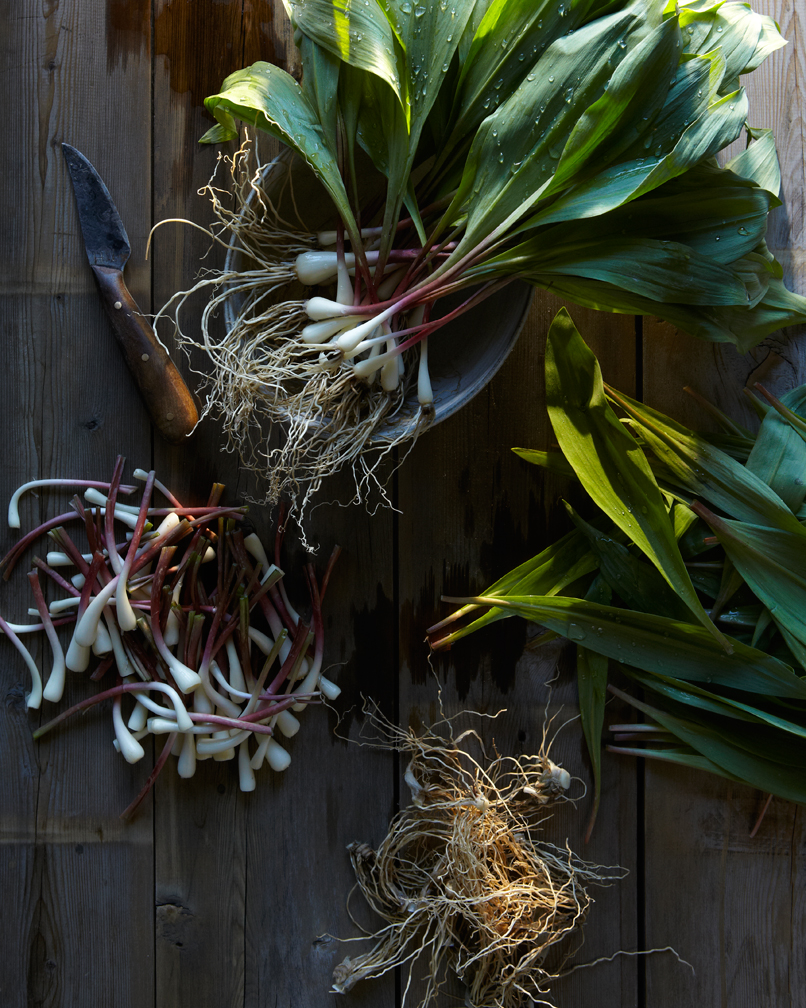
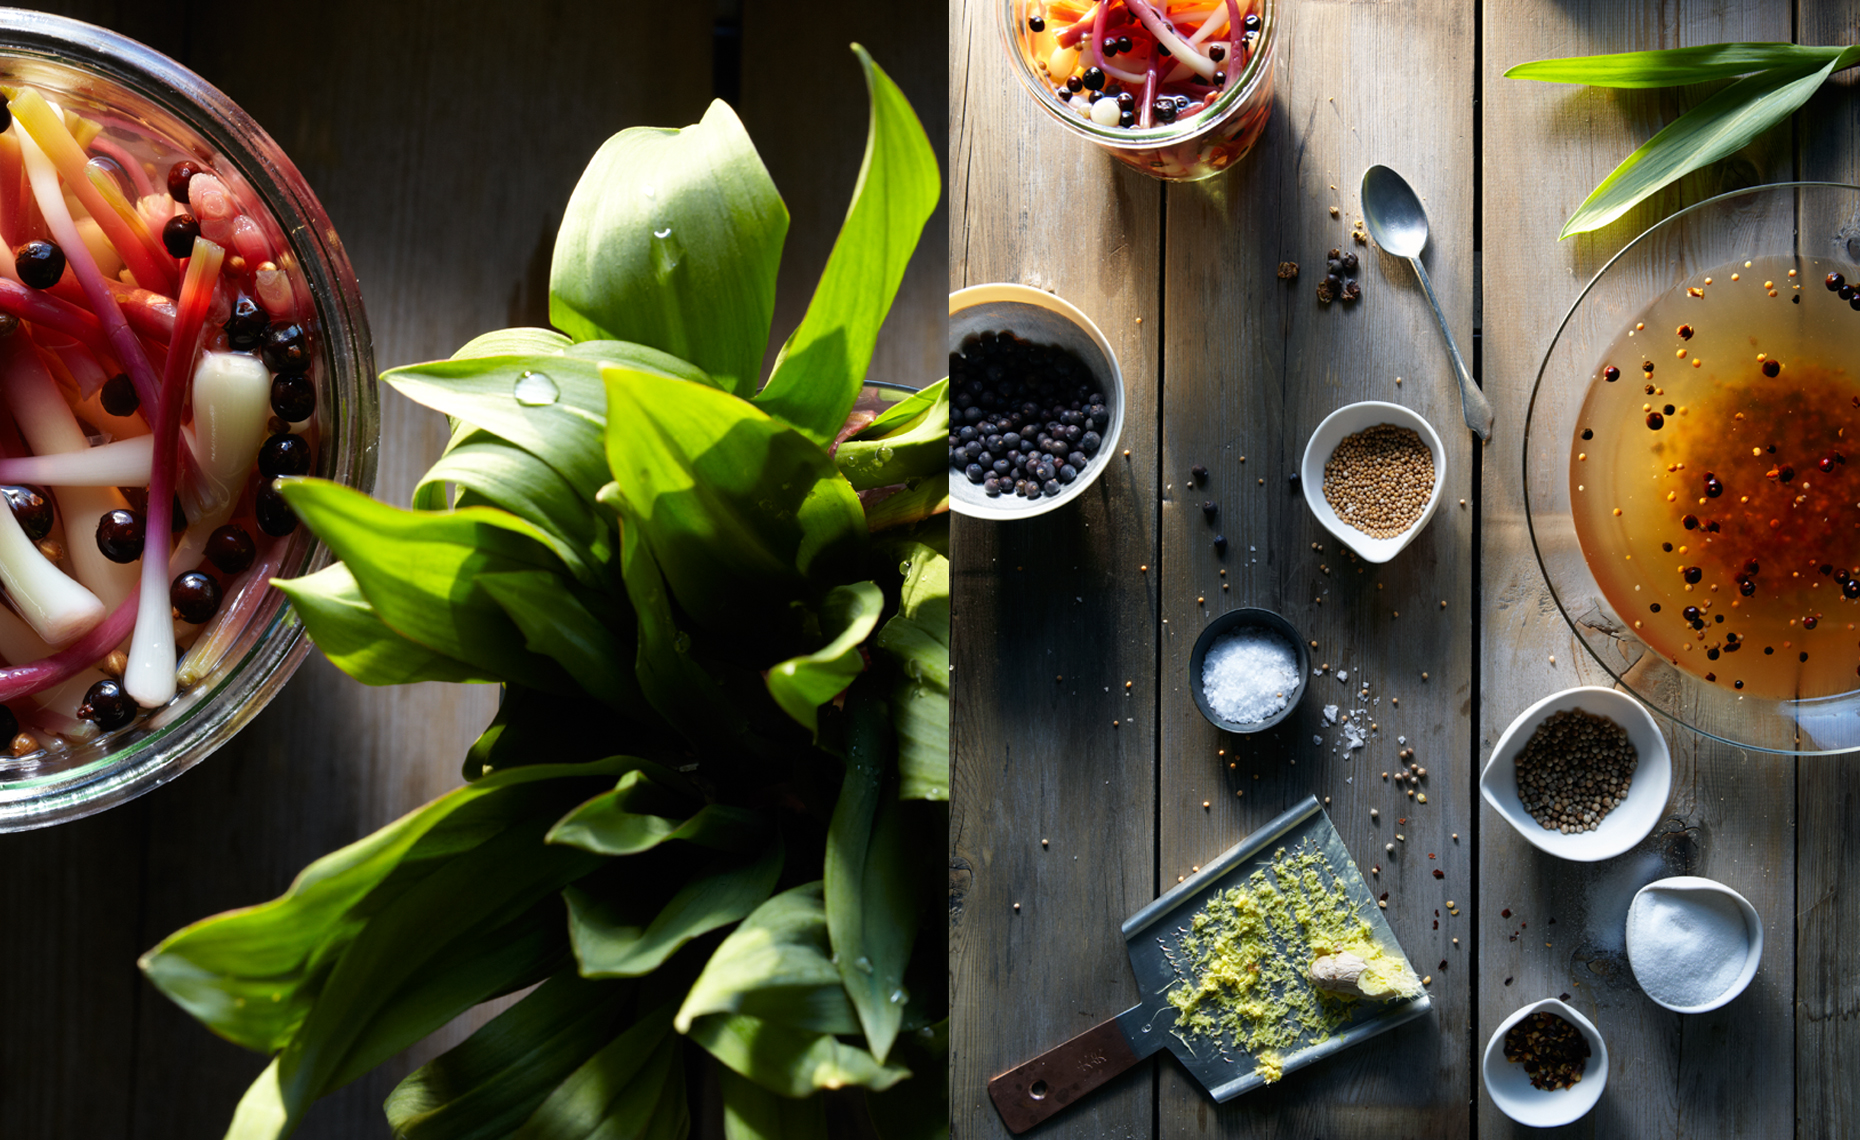
Below a few photos inspired by Les and Nova.
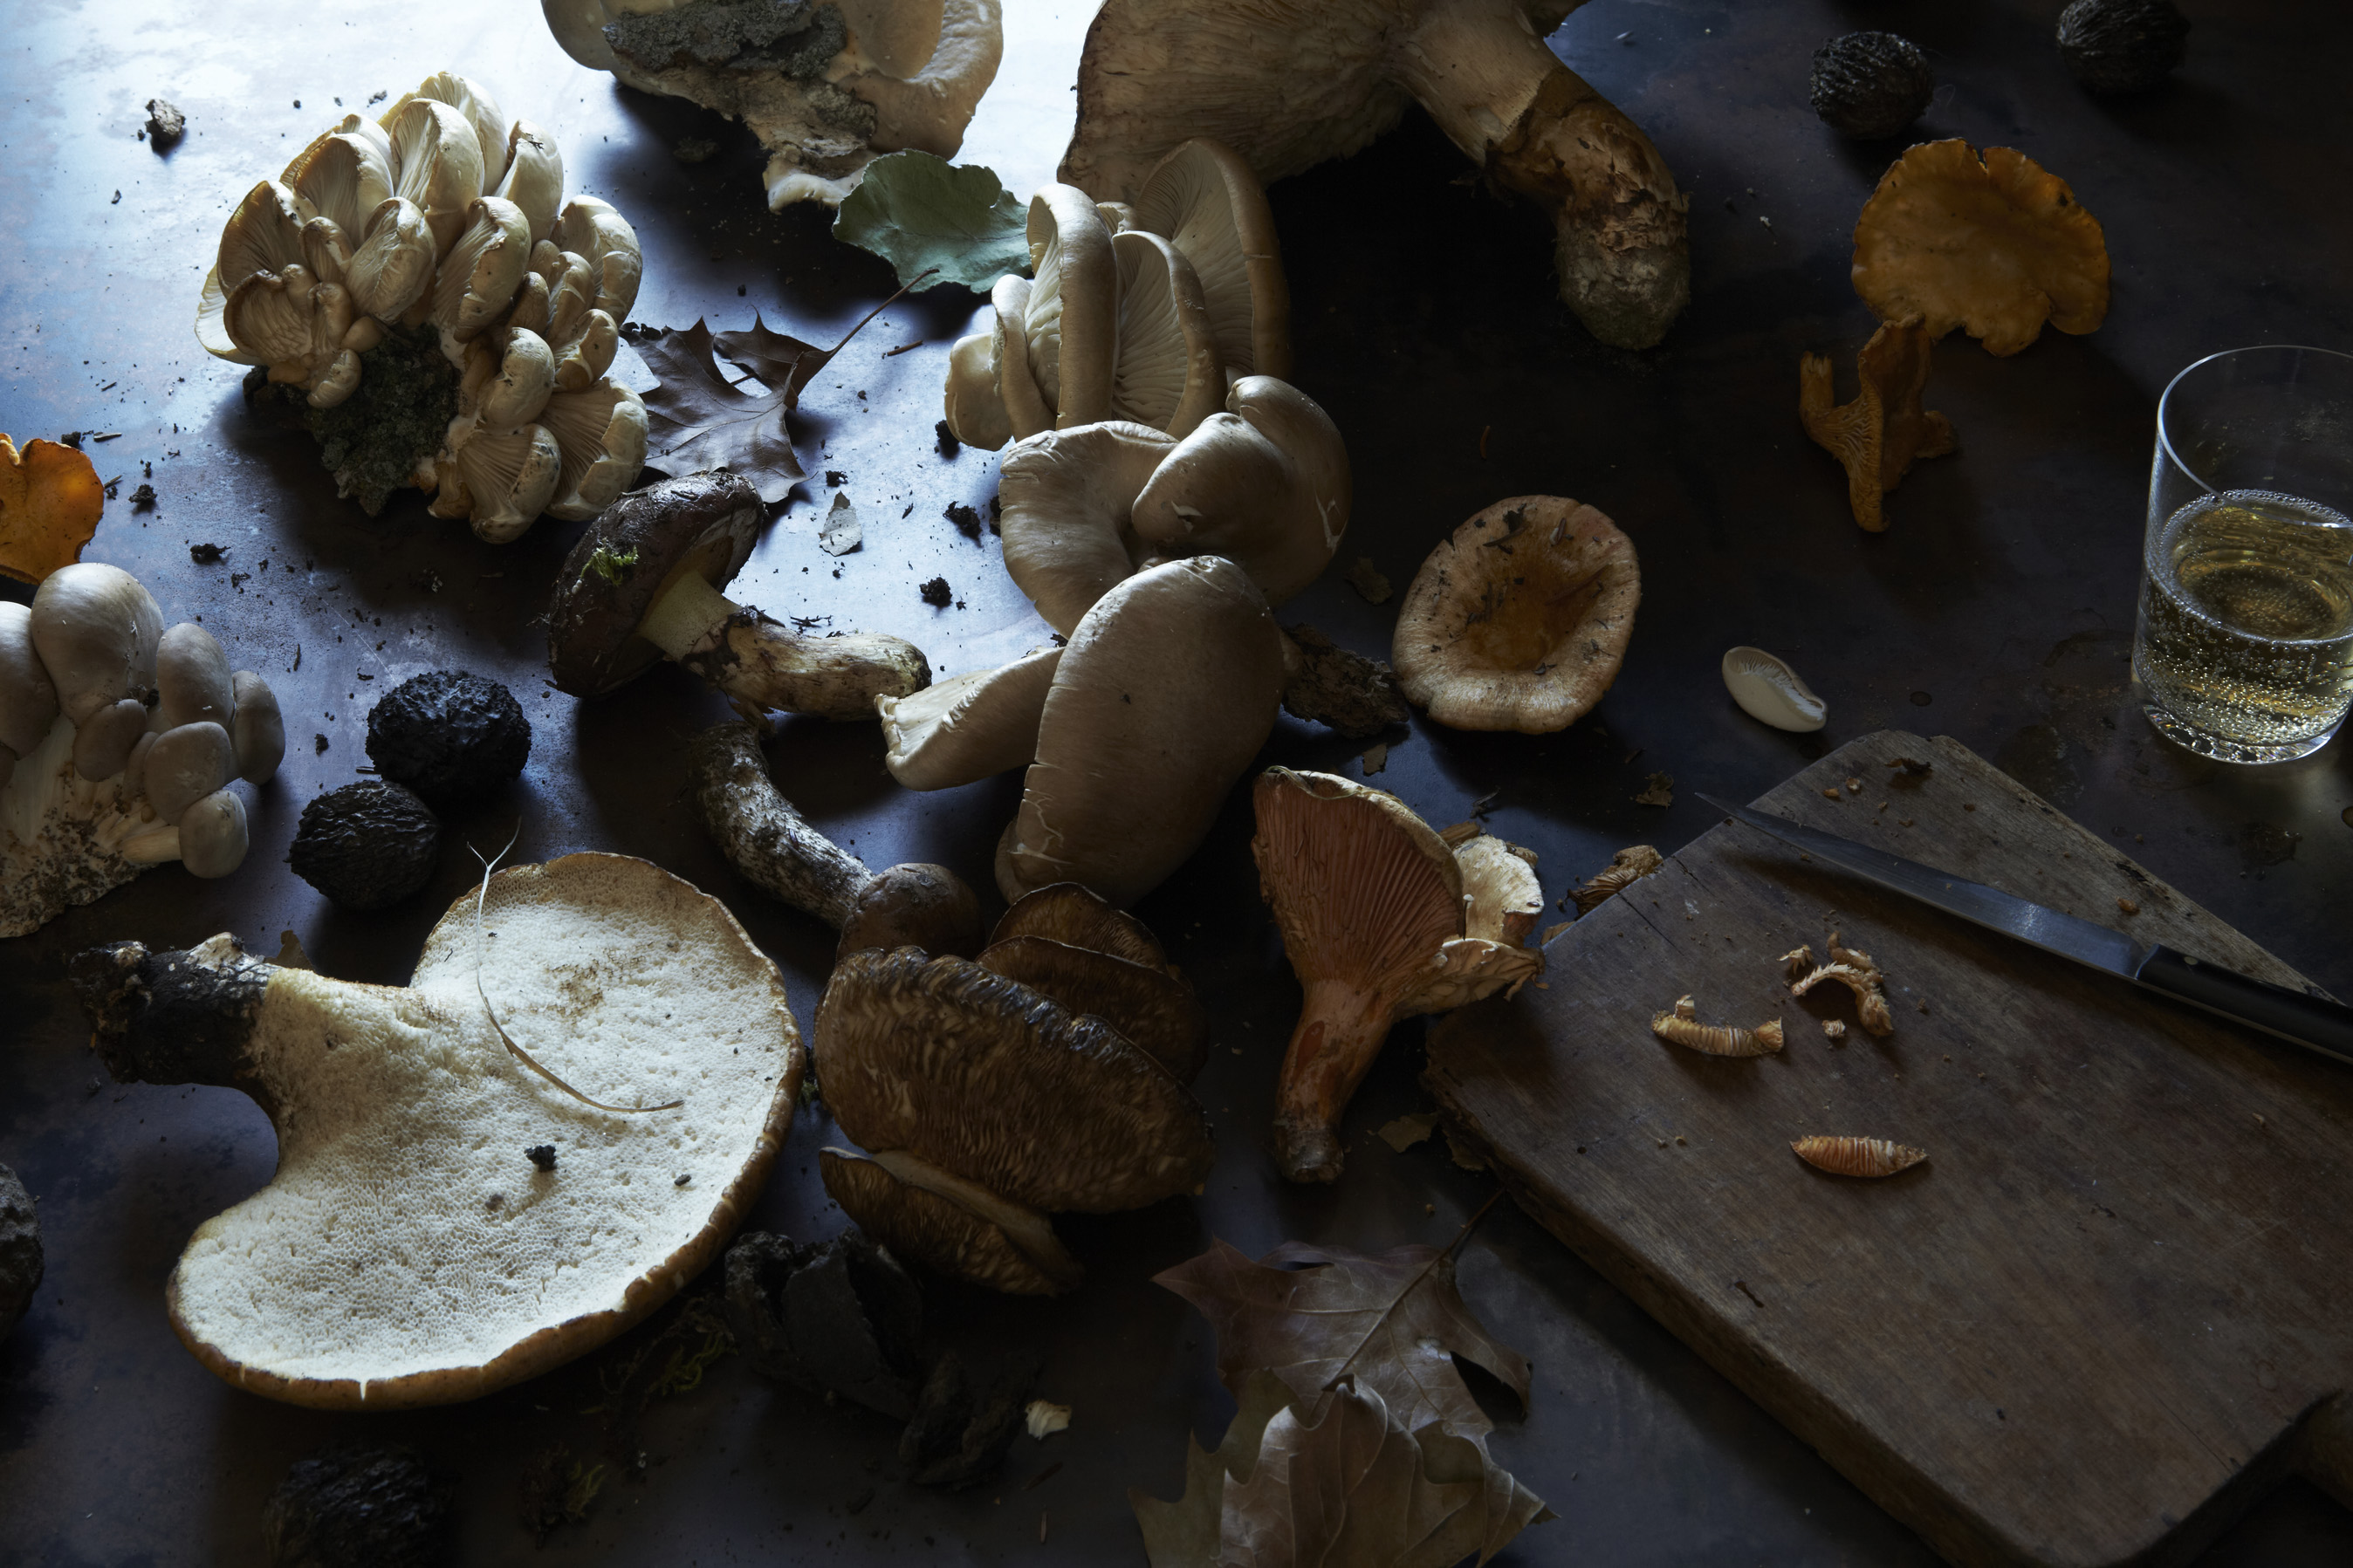
wild mushrooms
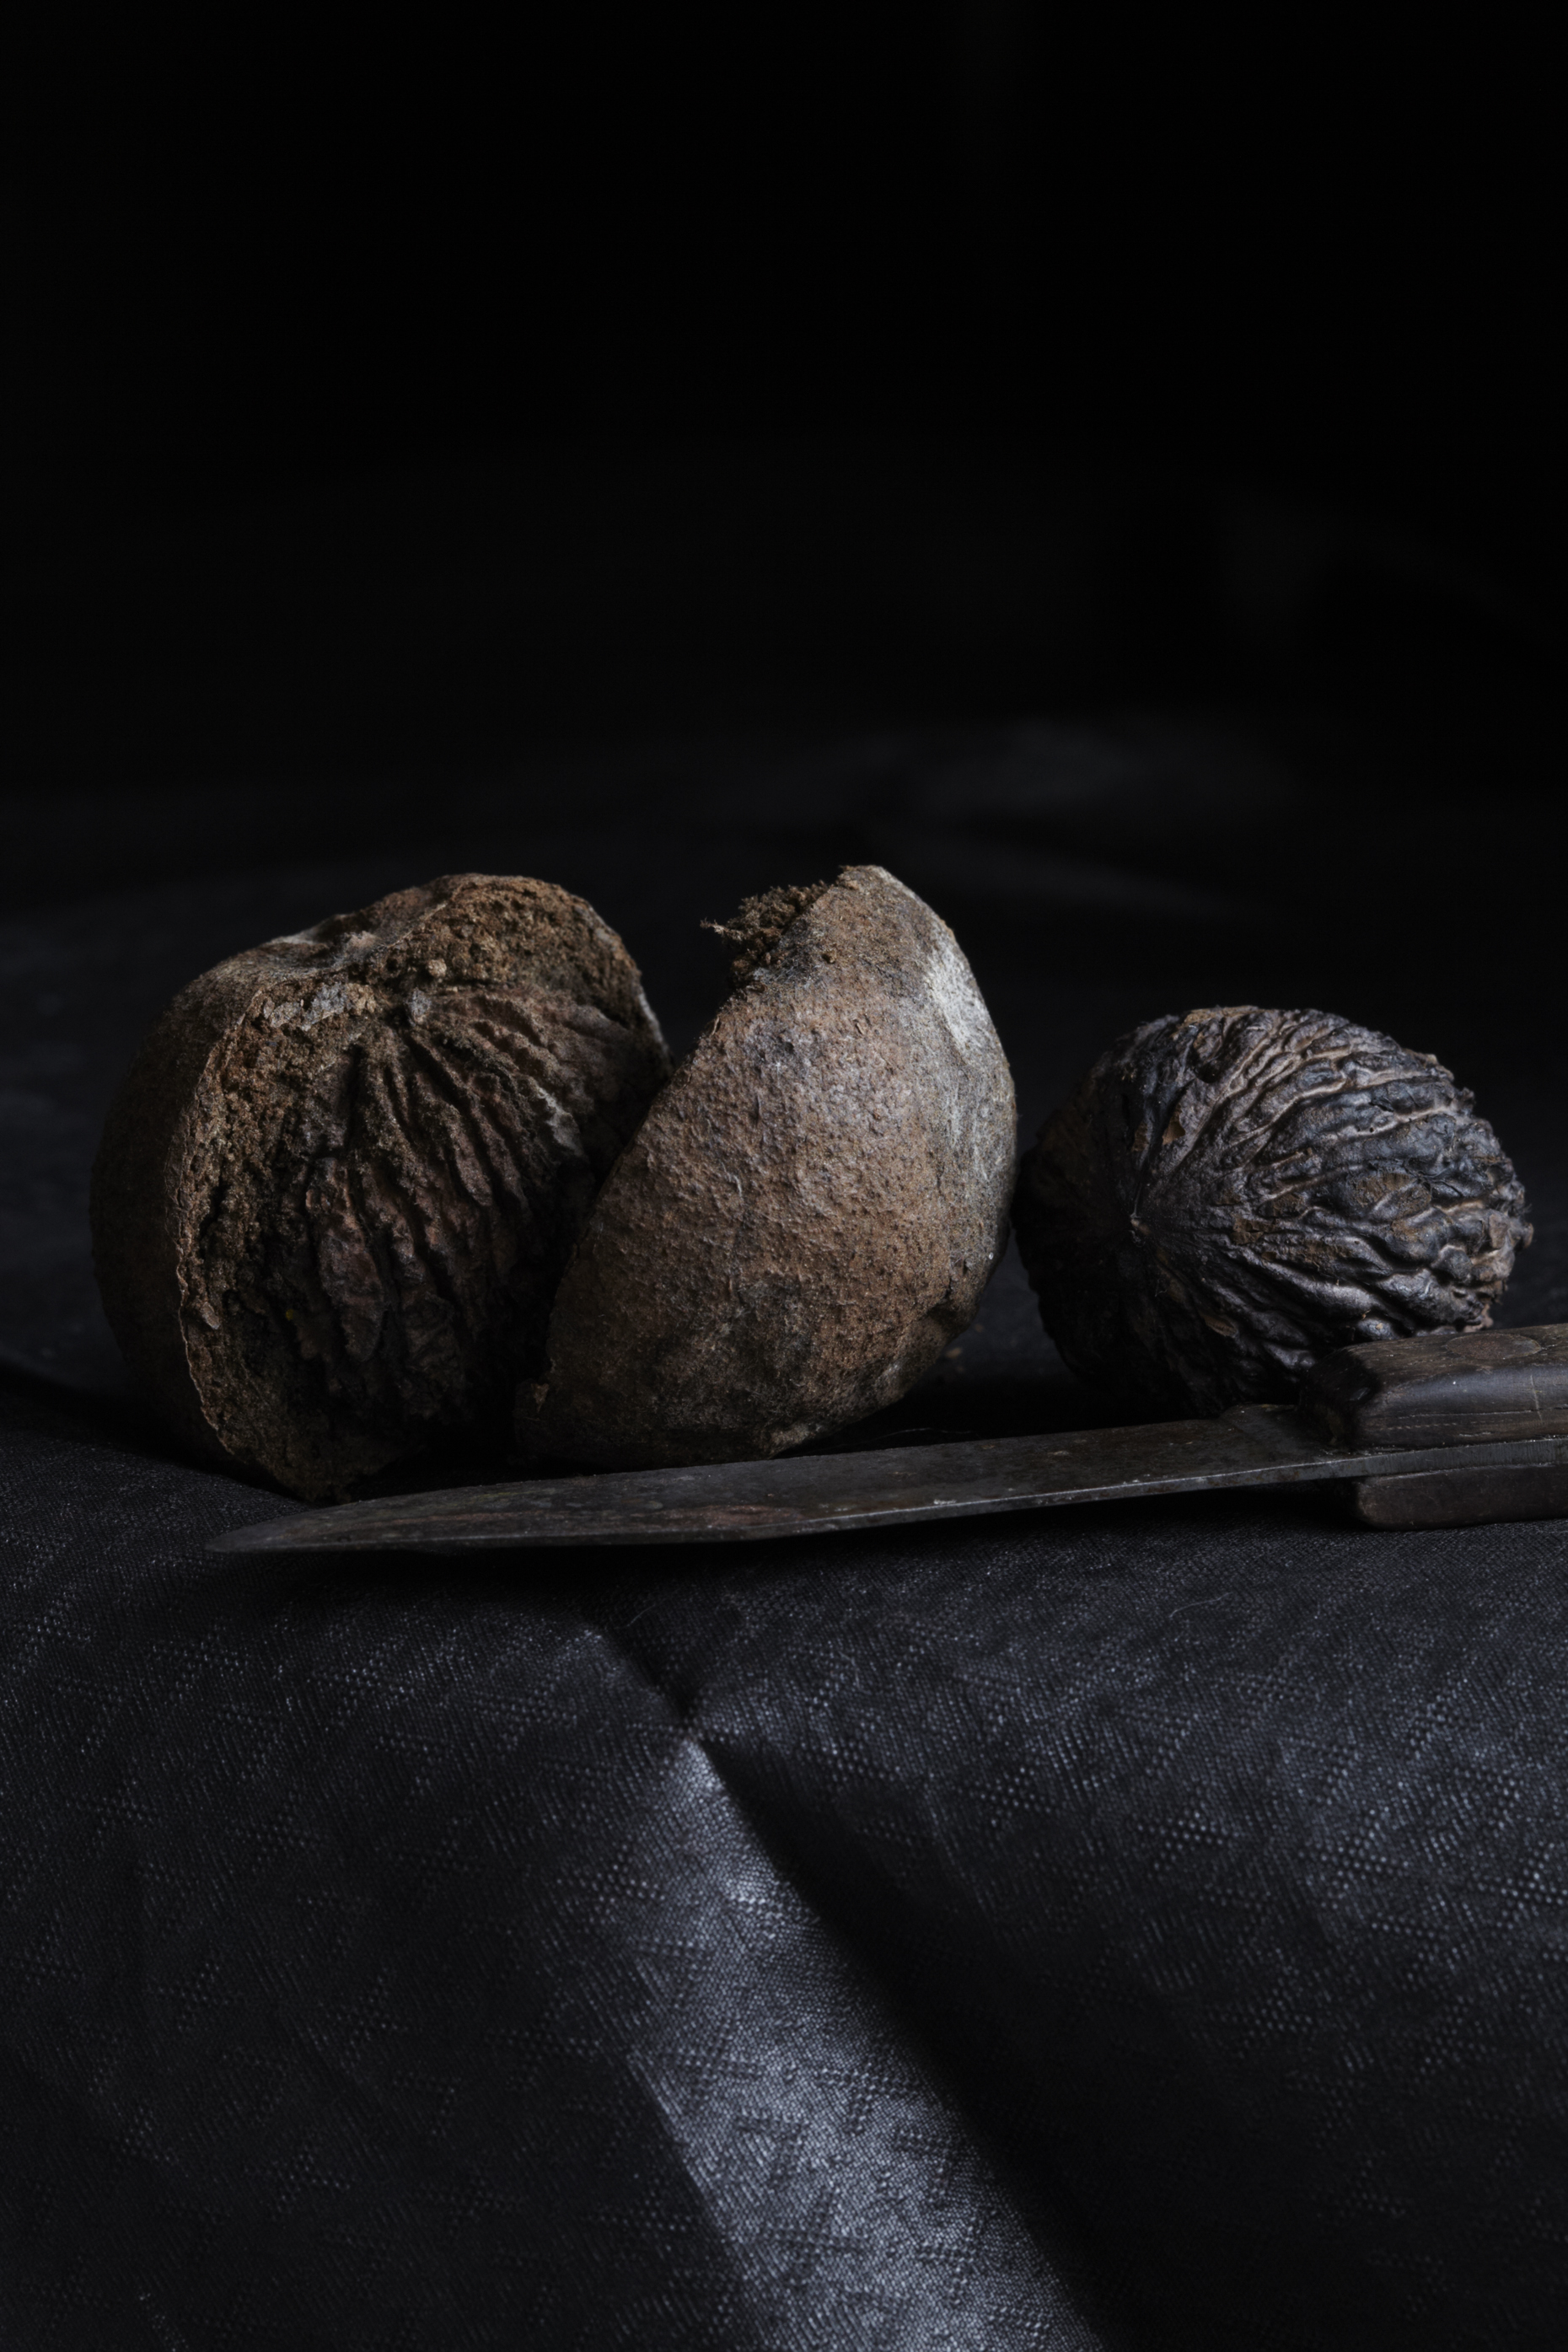
wild black walnuts
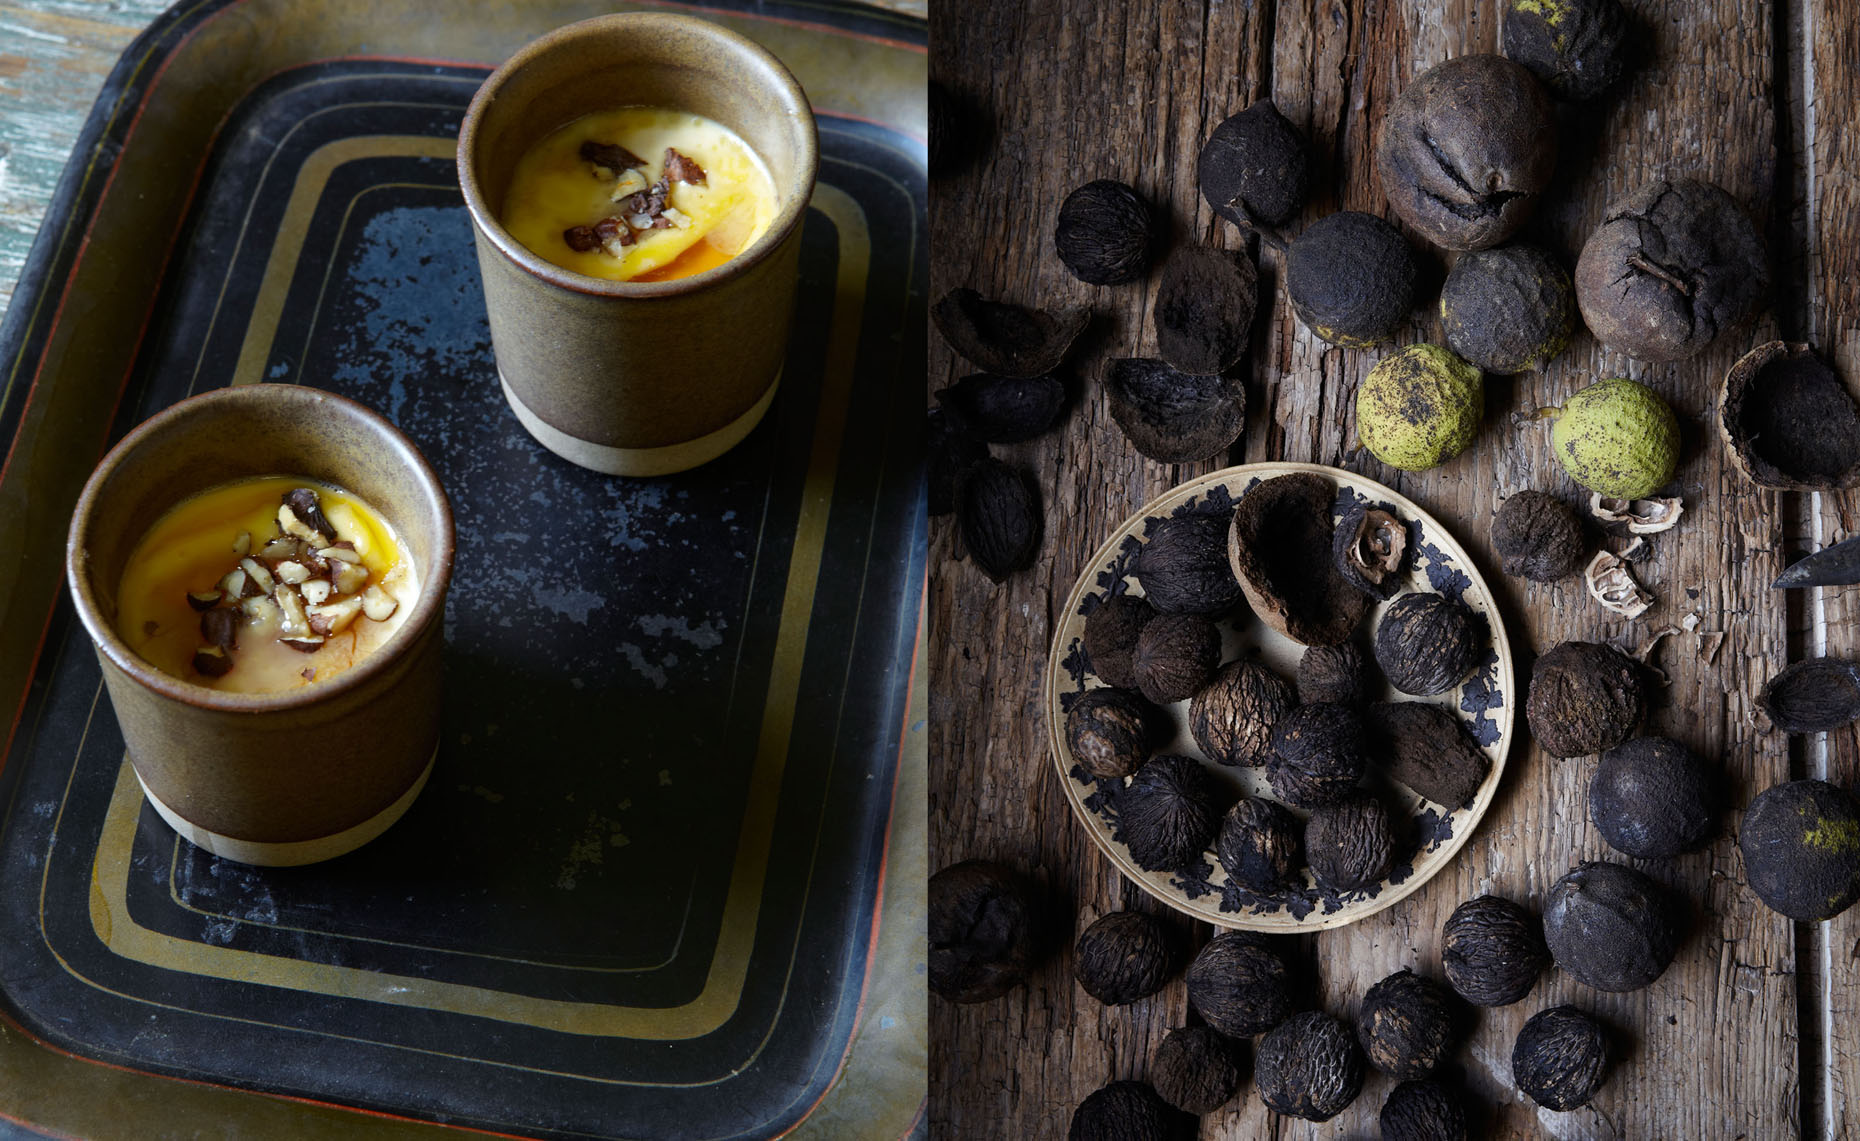
raw milk panna cotta with maple and black walnuts
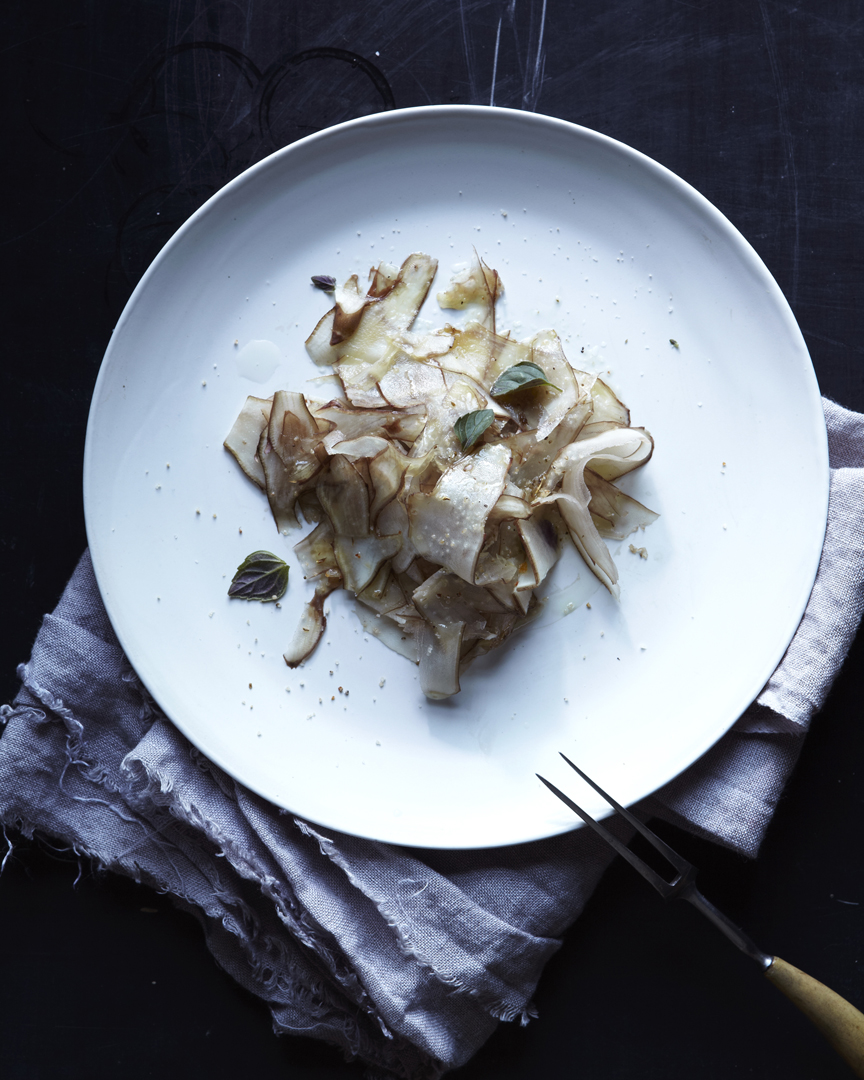
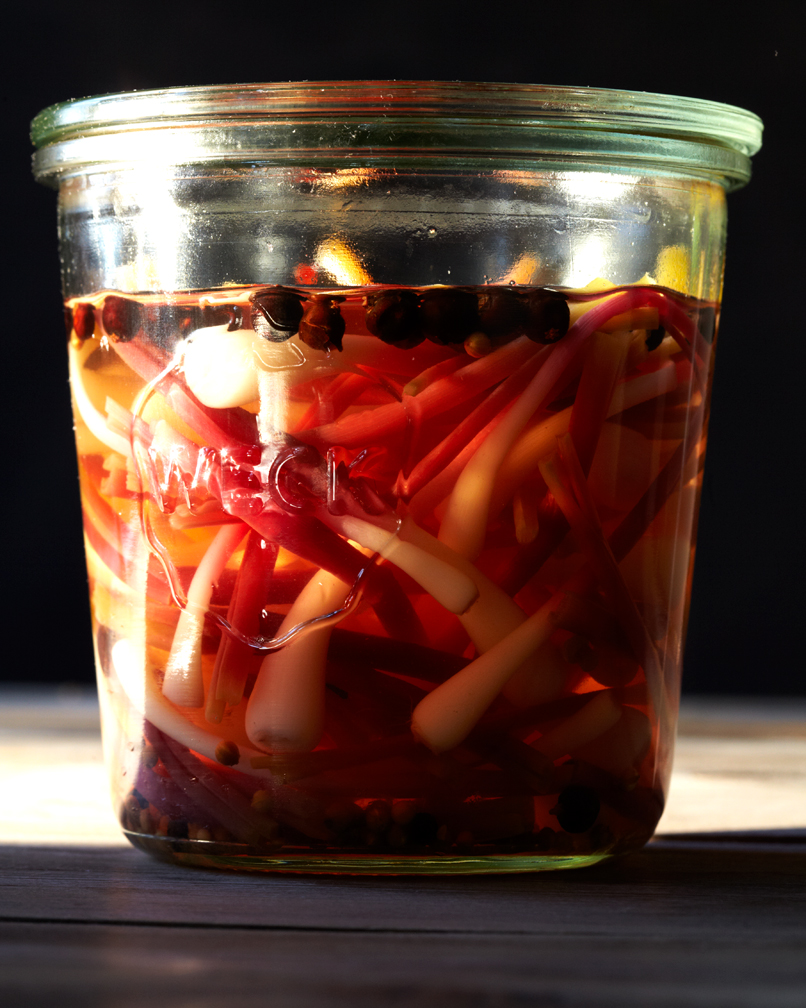
carpaccio of jerusalem artichoke
 andrea gentl