
tofu part 1.
On a recent trip to Nepal, I was obsessed with eating fresh homemade tofu from a tiny Japanese restaurant near our hotel. The owner of the restaurant was a Japanese woman who had been living in Nepal for many years. I had never eaten anything quite like it. We ate it both fresh and lightly fried with a spicy gingery peppery dipping sauce. The owner found it funny that we came every night to eat the same thing, but some times when you are traveling and shooting, exhaustion takes over and what is simple is best. She didn’t mind me pestering her about how she made it and after a slew of questions and some broken English, and lots of smiles I vowed to add it to my repertoire. Once home, time slipped away quickly, I forgot about the tofu until a conversation one day with Chef Camille Beccera and prop stylist/ and amazing girl about town April Flores. Camille told us that after culinary school in her early twenties, a friend told her abut a cooking position in A Zen monastery in Southern California. Being from the East Coast, she jumped at the chance to go. At the monastery, where she was just one of two girls, she both studied and cooked. She made huge batches of fresh tofu every week. Thus, this tofu making collaboration was born.
It took us a while to get around to it but when we finally did we had a great time and I saw how incredibly easy it is.
Fresh tofu is nothing like what you buy in the stores. It is light and a little sweet with a delicate flavor of the soybeans. Commercial tofu is much more dense and not at all as subtle in flavor. Fresh tofu is best eaten the same day you make it or within a day or two of making.
Once we established that we were going to make tofu we set about thinking of a few other recipes. (more to come)
Everything we made was a bi-product of the tofu making process.
Making tofu is a lot like making a simple cheese, the process is similar to making fresh ricotta.
Thank you April and Camille for an awesome day!
Below are Camille’s notes. From our day of tofu!
TOFU
1-½ cups of high-grade soybeans
14 cups total spring or filtered water, room temperature
1-½ teaspoons dry nigari
Tools:
Blender
Large heavy bottomed pot
Muslin
Large strainer or colander
-Soak soybeans in 5 cups water for at least 12 hours.
-Heat 6 cups of water in a heavy bottom pot. In a blender, puree beans and their soaking liquid in 3 batches for 2 minutes each time, you may risk burning out your blender if you puree it all in one shot. Add the puree in batches to the hot water and mix thoroughly after each time. Allow to come up to an almost boil on a medium-low setting. Stir frequently to avoid soybean pulp sticking to the bottom and scorching. Keep your eyes on the mixture making sure it doesn’t boil over. Remove from heat, cover and leave to cool for ½ hour.
-Make sure mixture is cooled enough to handle then strain using a muslin lined strainer or colander. Grab corners of the muslin and twist to press out all the soymilk. The leftover parched pulp is called okara and in Japan it is often times cooked with vegetables. Clean muslin out of all the pulp well, we will be using it again.
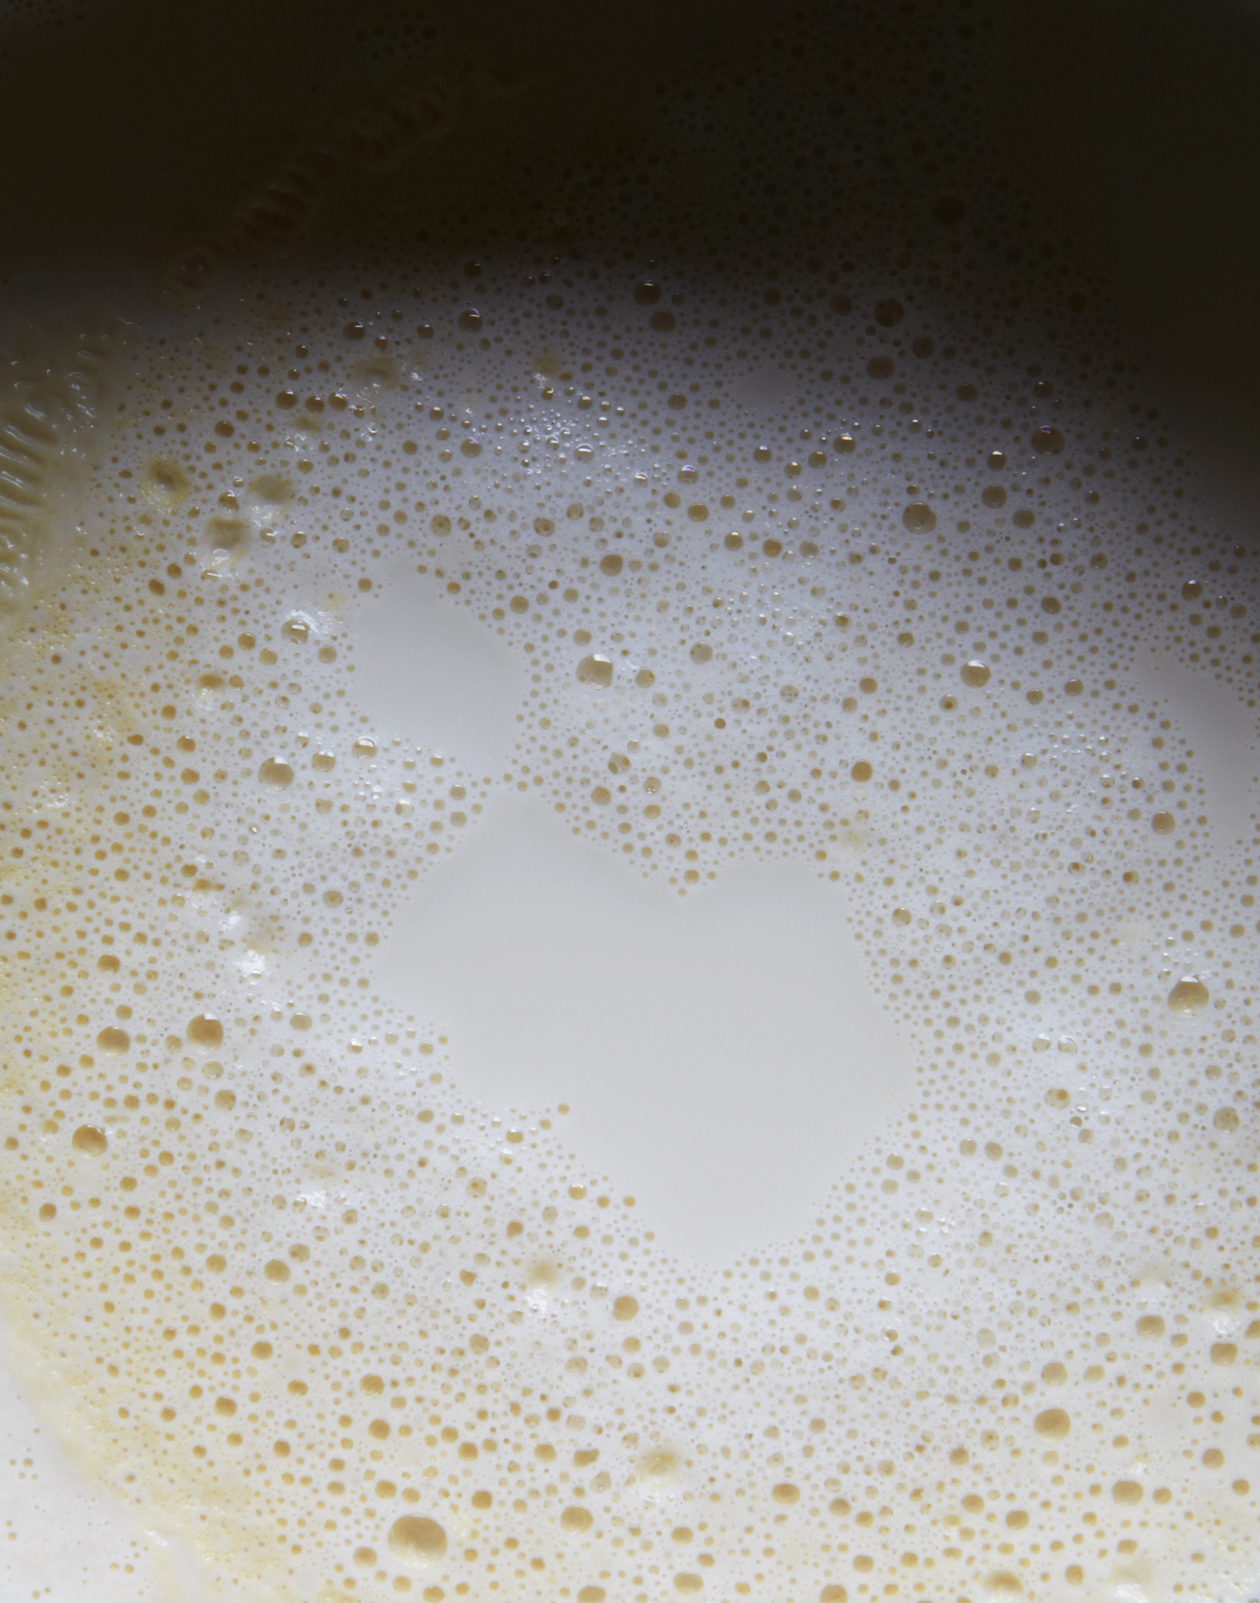
-Rinse pot out well and add the drained soymilk to it. Warm gently on low till the temperature reaches 175 degrees this process will take about an hour. The skin that forms as the soymilk slowly reaches desired temperature is called yuba. Yuba is a favorite amongst the Japanese. Using chopsticks gently pull out the yuba and roll it on a plate, it’s classically served with soy sauce and a bit of wasabi.
-Dilute nigari into 1 cup of water. Stir the milk in a zigzag motion a few times and while the soymilk is still moving add half of the nigari solution allowing the existing motion to transport the nigari throughout, do not stir after you add nigari. Wait 2 minutes then gently add the remaining nigari solution around the perimeter and over the top. Cover and let sit for 15 minutes to coagulate. You should see the whey, a clear liquid when you gently move the curd from the side of the pot. If not make a 1/4 batch of the nigari solution, bring milk back to 175 degrees on very, very low heat and sprinkle throughout the sides and top, do not stir, remove heat.
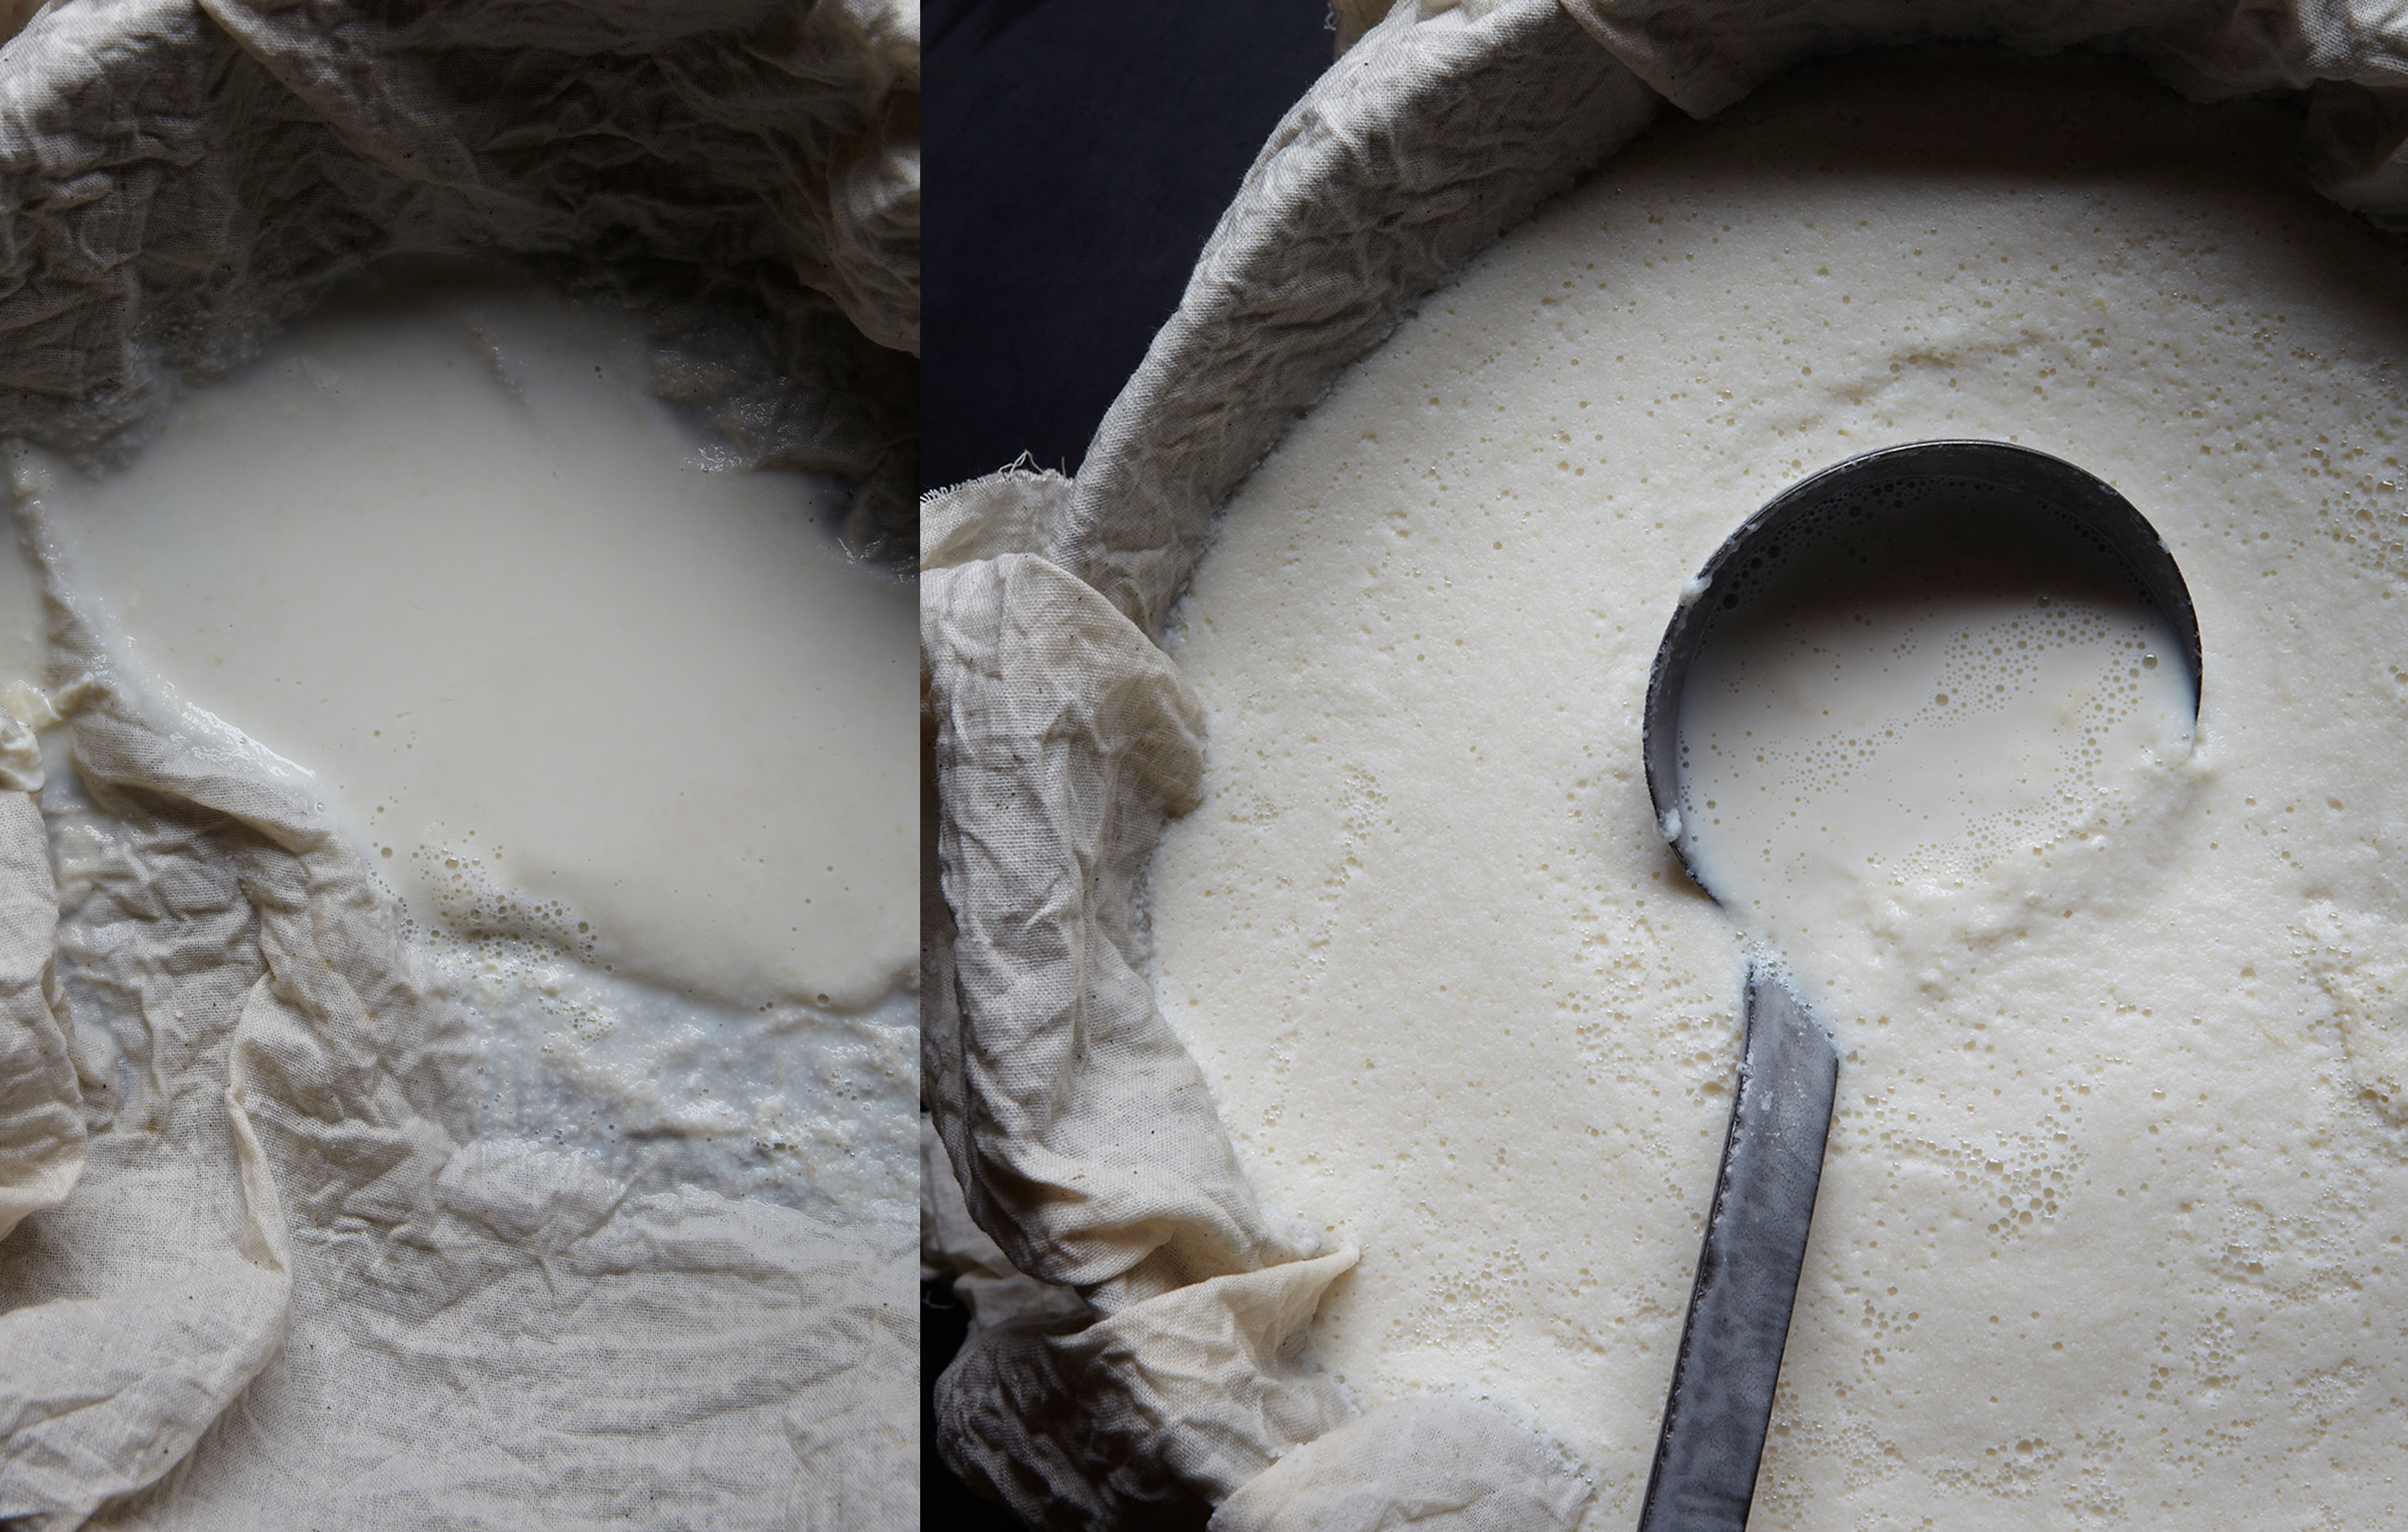
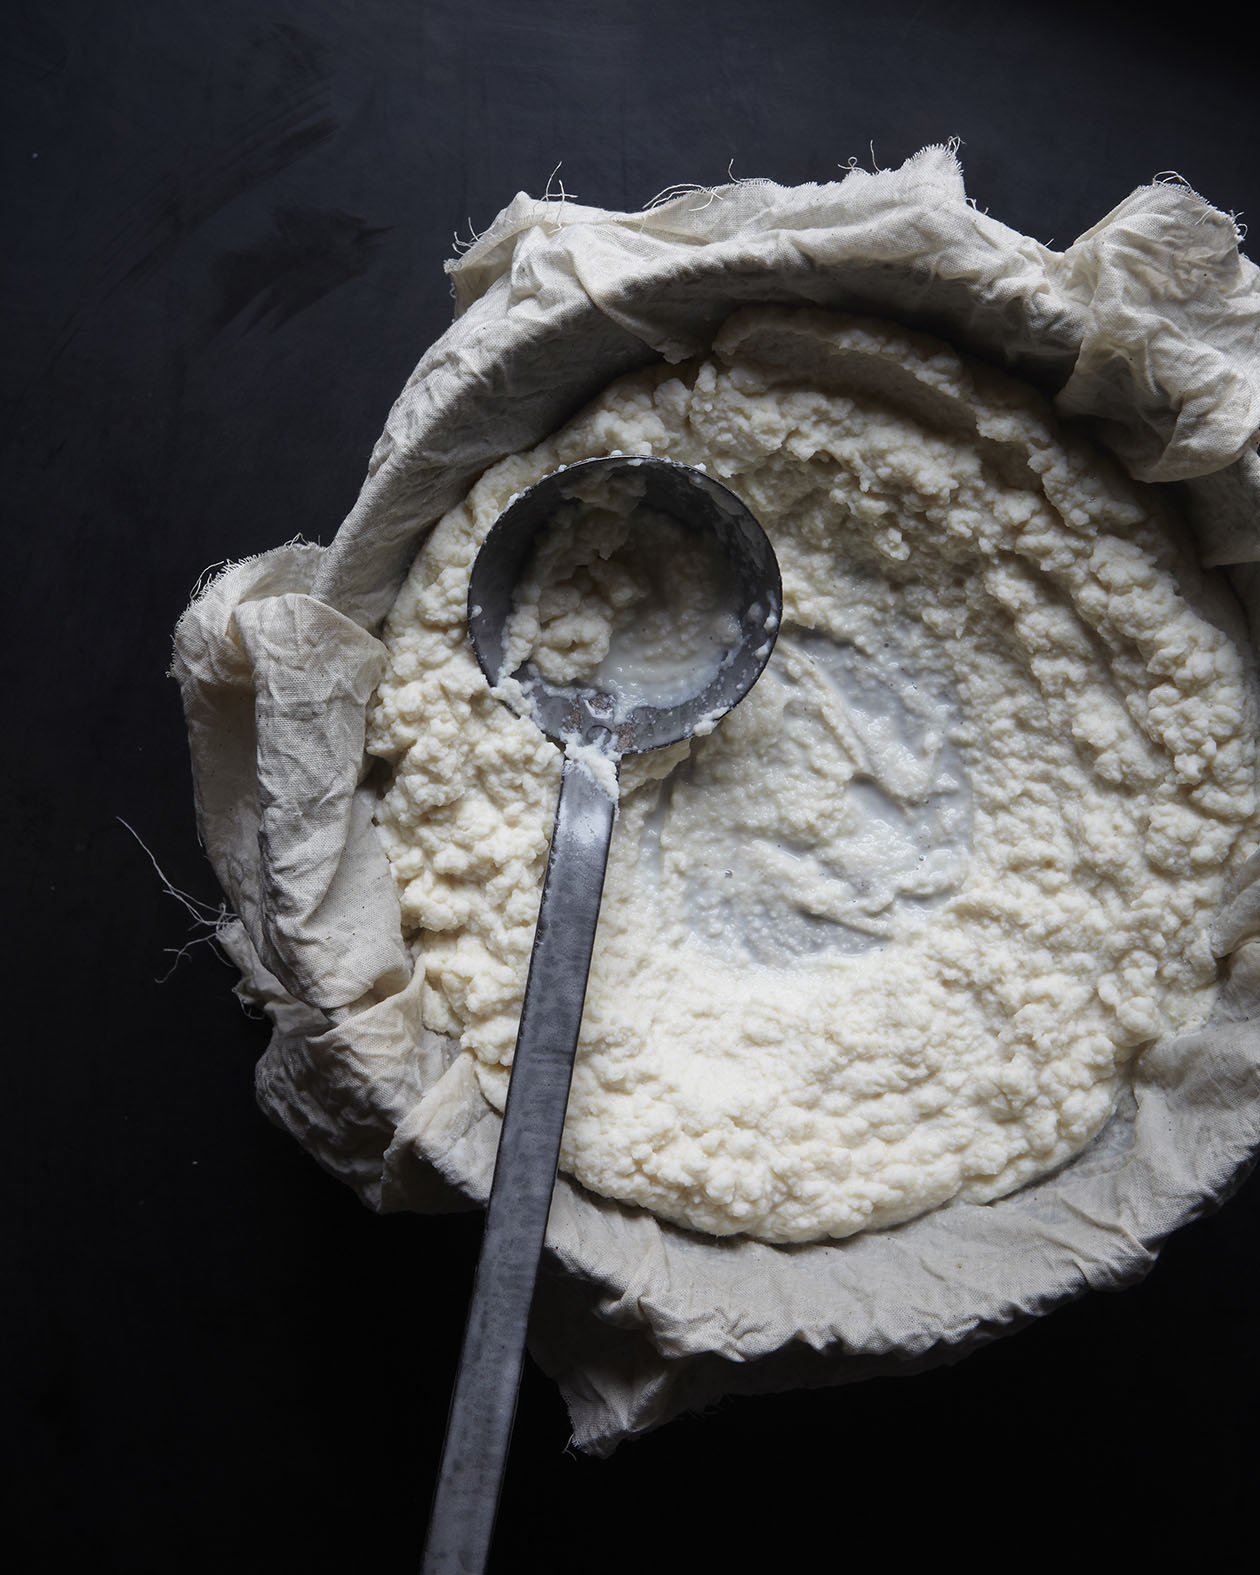
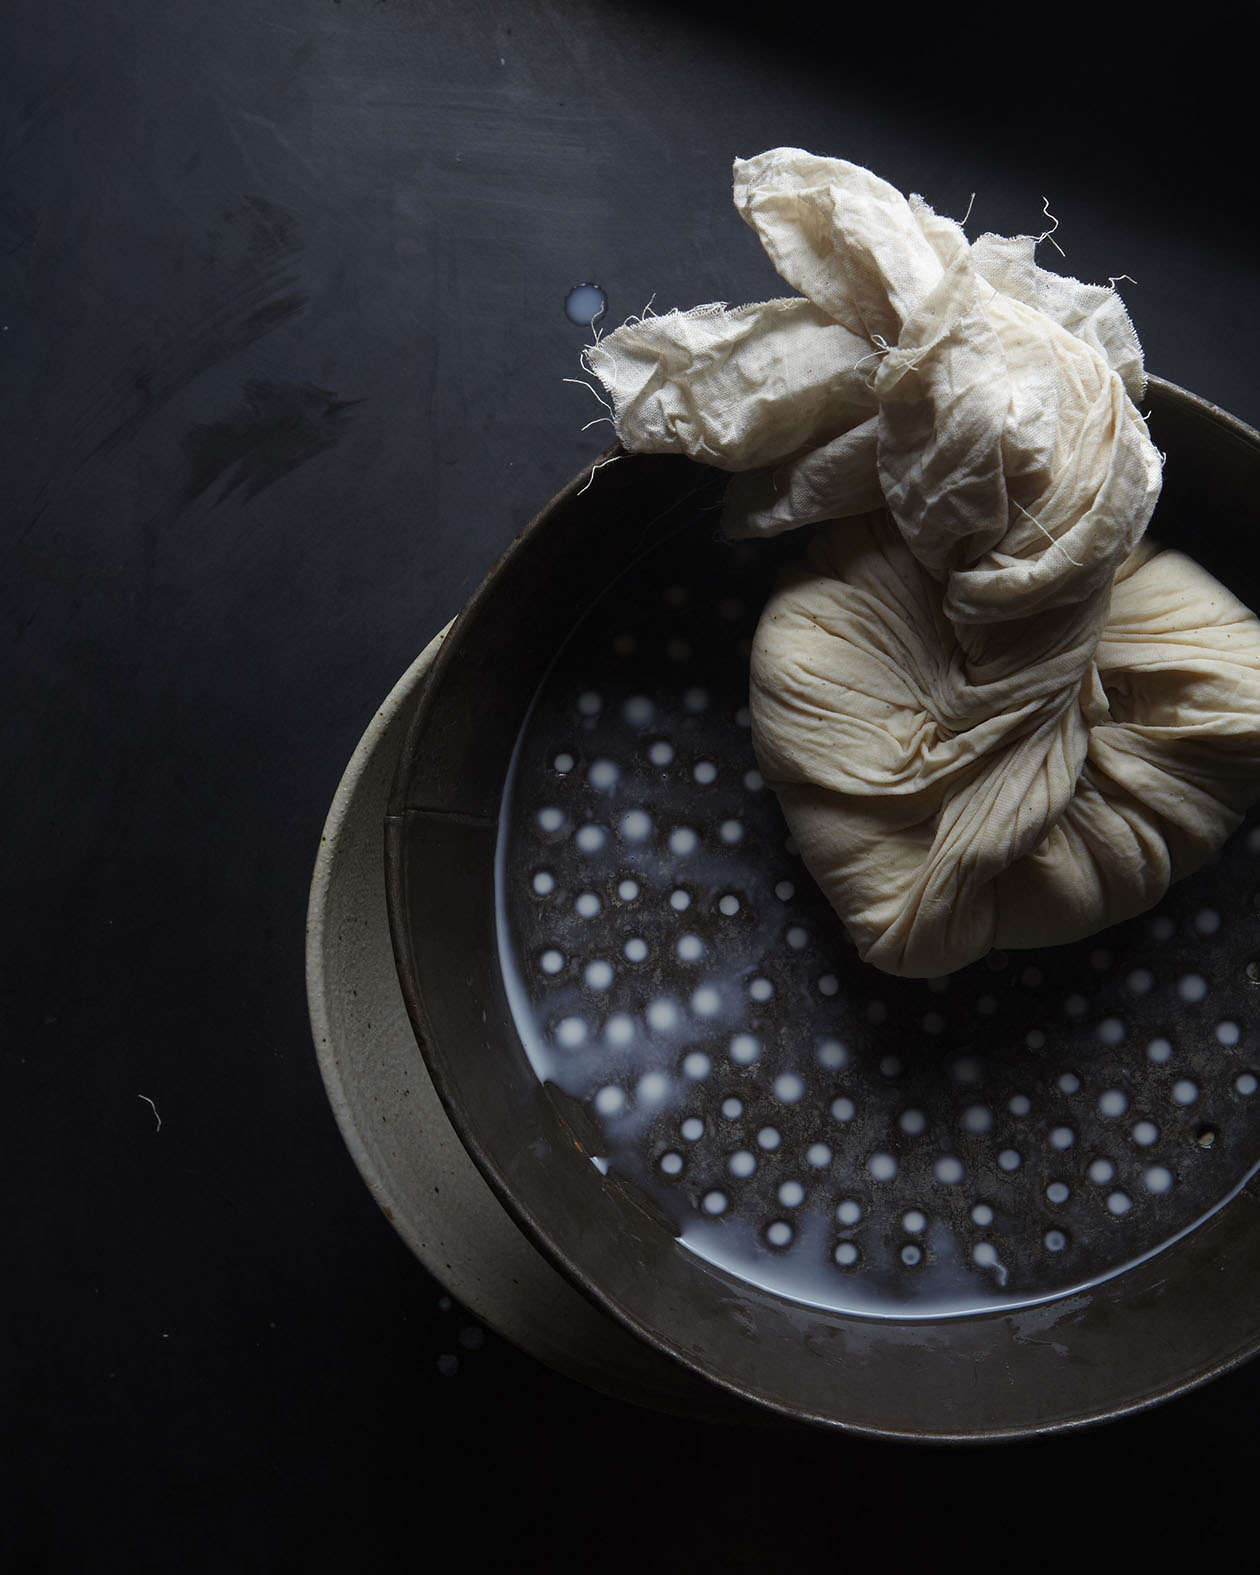
-Once your soymilk has coagulated line a tofu box with the clean muslin. Set box in the sink or over a bowl. Transfer the curds and whey into the box, do so with a large ladle so as not to break up too much of the curd. Wrap excess muslin over top, place top part of box over muslin and use a one-pound weight to press for 30 minutes.
-Remove tofu after 30 minutes from the press and muslin. Submerge tofu block in water for at least ½ hour and for up to two days.

beans. before and after soaking.
heating the pureed soy bean and water mixture.
straining the puree
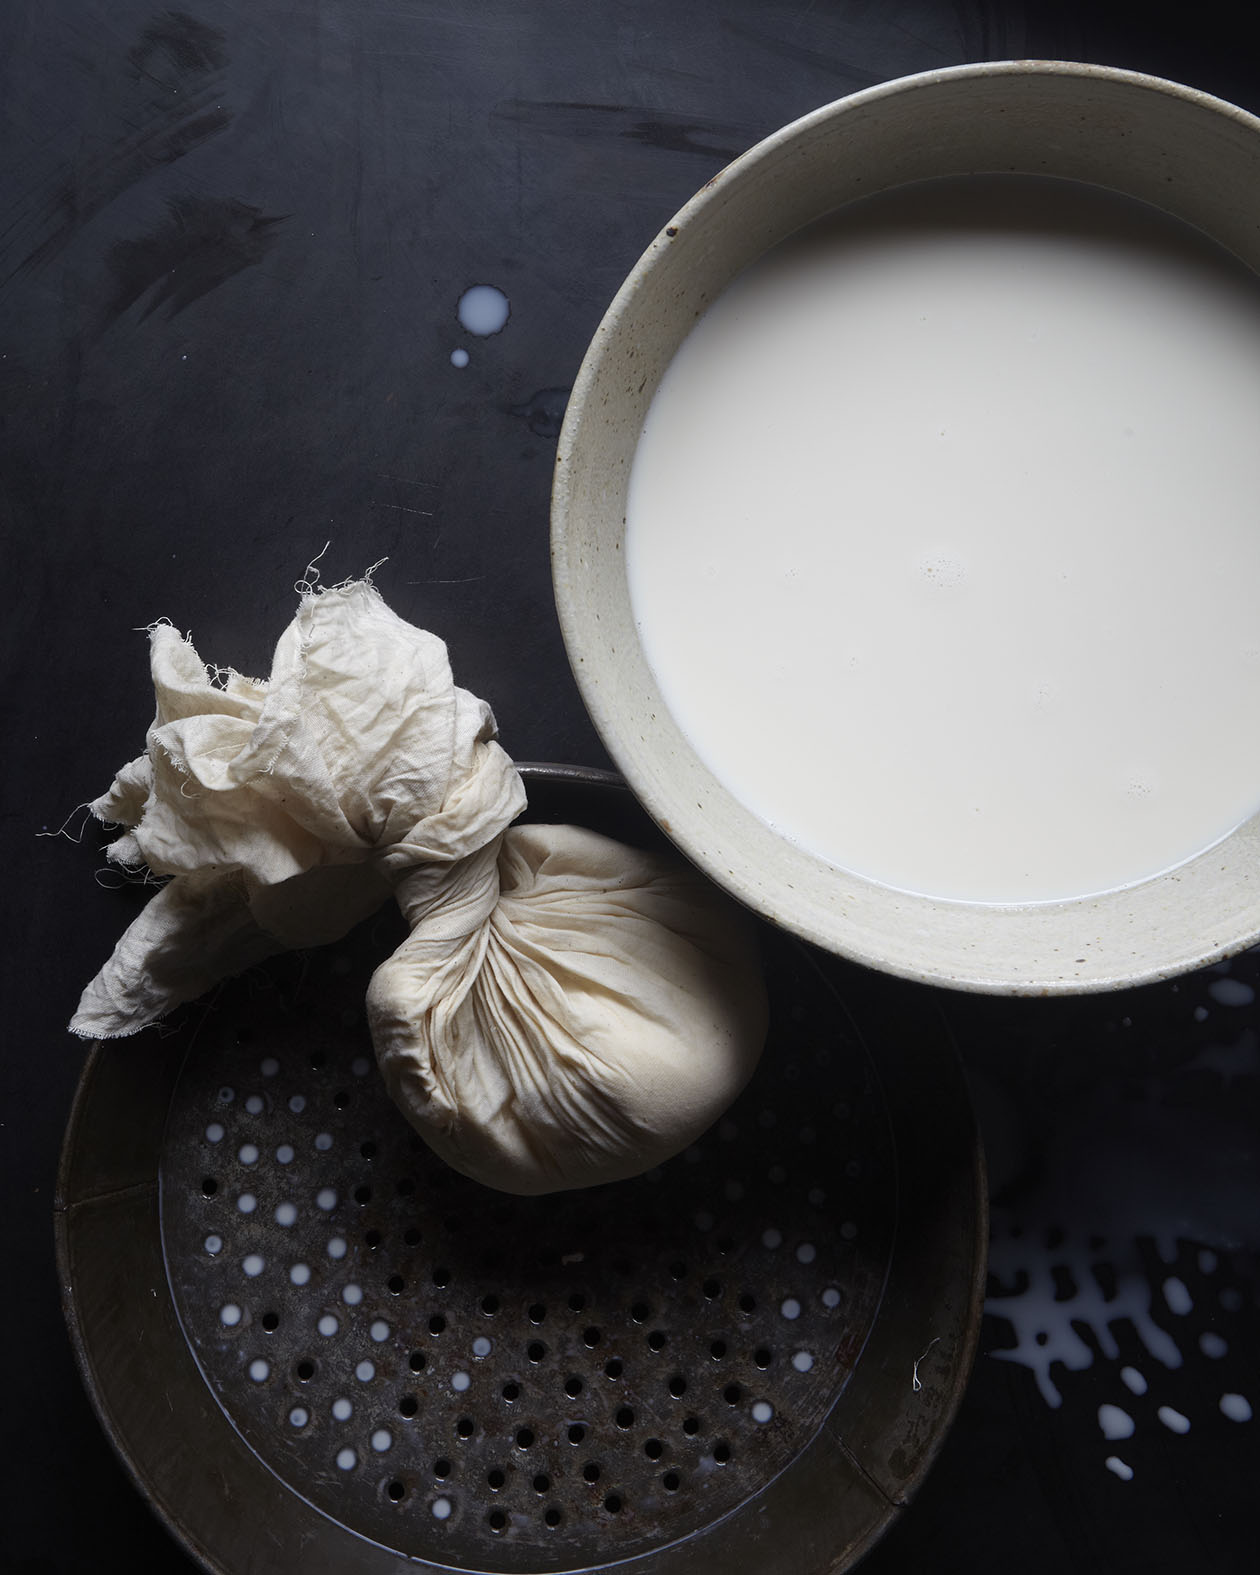
squeeze all the soy milk from the solids.
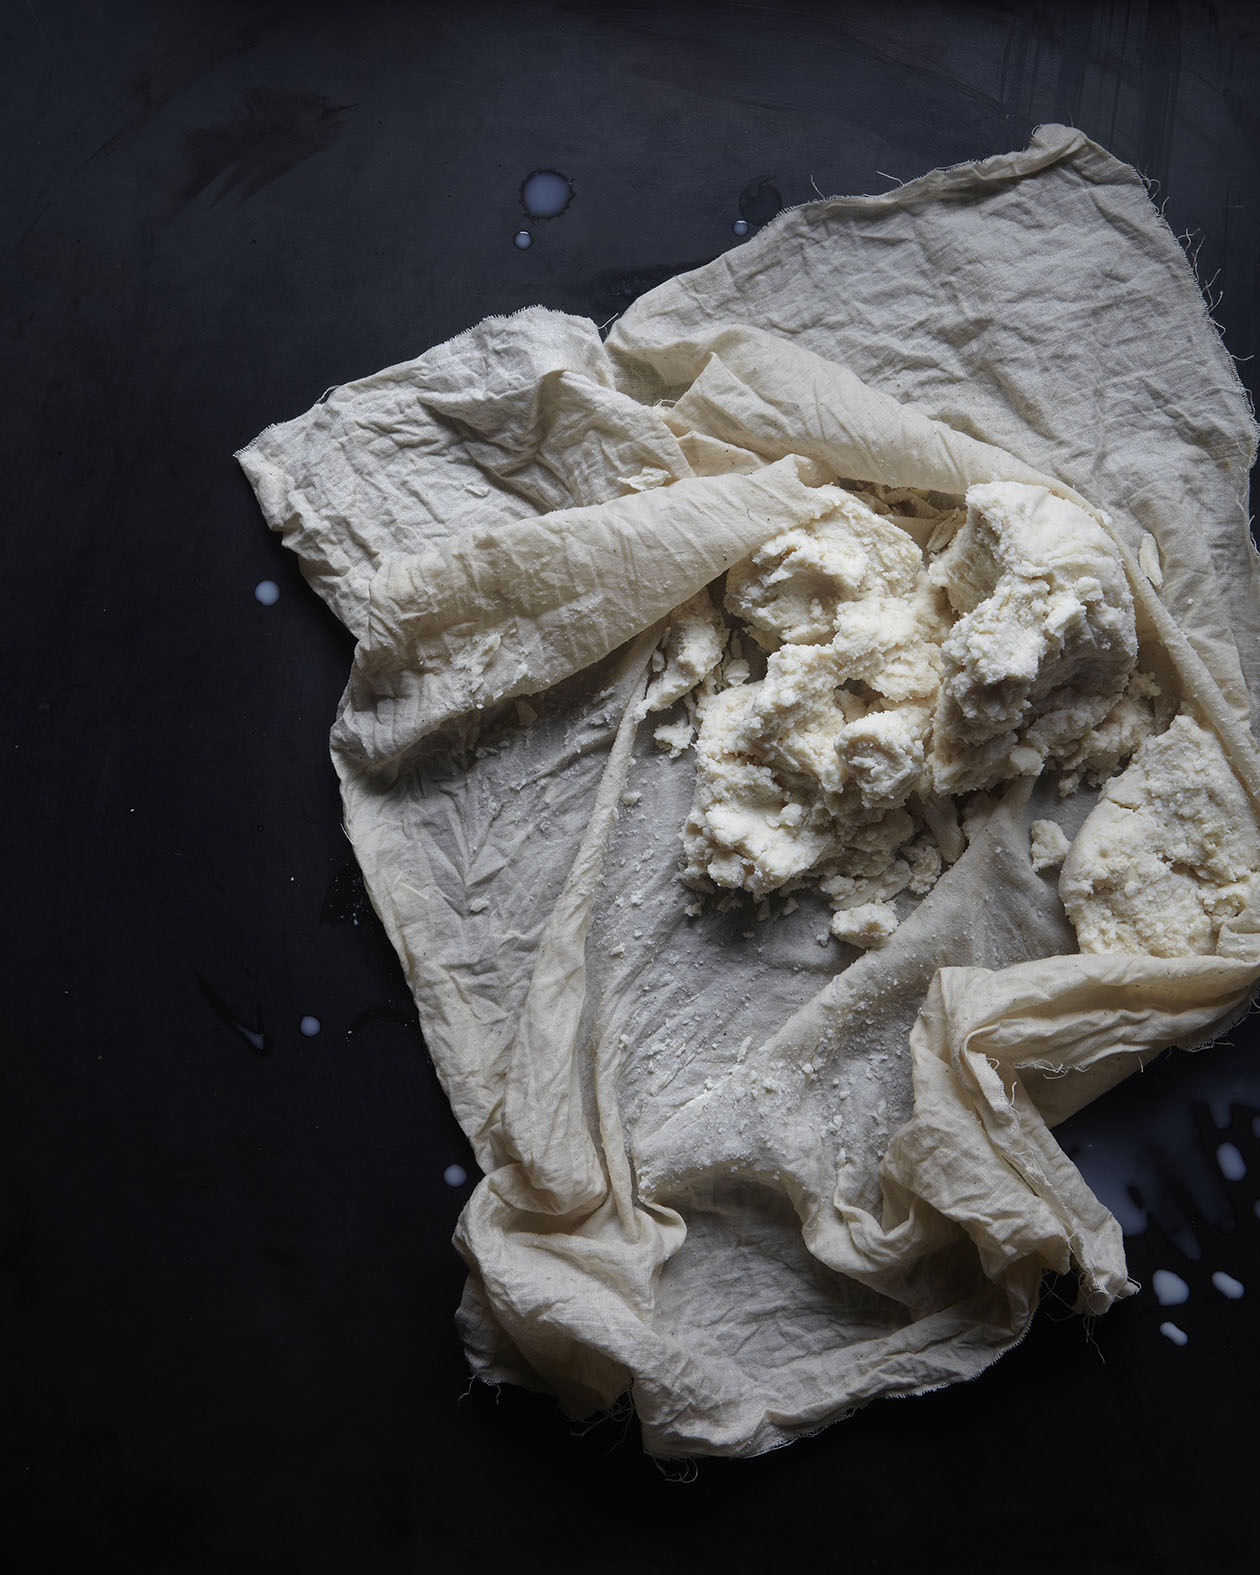
What is left over is called okara. you can stir fry it with vegetables.
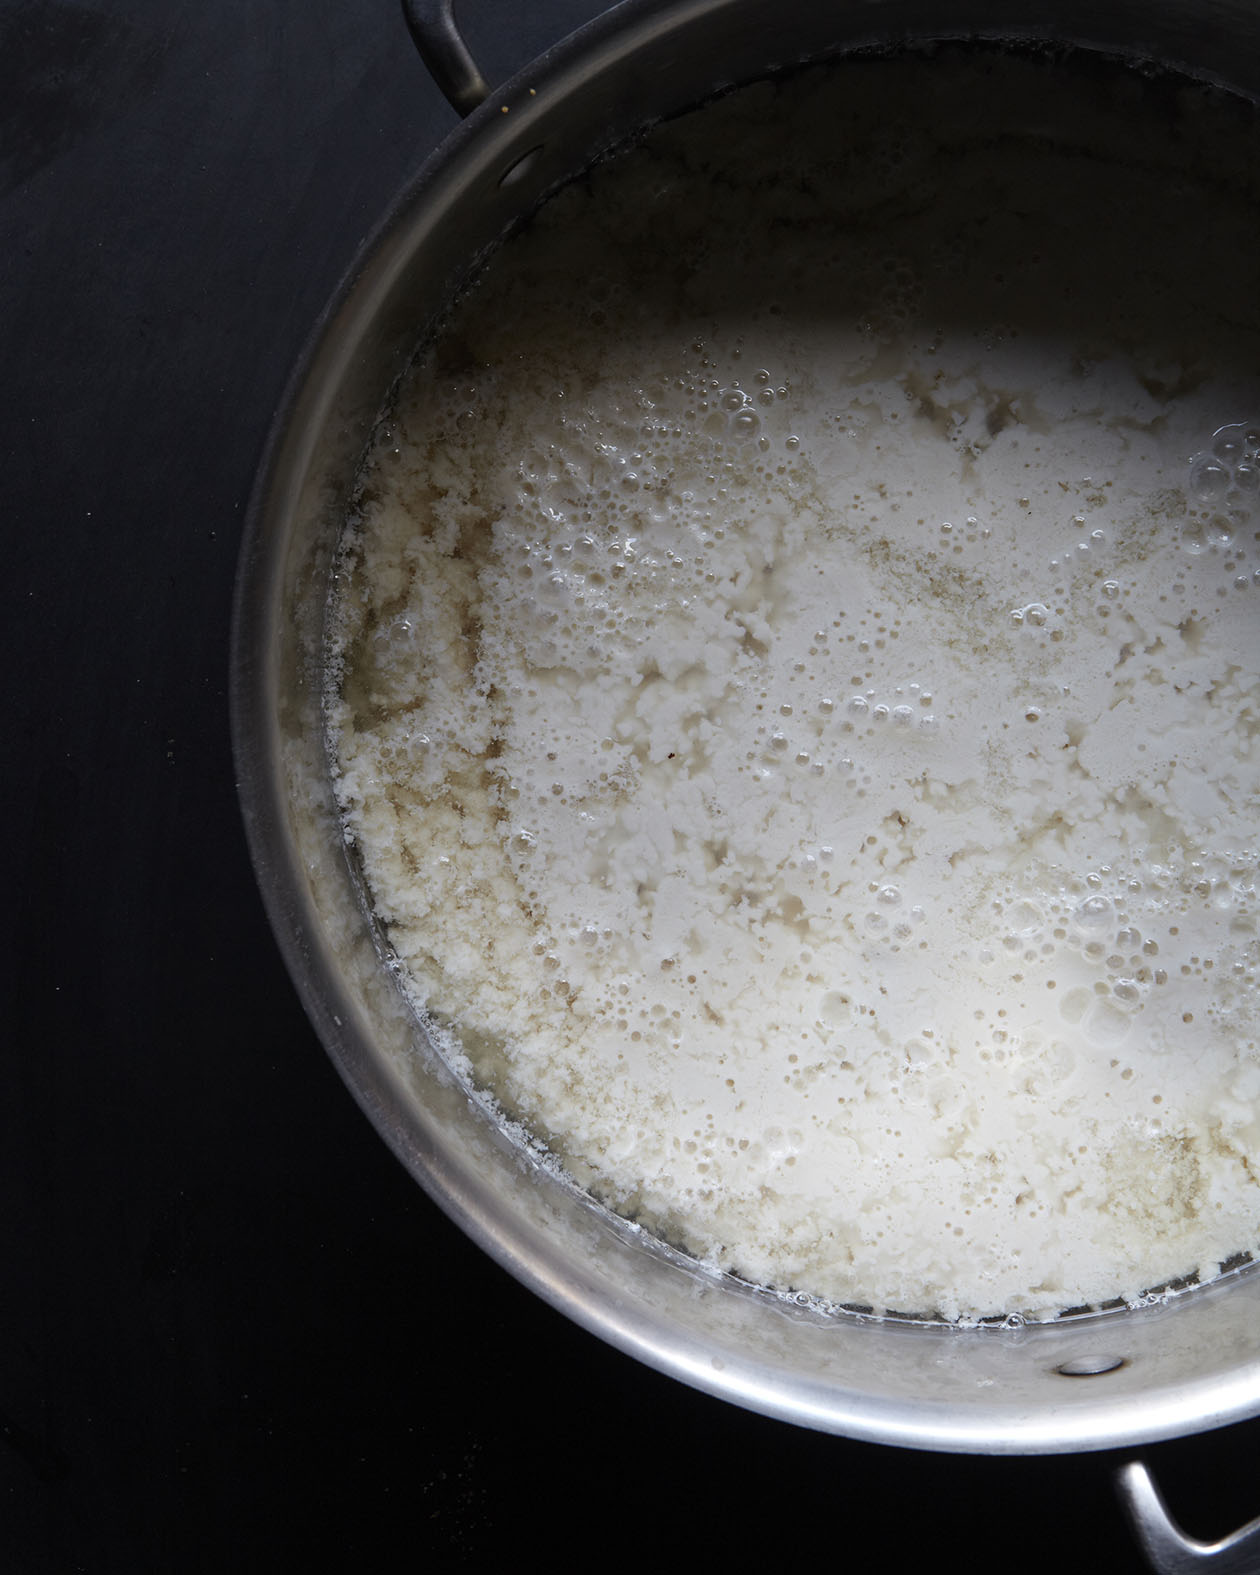
reheated soy milk and nigari. should start to separate and look like this before you pour it in the tofu mold

pour the soy milk into the mold over the sink. once most of the excess liquid has drained, place a weight on the mold to press remaining liquids
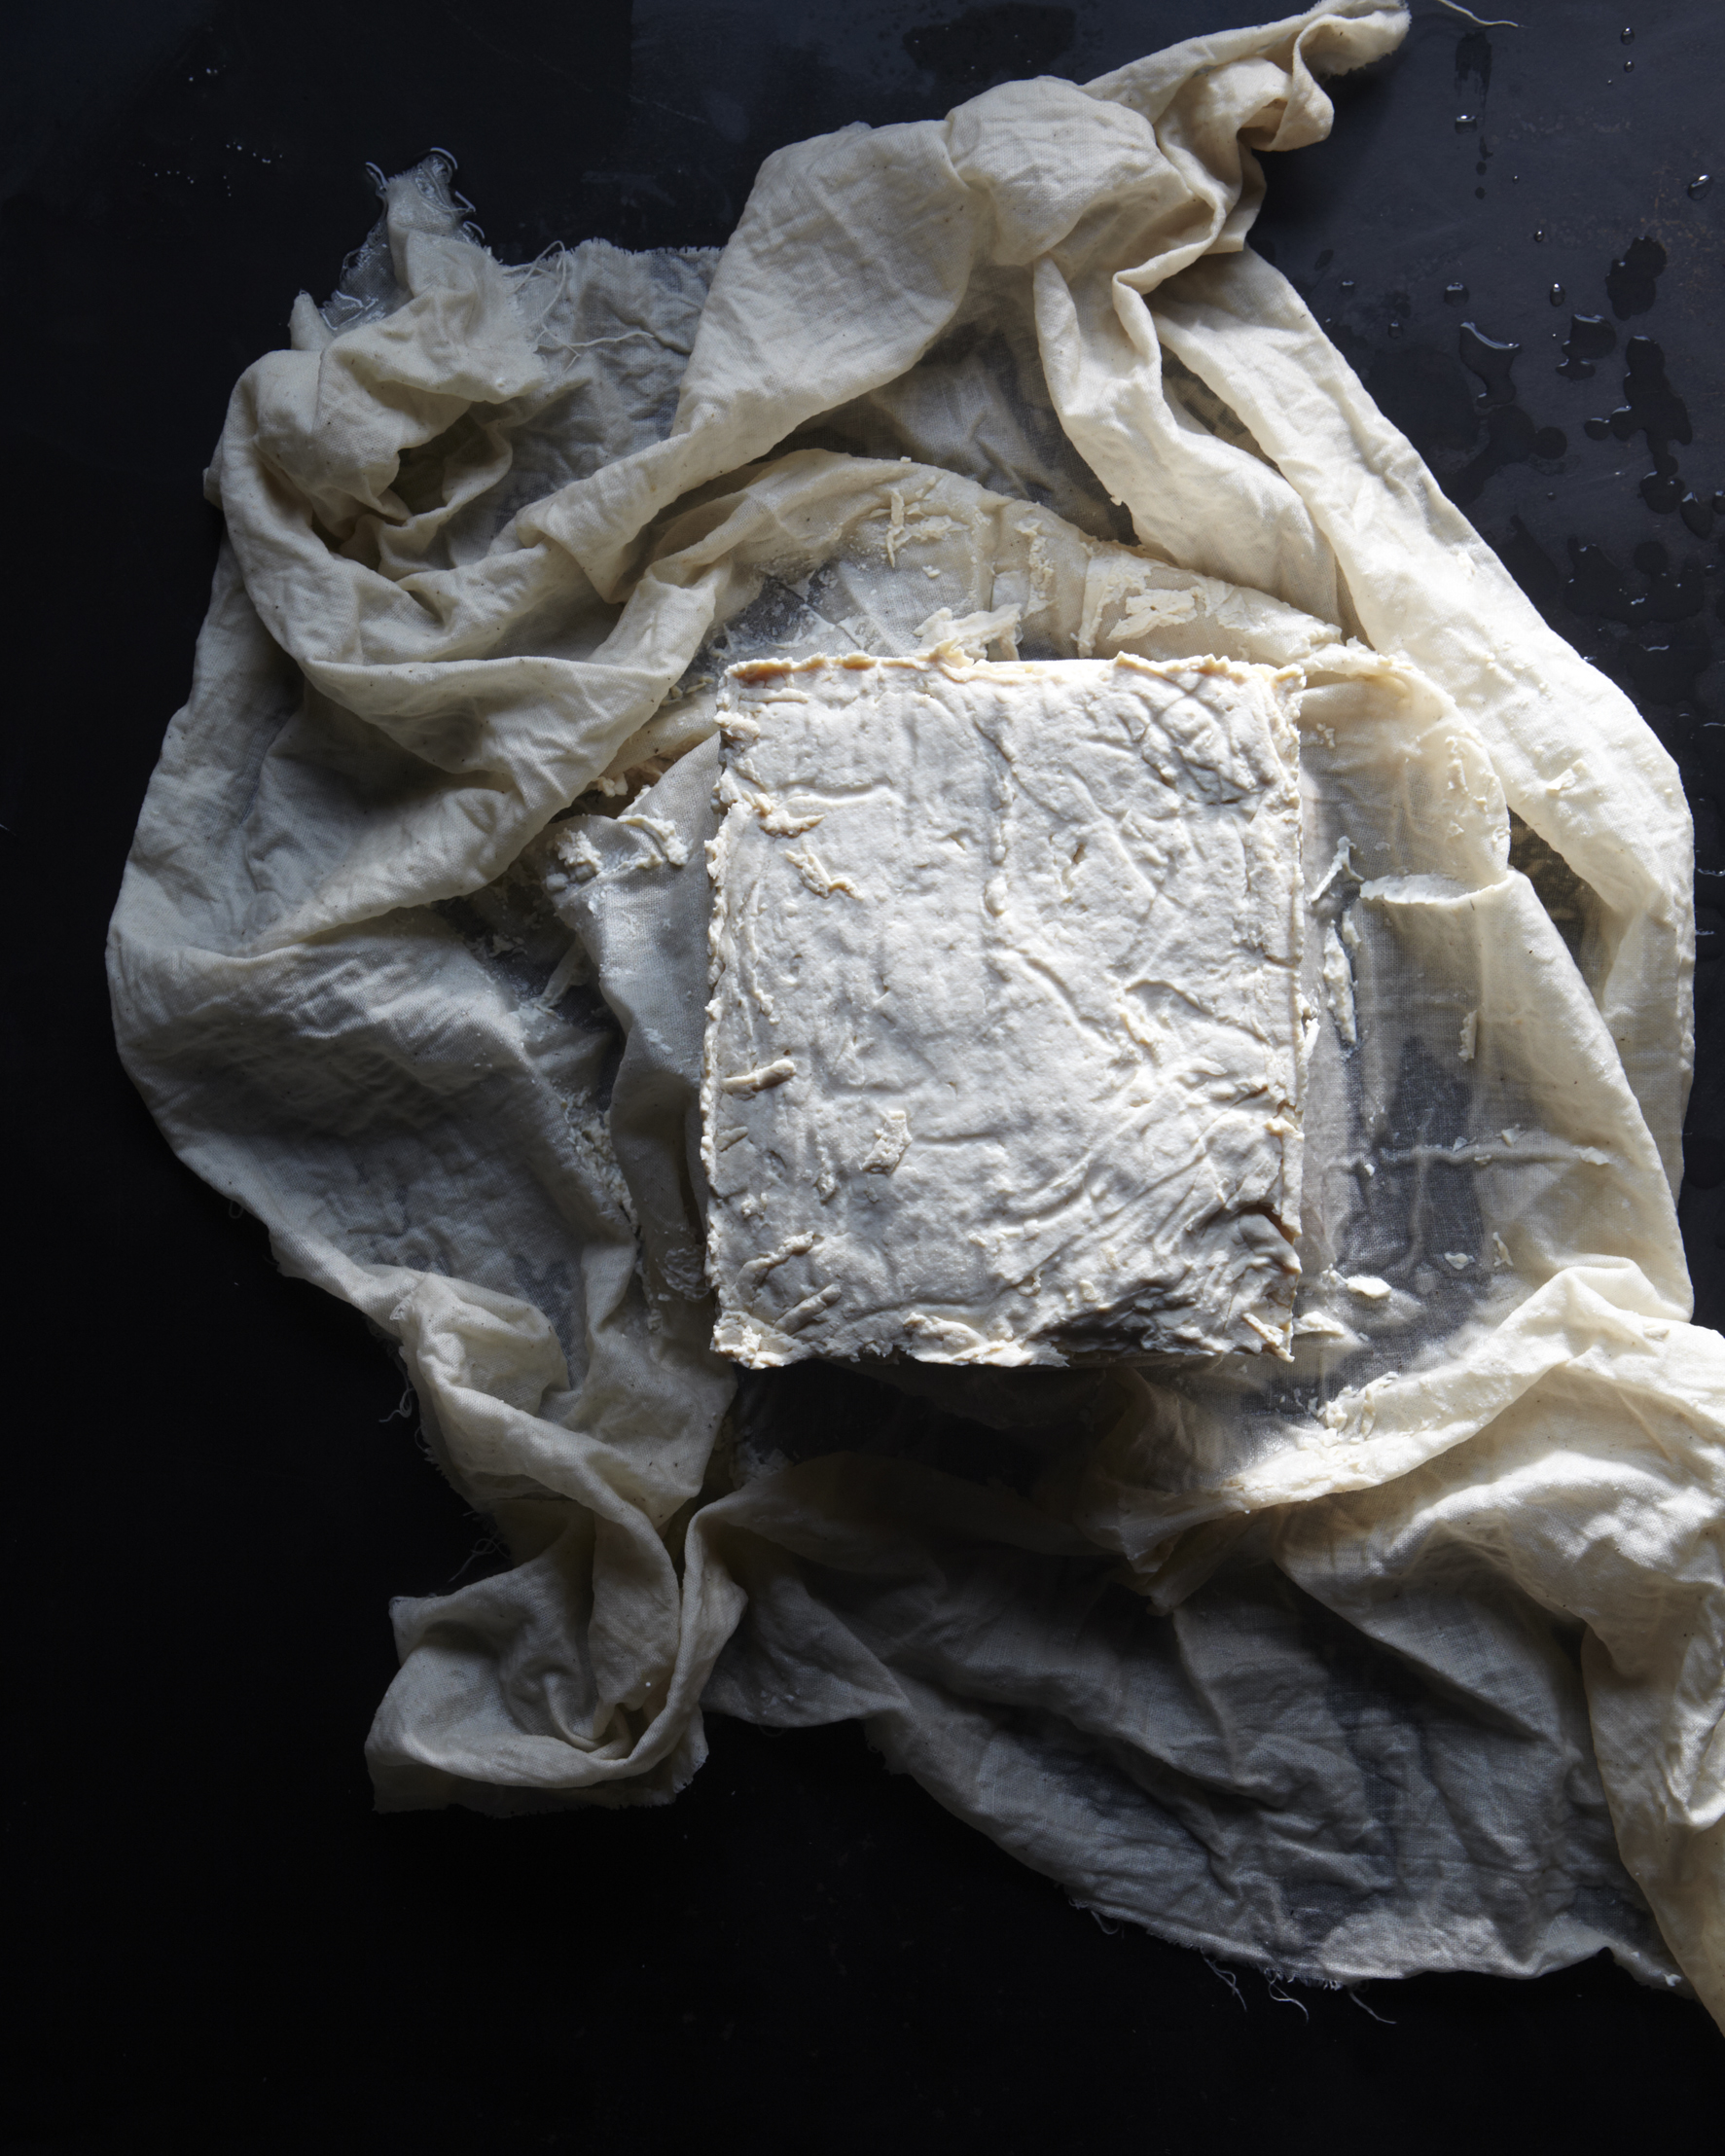
finished tofu ready to eat.
use this for the following fried tofu recipe
FRIED TOFU
1-pound tofu
¼ cup cornstarch
¼ cup neutral oil (canola, grape seed, etc.)
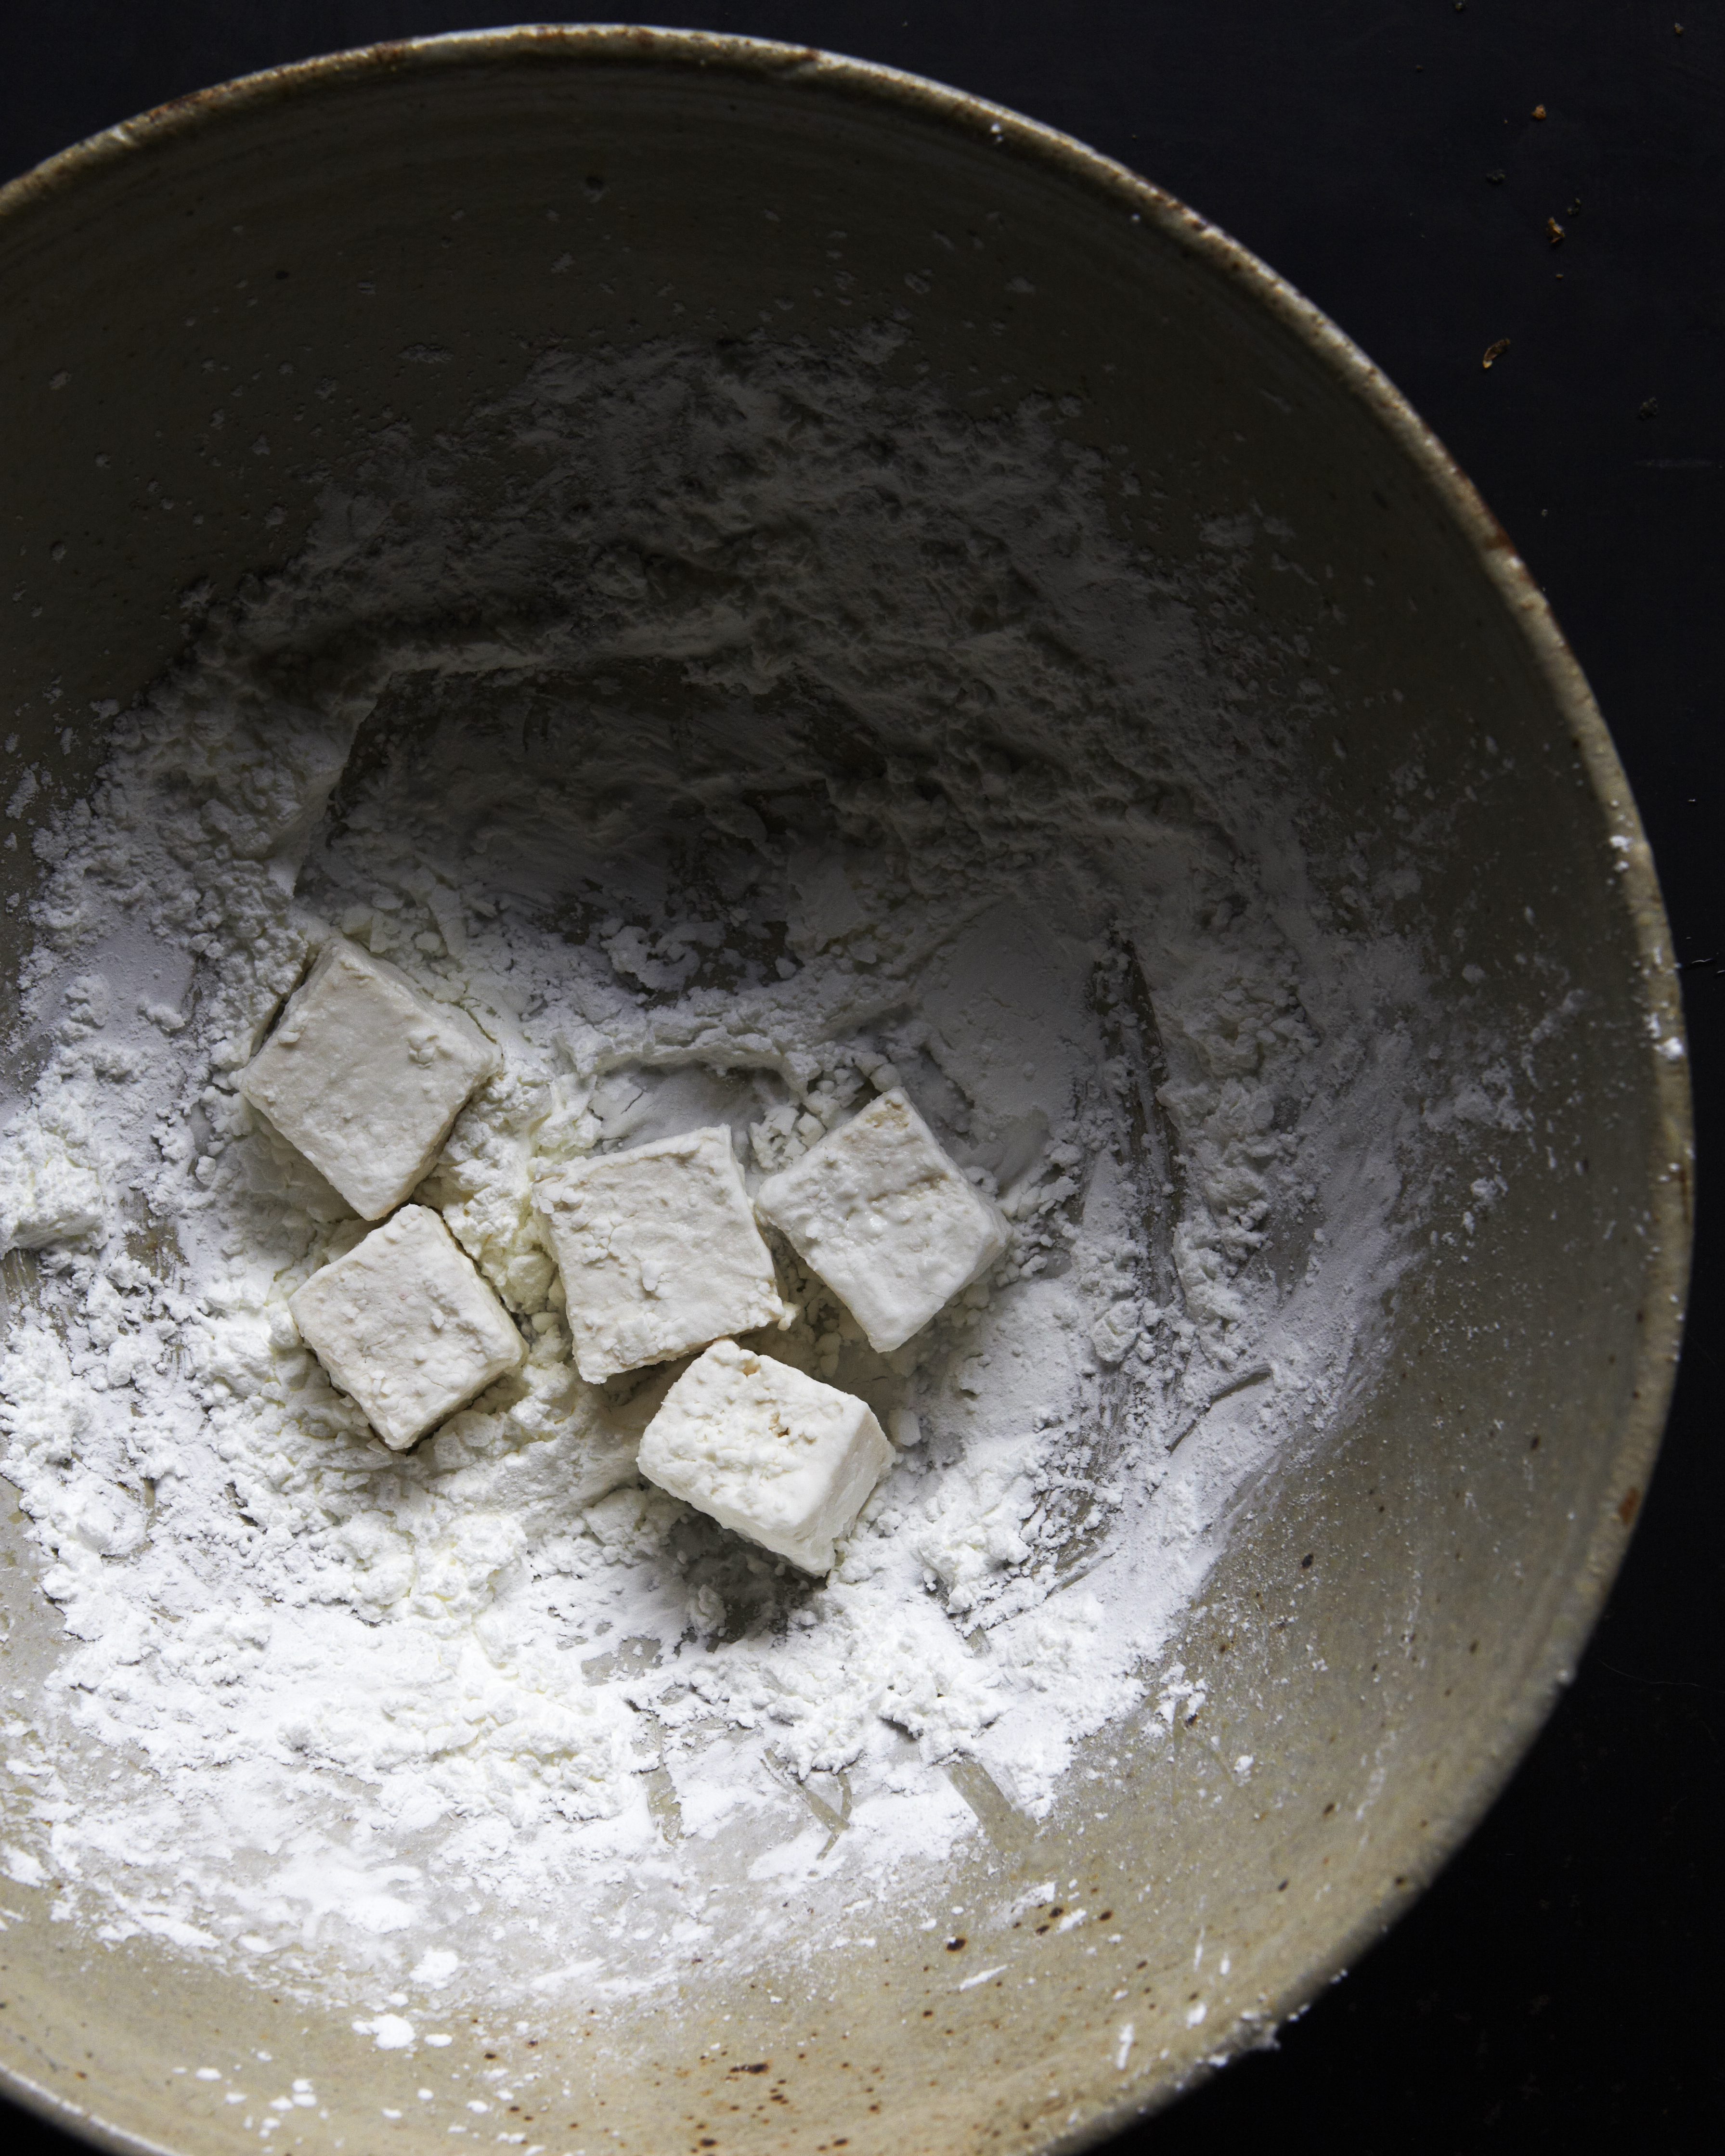
Cut tofu into 1-½ inch cubes.
Warm oil in a small to medium frying pan, make sure it doesn’t get so hot it begins to smoke.
In batches dredge tofu in cornstarch and fry till very light golden on all sides. Adjust fire so it cooks evenly throughout.
Transfer onto a paper towel.
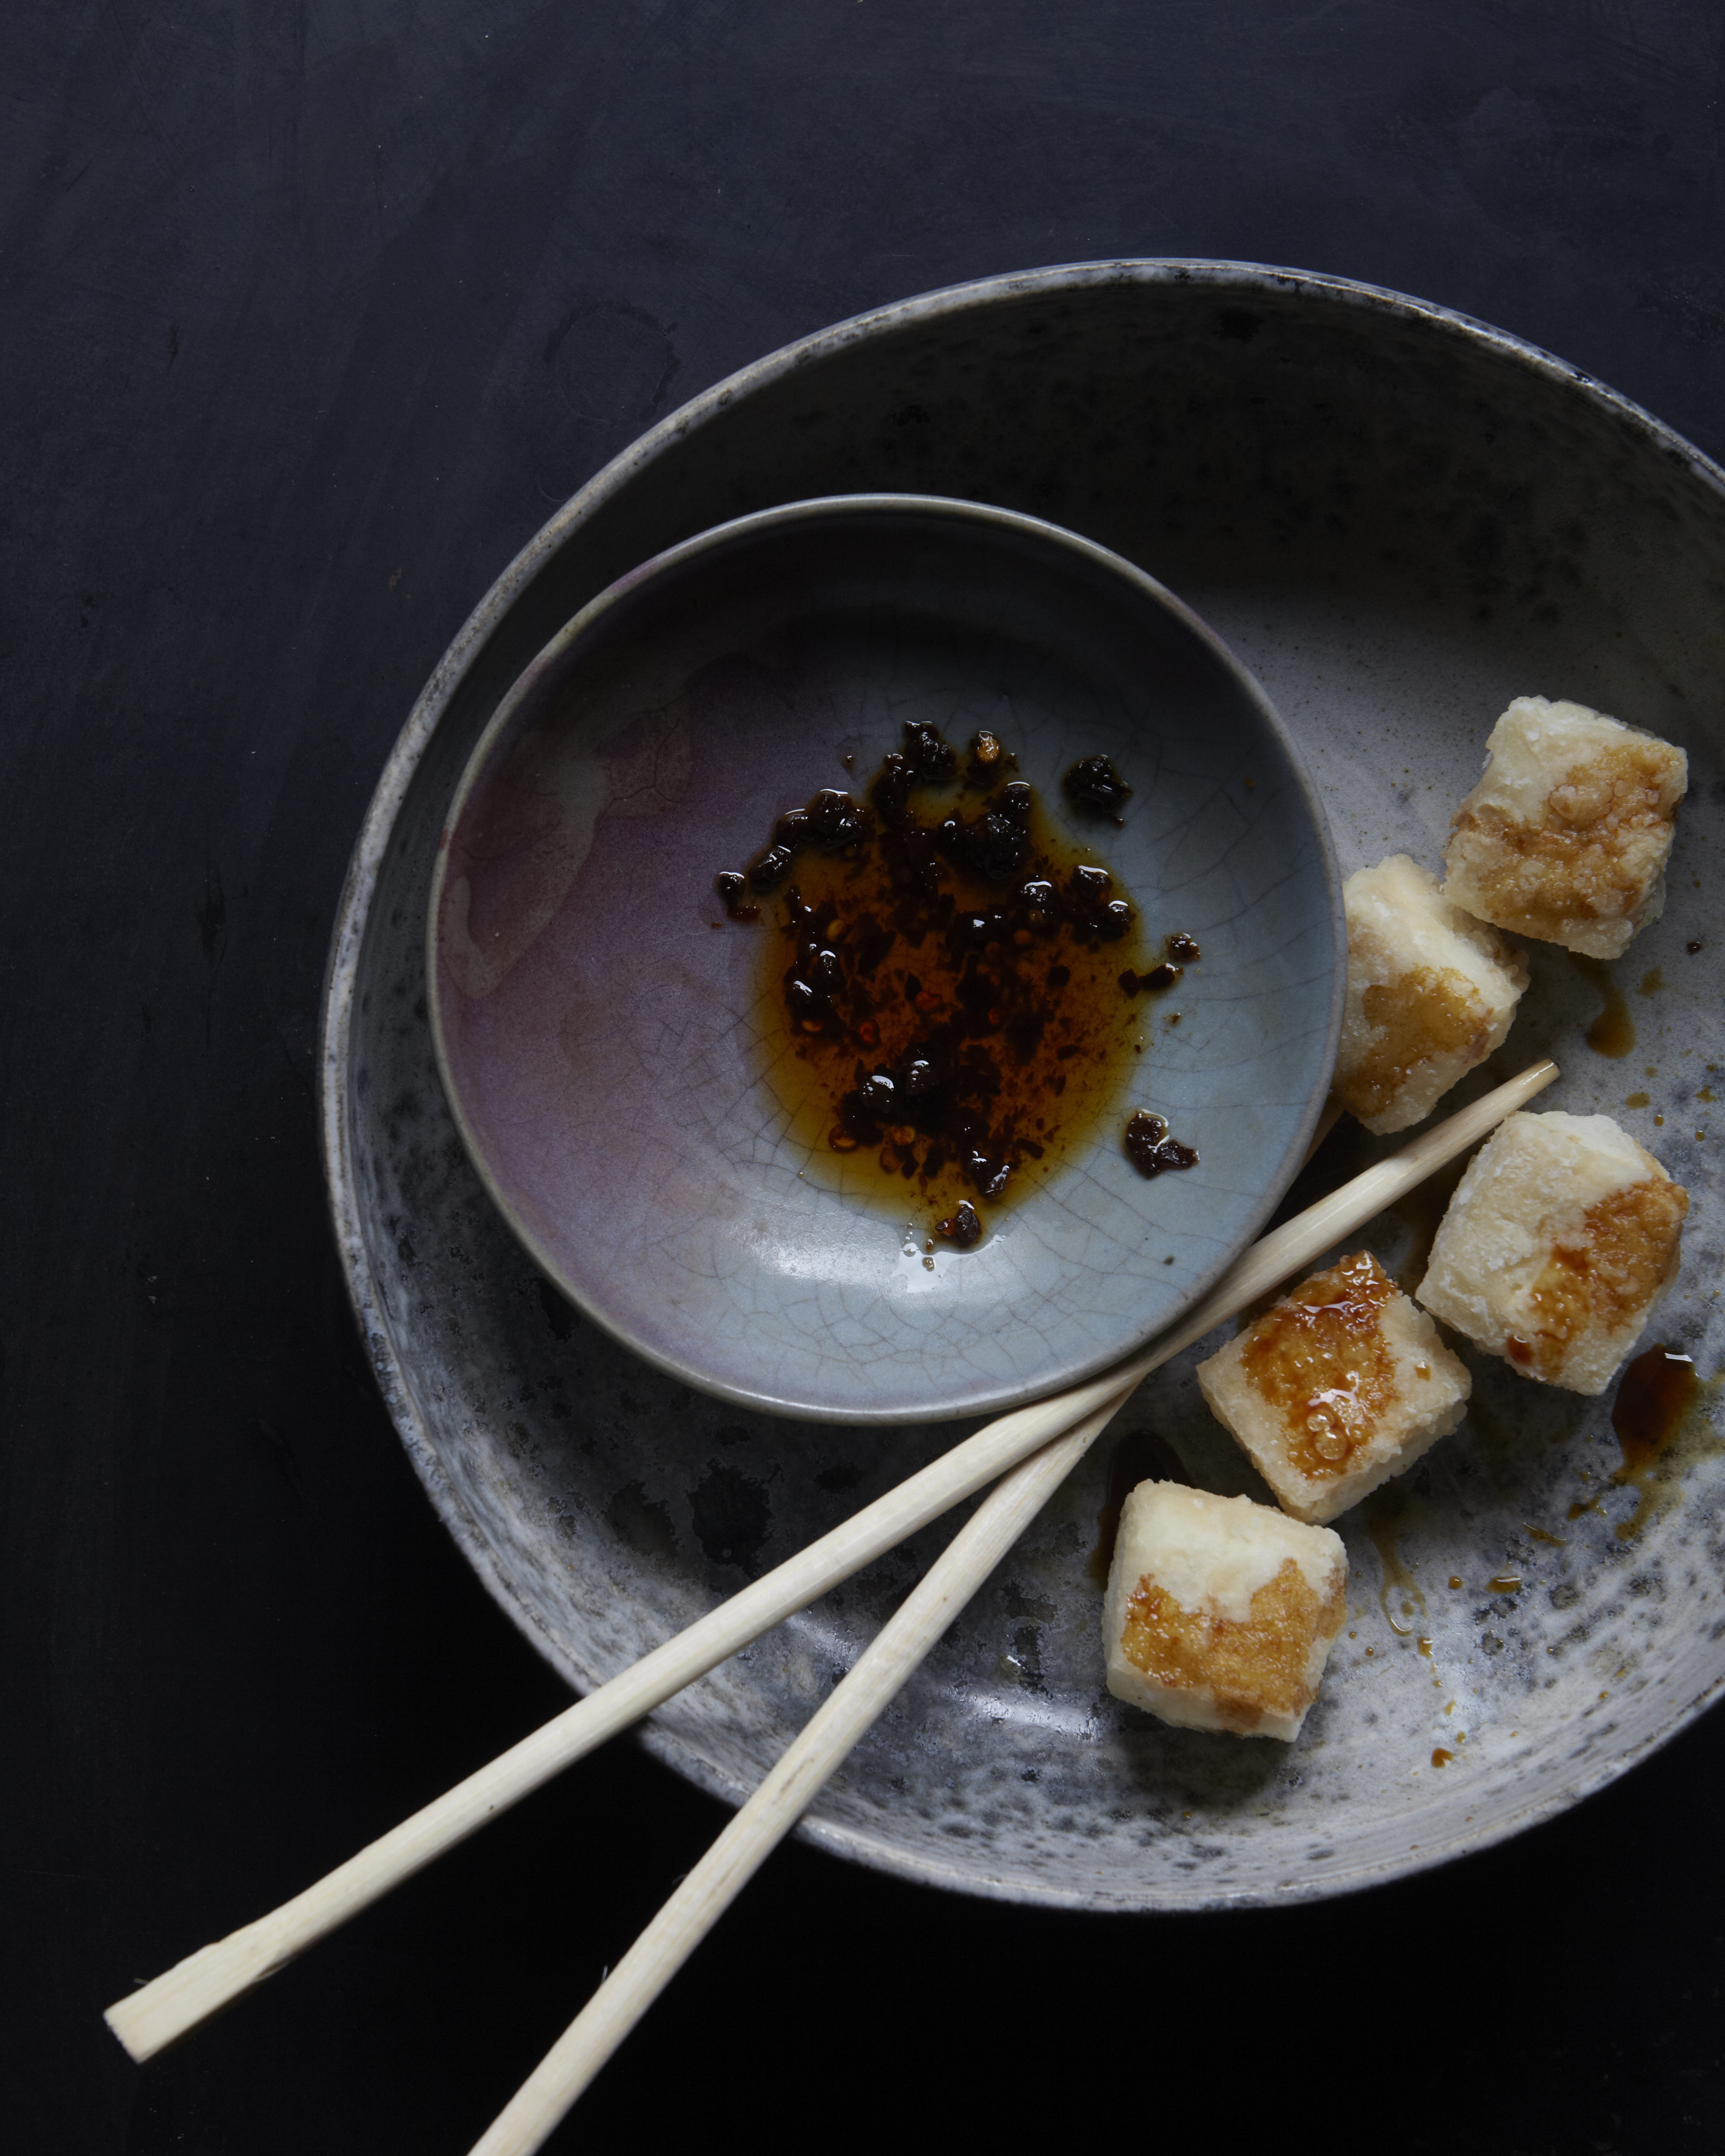
Serve with chili oil and soy sauce.
 andrea gentl


